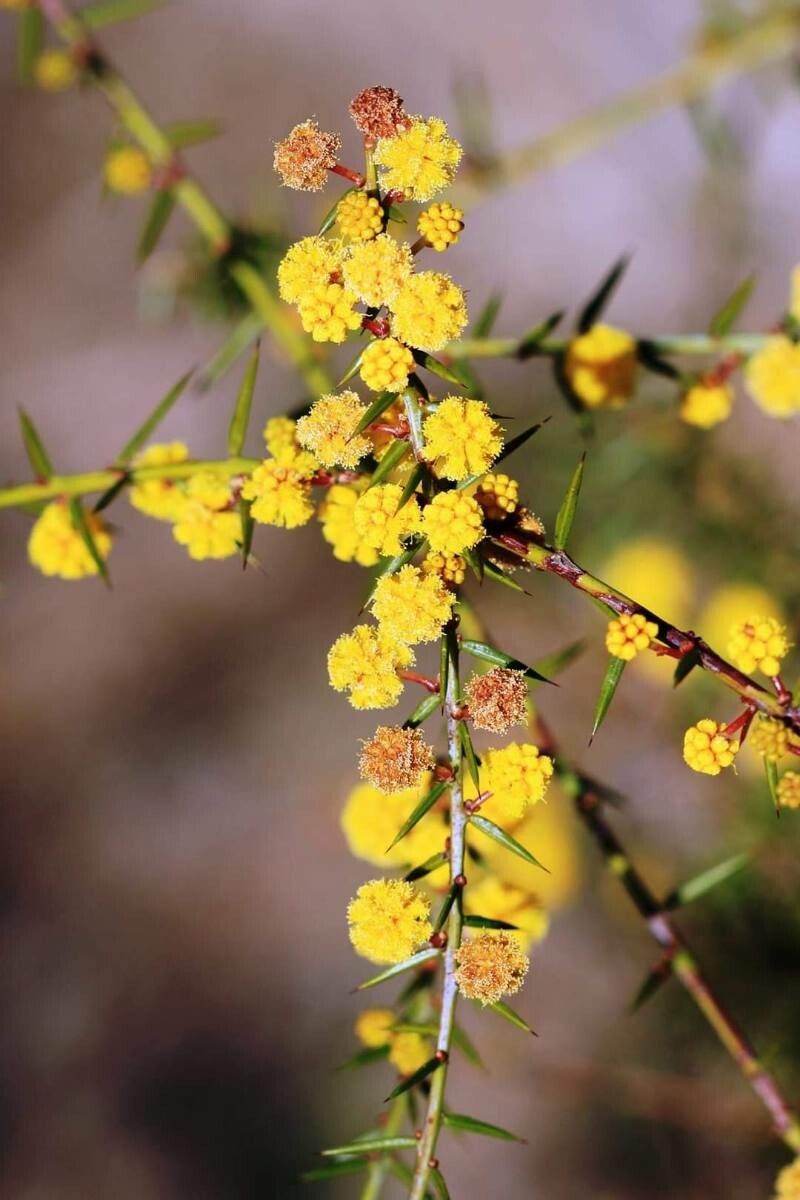
Hey there, fellow plant lovers! I’m so excited to chat with you today about a truly special member of the garden family: Acacia acuaria. If you’re drawn to plants with that bit of rustic charm and a touch of the wild, you’ll adore this one. Its delicate, spiky foliage and often subtle, sweet fragrance are pure magic. And the best part? Bringing more of these beauties into your life through propagation is incredibly rewarding. Now, I won’t sugarcoat it – Acacia acuaria can be a tad fussy for absolute beginners. But with a little know-how and patience, you’ll be a pro in no time.
The Best Time to Start
For the highest chances of success with Acacia acuaria, I always recommend timing your propagation efforts for late spring to early summer. This is when the plant is actively growing after its winter rest and has plenty of energy to dedicate to forming new roots. You’re looking for semi-hardwood cuttings – essentially, stems that have started to firm up but are still somewhat flexible. Think of it like snapping a young twig; it bends a bit before it snaps cleanly.
Supplies You’ll Need
Gathering your supplies is half the battle! Here’s what I always have on hand:
- Sharp pruning shears or a clean knife: For taking your cuttings. Sterilize them!
- Rooting hormone (powder or gel): This is crucial for Acacia acuaria. I swear by it.
- A well-draining potting mix: A blend of equal parts perlite, coco coir, and a little coarse sand works wonders. Avoid heavy, moisture-retentive soils.
- Small pots or seed trays: Clean ones, of course.
- Clear plastic bags or propagation domes: To create a humid environment.
- Water: For misting and watering.
- A heat mat (optional, but highly recommended): This is a game-changer for encouraging root development.
Propagation Methods
While Acacia acuaria can sometimes be coaxed to grow from seed, I find stem cuttings to be the most reliable and rewarding method for home gardeners. Here’s how I do it:
- Select Your Parent Plant: Choose a healthy, vigorous Acacia acuaria that is free from pests and diseases.
- Take Your Cuttings: Using your sharp shears or knife, take 4-6 inch stem cuttings from the current season’s growth. Make your cut just below a leaf node (where a leaf attaches to the stem). Remove the lower leaves, leaving just a few at the top.
- Apply Rooting Hormone: Dip the cut end of each stem into your rooting hormone, ensuring it’s fully coated. Tap off any excess.
- Plant Your Cuttings: Make a hole in your prepared potting mix with a pencil or your finger and insert the cutting, ensuring the leaf nodes are buried. Gently firm the soil around the stem.
- Create a Humid Environment: Water the soil lightly until it’s evenly moist but not waterlogged. Crucially, cover the pots with a clear plastic bag or propagation dome. This traps humidity, which these cuttings desperately need to prevent drying out. Ensure the leaves are not touching the sides of the bag to avoid rot.
- Provide Light and Warmth: Place your pots in a bright location, but out of direct, scorching sunlight. If you have a heat mat, place the pots on top of it. This gentle bottom warmth significantly speeds up root formation.
- Be Patient! This is where the real test of character comes in. Keep the soil consistently moist but not soggy. Mist the leaves occasionally if you see them starting to look a little limp, especially if you don’t have a dome.
The “Secret Sauce” (Pro Tips)
After years of playing in the dirt, I’ve learned a few tricks that can make all the difference.
- Don’t Let Those Leaves Touch Water: If you’re doing any kind of water propagation, or even if your cuttings are in pots that get a bit too wet with condensation, ensure the leaves are never submerged or constantly damp. This is a fast track to rot. For stem cuttings in pots, if the humidity gets too high and condensation is dripping, I’ll often air them out for an hour or two each day.
- Bottom Heat is Your Best Friend: Seriously, if you can invest in a small heat mat, do it. For Acacia acuaria, that gentle warmth from below signals to the plant’s stem that it’s time to get those roots fired up. It makes a noticeable difference in speed and success rate.
- A Gentle Shake Test: After about 4-6 weeks (sometimes longer!), carefully give a cutting a very gentle tug. If you feel resistance, that’s a good sign that roots have formed! You can also try to gently wiggle a leaf; if it feels firmly attached and not ready to fall off, roots are likely forming.
Aftercare & Troubleshooting
Once you feel that resistance or see new growth emerging, you know you’ve got roots! Congratulations!
When new growth appears, it’s time to gradually acclimate your new plants to a less humid environment. Begin by taking the plastic bag or dome off for a couple of hours each day. Slowly increase this duration over a week or two until they’re fully accustomed to open air. Continue to keep them in bright, indirect light and water them when the top inch of soil feels dry.
Troubleshooting: The most common issue you’ll face is rot. This usually happens if the cuttings are kept too wet, lack adequate drainage, or don’t have enough air circulation. If you see the stem turning black and mushy, it’s likely rot. Unfortunately, there’s no coming back from that. The best preventative measures are proper soil, good drainage, and careful watering. Another sign of struggle can be leaves yellowing and dropping. This might mean they’re not getting enough light, or they’re drying out too quickly.
A Encouraging Closing
Propagating plants is a journey, and with Acacia acuaria, it’s a particularly satisfying one. Don’t get discouraged if your first few attempts aren’t perfect. Every gardener has their learning curve! Just keep trying, enjoy observing the process, and celebrate each success. Happy propagating, and may your gardens be ever verdant!
Resource:
https://identify.plantnet.org/k-world-flora/species/Acacia%20acuaria%20W.Fitzg./data