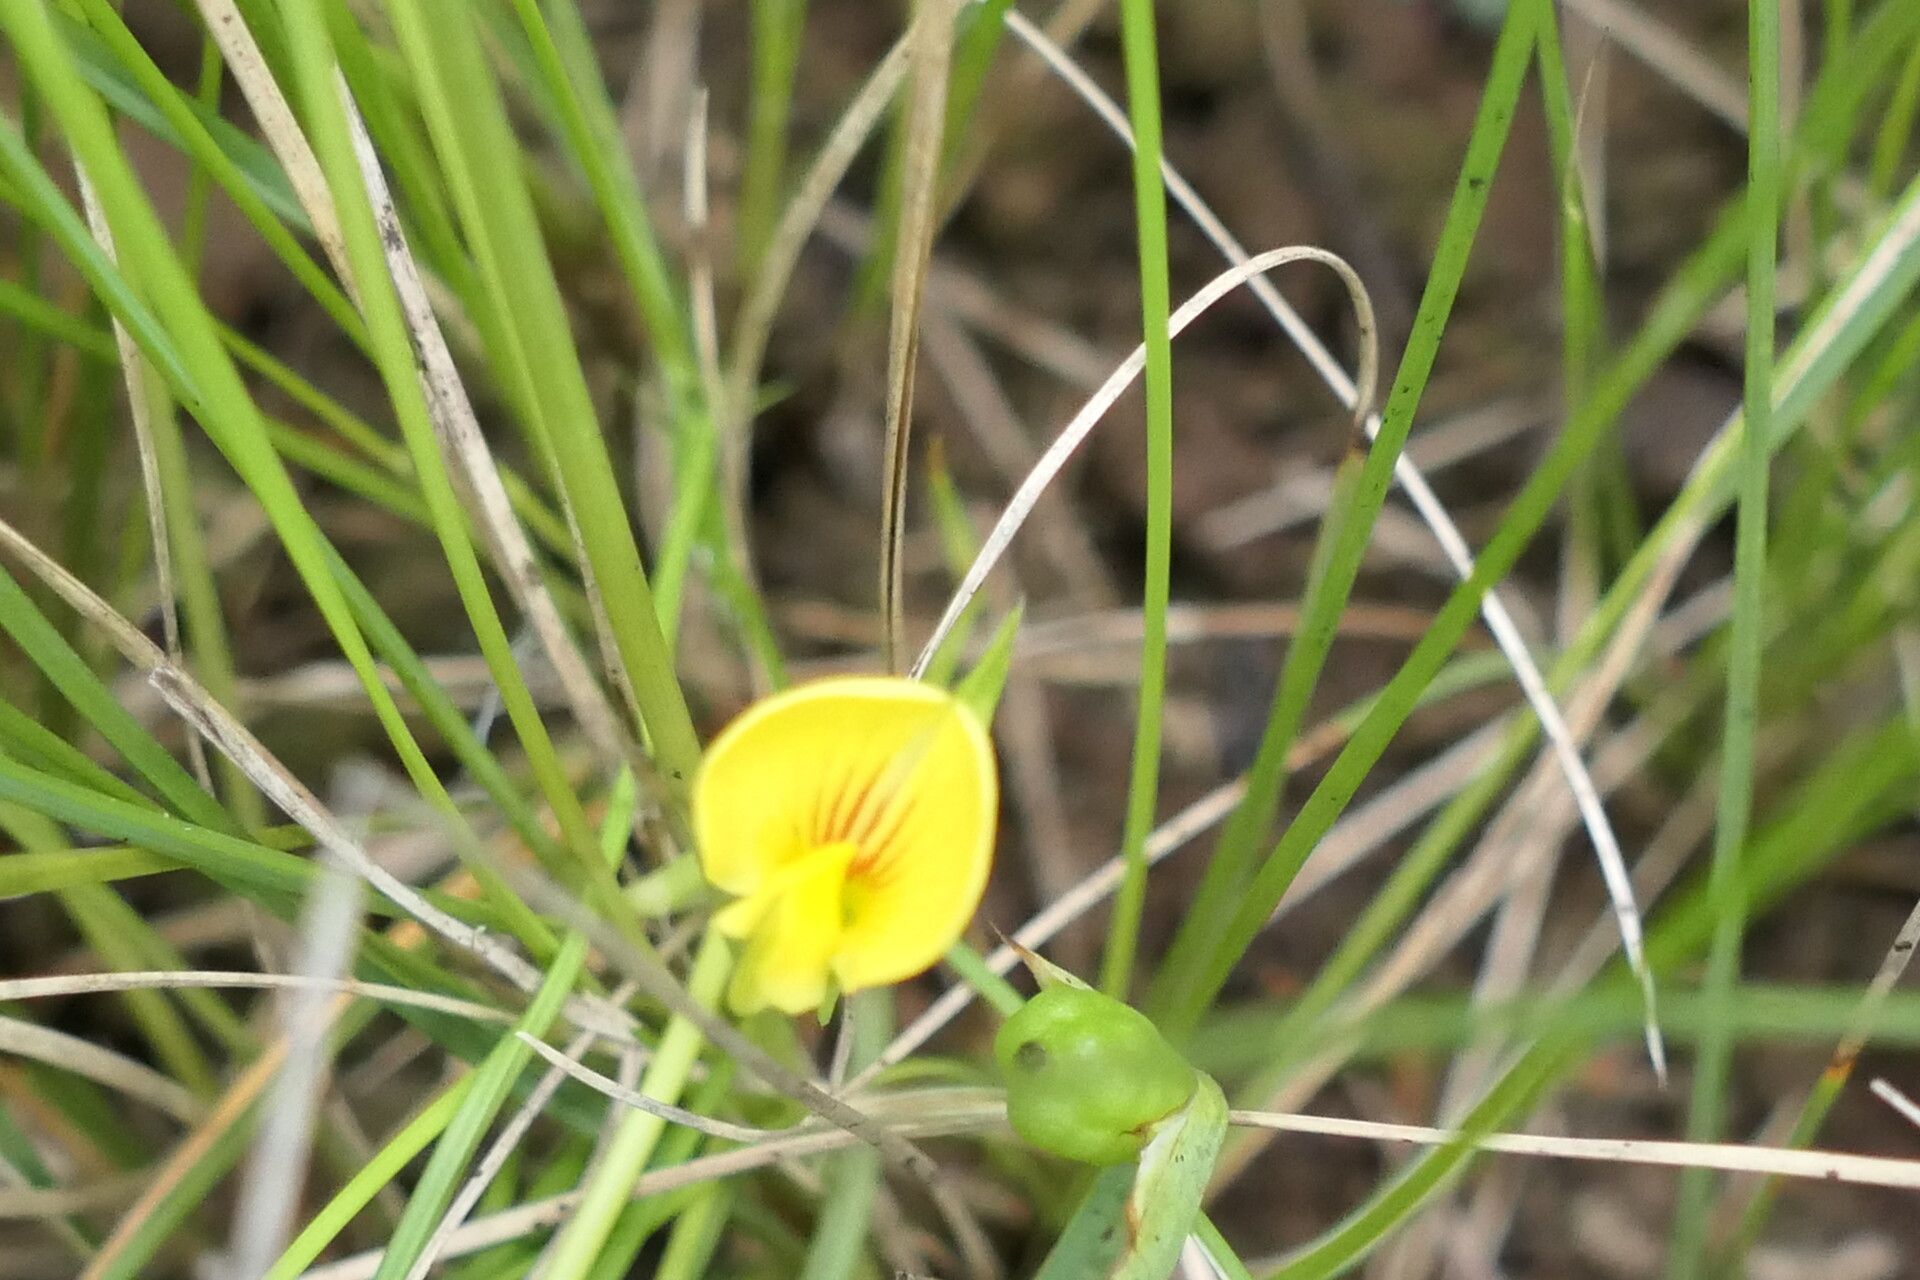
Oh, hello there, fellow plant lover! Grab a cup of your favorite brew, because today we’re diving into the wonderful world of Zornia capensis propagation. This little gem, with its cheerful yellow blooms and delicate foliage, is an absolute delight in any garden. And guess what? Propagating it is a truly rewarding experience, one that I’ve found to be quite accessible even for those just starting their plant journey. Getting more of these beauties from just one is a special kind of magic.
When to Encourage New Growth: The Best Time to Start
For Zornia capensis, the sweet spot for propagation is really when the plant is actively growing. Late spring and early summer, after the buzz of initial flowering has settled, is usually your golden ticket. This is when the plant has plenty of energy to put into developing new roots and establishing itself. You’ll want to aim for healthy, non-flowering stems.
What You’ll Need to Get Started
Gathering your supplies is half the fun, isn’t it? Here’s a handy list to make sure you’re set for success:
- Sharp, clean pruning shears or a sharp knife: Essential for making clean cuts.
- Rooting hormone (optional but recommended): Helps jumpstart root development.
- Well-draining potting mix: A good blend for cuttings usually has perlite or coarse sand. Don’t use heavy garden soil.
- Small pots or seed trays: For housing your new charges.
- Plastic bags or a propagator: To create a humid environment.
- Watering can or spray bottle: For gentle watering.
Helping Zornia Capensis Take Root: Propagation Methods
There are a couple of ways to go about this, and I find stem cuttings to be wonderfully effective for Zornia capensis.
Stem Cuttings: My Go-To Method
- Select Your Material: Look for healthy, new growth on your mature Zornia capensis. Aim for stems that are about 4-6 inches long and have at least two sets of leaves. Avoid any woody or old stems, and definitely steer clear of any flower buds.
- Make the Cut: Using your clean shears or knife, make a clean cut just below a leaf node (where a leaf attaches to the stem). This is where new roots are most likely to emerge.
- Prepare the Cutting: Gently remove the lower leaves from the cutting, leaving just the top two or three to help with photosynthesis. If you have a bit of a thicker stem, you can even make a small slit at the bottom cut end.
- Apply Rooting Hormone (Optional): Dip the cut end of the stem into your rooting hormone powder (if you’re using it). Tap off any excess.
- Plant Your Cuttings: Fill your small pots or trays with your well-draining potting mix. Make a small pilot hole with a pencil or your finger, and gently insert the cut end of the Zornia capensis cutting into the mix. Firm the soil gently around the base.
- Create Humidity: Water the soil lightly until it’s evenly moist but not soggy. Then, cover the pots with a plastic bag or place them in a propagator. This will trap moisture and create a humid environment, which is crucial for cuttings to root.
The “Secret Sauce”: My Insider Tips
Now, for a few little tricks that have made all the difference for me over the years. These aren’t always in the textbooks, but they work wonders!
- Don’t let the leaves touch the water: If you decide to try water propagation (though I find soil is more reliable for Zornia), make absolutely sure that no leaves are submerged. They will rot very quickly, and rot is the enemy of propagation! Only the stem should be in the water.
- Bottom heat is your friend: Zornia capensis, like many plants, absolutely loves a bit of warmth from below. If you have a heat mat specifically for propagation, now’s the time to use it! It significantly speeds up root formation. Your cuttings will be much happier and root faster.
Looking After Your New Sprouts: Aftercare & Troubleshooting
Once your cuttings are planted, the waiting game begins! Keep them in a bright spot, but out of direct, harsh sunlight. The soil should remain consistently moist but never waterlogged. Mist them occasionally if they don’t have a cover.
You’ll know your cuttings are rooting when you see new leaf growth – a beautiful sign of success! You can also give them a gentle tug; if there’s resistance, you’ve got roots. Once they’re well-established, you can gradually remove the plastic cover or open the propagator vents to acclimatize them to normal humidity.
Now, what if things don’t go quite as planned? The most common culprit is rot. If your cuttings look limp, mushy, or have blackening at the base, it’s likely due to too much moisture and not enough air circulation. Sadly, these are usually lost causes, but don’t get discouraged! Learn from it – maybe your soil wasn’t draining well enough, or the environment was too wet.
Patience is a Gardener’s Virtue
There you have it! Propagating Zornia capensis is a wonderfully accessible way to multiply your collection and share the joy of these lovely plants with others. It takes a little patience, a keen eye, and a willingness to experiment. But trust me, that first time you see those tiny roots emerge, or a new shoot unfurls from a cutting you nurtured, it’s a feeling of accomplishment like no other. Happy propagating, and enjoy the journey!
Resource:
https://identify.plantnet.org/k-world-flora/species/Zornia%20capensis%20Pers./data