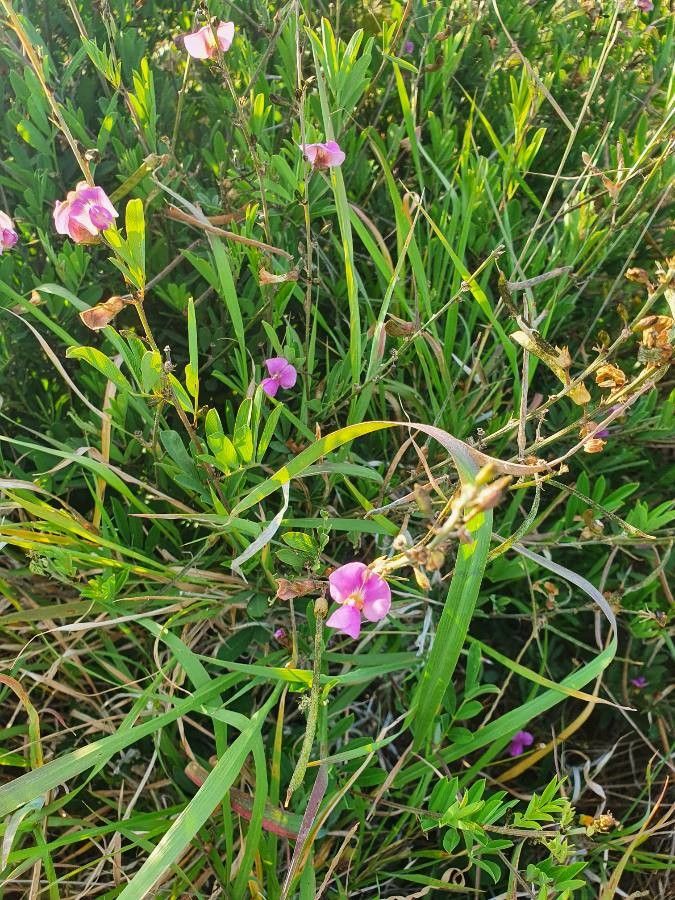
Oh, hello there! Pull up a chair and let’s chat about one of my favorite little plant companions: Tephrosia emeroides. You know, the one with those delicate, sometimes purplish-tinged leaves and a habit of sending up lovely little pea-like flowers? I’ve grown them for years, and honestly, there’s something incredibly satisfying about coaxing new life from a parent plant. If you’re looking for a project that’s not too fiddly, you’re in for a treat. For beginners, I’d say Tephrosia emeroides is quite forgiving.
The Best Time to Start
When it comes to getting your Tephrosia emeroides off to a good start, spring and early summer are your best bets. Think of it like setting the table for a party – you want everything to be vibrant and full of energy. This is when the plant is actively growing, and those new shoots are brimming with potential. Trying to propagate when the plant is resting, like in the depths of winter, just won’t yield the same enthusiastic results.
Supplies You’ll Need
Before we dive in, let’s gather our tools. Don’t worry, it’s not an expedition!
- Sharp Pruning Shears or a Clean Knife: For making those clean cuts. Dull tools can really bruise the stems.
- Potting Mix: I like a well-draining blend for cuttings. A mix of perlite, peat moss, and a bit of standard potting soil works wonders. You can also grab a specific “seed starting” or “cutting” mix.
- Small Pots or Trays: With drainage holes, of course! We don’t want soggy feet for our little ones.
- Rooting Hormone (Optional but Recommended): A powder or gel can give your cuttings that extra boost of confidence in developing roots.
- Water (for water propagation): Clean, room-temperature water is best.
- A Spray Bottle: For misting.
- Clear Plastic Bags or Domes: To create a mini-greenhouse effect.
Propagation Methods
Now for the fun part! Here are a couple of ways I’ve had great luck with Tephrosia emeroides.
Stem Cuttings
This is my go-to method, and it’s wonderfully effective.
- Select a Healthy Stem: Look for a non-flowering stem that’s about 4-6 inches long. You want it to be firm, not woody and old, but also not super floppy and new. Think of it as the “just right” stage.
- Make the Cut: Using your sharp shears or knife, make a clean cut just below a leaf node (that’s where a leaf joins the stem). This is where the magic happens and roots are most likely to form.
- Prepare the Cutting: Gently remove the lower leaves. You want to expose about an inch or so of the stem. This prevents the leaves from rotting in the soil or water.
- Apply Rooting Hormone (Optional): Dip the cut end into your rooting hormone, tapping off any excess.
- Plant Your Cutting: Moisten your potting mix. Make a small hole with your finger or a pencil and gently insert the cutting. Firm the soil around it.
- Create a Humid Environment: Water the soil lightly. Then, I like to cover the pot with a clear plastic bag or a plastic dome to keep the humidity high. Poke a few small holes in the bag for air circulation.
Water Propagation
If you’re feeling a bit more adventurous or just want to watch the roots develop, this is a lovely option.
- Prepare Your Cutting: Follow steps 1-3 from the stem cutting method.
- Place in Water: Pop your prepared cutting into a clear jar or glass of water. Make sure no leaves are submerged. This is crucial for preventing rot.
- Change the Water Regularly: Every few days, fresh water is key. You’ll start to see tiny white roots emerge from the leaf nodes. This can take a few weeks.
- Transplant When Ready: Once your roots are about an inch long, you can carefully transplant them into potting mix as described in step 5 of the stem cutting method.
The “Secret Sauce” (Pro Tips)
Over the years, I’ve learned a few little tricks that seem to make all the difference.
- Don’t Forget Bottom Heat: If you can, place your pots on a gentle heating mat, especially if your house is on the cooler side. This warmth encourages root development much faster. You don’t need it screaming hot, just a cozy warmth.
- Misting is Your Friend: Especially in those first few weeks, those cuttings can get thirsty! Mist the leaves lightly with your spray bottle every day or two, especially if you’re not using a dome. It’s like a refreshing drink for them.
- Patience is a Virtue (Especially with Leaves Touching Water): I mentioned it before, but I’ll say it again: keep those leaves out of the water if you’re doing water propagation. If any leaves dip in, trim them off immediately. Mold and rot can spread like wildfire from there.
Aftercare & Troubleshooting
Once you see those glorious little roots peeking out, it’s time to celebrate!
- Gradual Acclimation: If you used a plastic bag or dome, gradually introduce your new plant to drier air. Start by removing the cover for a few hours each day, then leave it off entirely.
- Watering: Water your new plant when the top inch of soil feels dry. Don’t let it sit in standing water.
- Light: Place your new Tephrosia in a bright, indirect light spot. Avoid harsh, direct sun while it’s still establishing itself.
Now, what if things go awry? The most common culprits are rot (caused by too much moisture and poor air circulation) and drying out. If a cutting turns mushy and black, sadly, it’s probably a goner. Don’t beat yourself up; just try again! Sometimes, even with the best intentions, a cutting just doesn’t take. It happens to all of us, even after decades!
Happy Growing!
Propagating Tephrosia emeroides is such a rewarding way to expand your plant family. It truly connects you to the miracle of growth. Be patient with yourself and the process, enjoy the small victories, and before you know it, you’ll have a whole troop of these lovely plants to share or simply admire. Happy gardening!
Resource:
https://identify.plantnet.org/k-world-flora/species/Tephrosia%20emeroides%20A.Rich./data