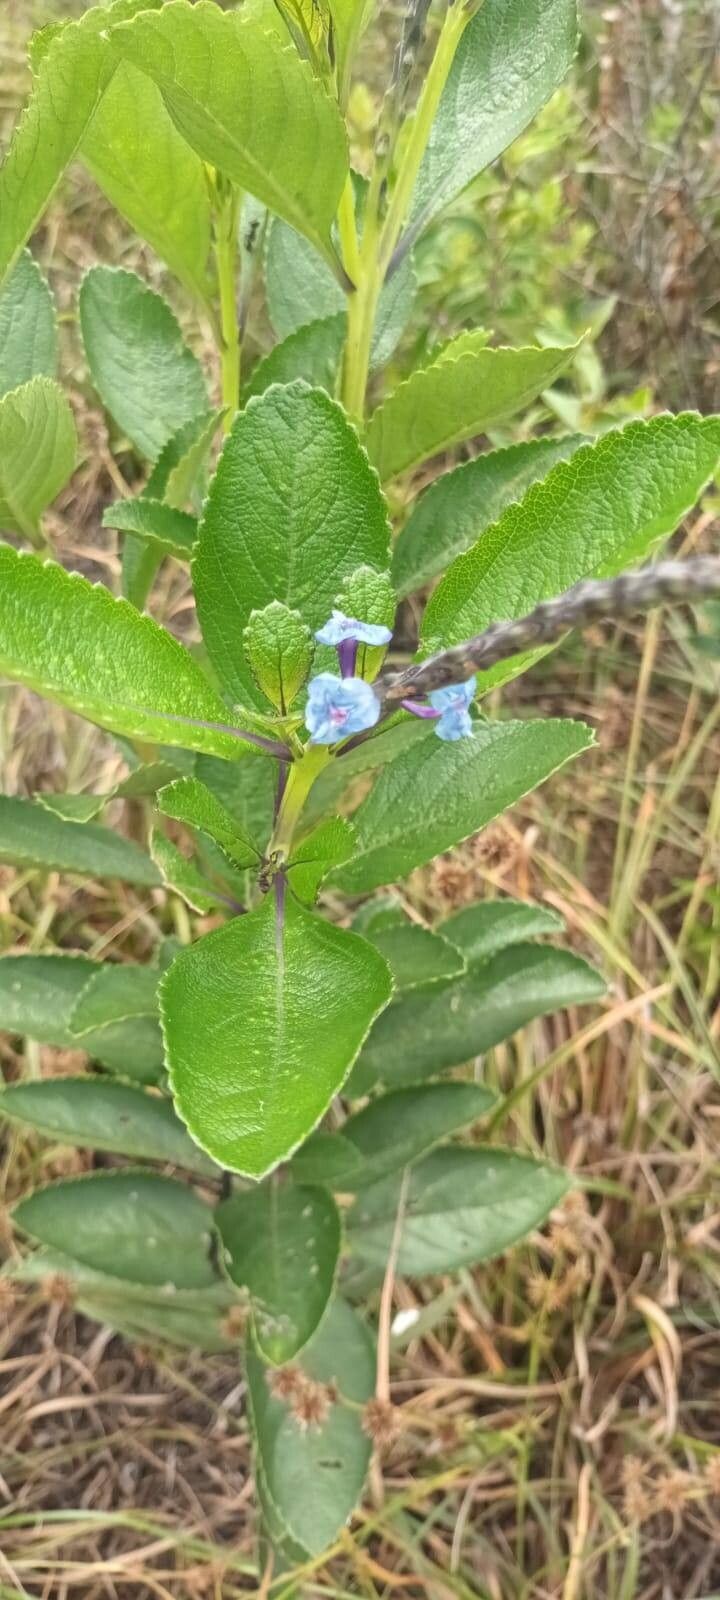
Hello fellow garden enthusiasts! Today, we’re going to talk about a plant that I absolutely adore for its vibrant display and its tenacious spirit: Stachytarpheta crassifolia. You might know it by its common name, the Thickleaf Porterweed, and trust me, once you get to know it, you’ll understand why it’s so special. Its spiky, almost architectural blooms are a magnet for hummingbirds and butterflies, and they just keep on coming throughout the warm season. Plus, the satisfaction of creating new life from just a snip of a stem? Pure gardening joy! If you’re new to the plant world, you’ll be happy to hear that Stachytarpheta crassifolia is quite forgiving. You can definitely find success with it, even if this is your first time propagating.
The Best Time to Start
For the highest success rate, I always reach for my pruning shears in late spring or early summer. This is when the plant is actively growing and has plenty of energy to put into developing new roots. You want to take cuttings from healthy, non-woody stems that are at least a few inches long. Avoid any stems that are flowering heavily or look a bit stressed from heat or drought.
Supplies You’ll Need
Gathering your tools beforehand makes the whole process much smoother. Here’s what I usually have on hand:
- Sharp, clean pruning shears or a sharp knife: A clean cut is crucial to prevent disease.
- Rooting hormone (optional but recommended): This really gives your cuttings a boost. Look for one containing IBA.
- Small pots or seed trays: Whatever you have that drains well will work.
- A good potting mix: I like a light, airy mix. A blend of peat moss, perlite, and a bit of compost is excellent. You can also use a commercial seed-starting mix.
- Watering can or spray bottle: For gentle watering.
- Plastic bags or a propagation dome: To create a humid microclimate.
- A warm location: Think about a sunny windowsill or a spot with a heat mat.
Propagation Methods
Let’s get our hands dirty! We’ll focus on the easiest and most effective method for Stachytarpheta crassifolia: stem cuttings.
- Take Your Cuttings: Select a healthy stem and find a spot just below a leaf node (where a leaf attaches to the stem). Make a clean cut here, about 4-6 inches long. Remove the lower leaves, leaving just a few at the top to help with photosynthesis.
- Prepare the Cutting: If you’re using rooting hormone, dip the cut end into the powder, tapping off any excess. This helps stimulate root development.
- Plant Your Cuttings: Fill your pots or trays with your prepared potting mix. Make a small hole in the center with your finger or a pencil. Gently insert the cut end of your stem cutting into the hole, and firm the soil around it.
- Create Humidity: Water the soil gently. Then, cover the pots with a plastic bag or a propagation dome. This traps moisture and prevents the cuttings from drying out before they can form roots. Make sure the leaves don’t touch the sides of the bag if possible – this can encourage rot.
- Provide the Right Environment: Place your pots in a bright location that receives indirect sunlight. Too much direct sun will scorch the delicate cuttings.
The “Secret Sauce” (Pro Tips)
Here are a couple of things I’ve learned over the years that make a big difference:
- Don’t Overwater! This is probably the most common mistake. The soil should be consistently moist, but not soggy. Soggy soil is a fast track to rot. I often give my cuttings a gentle watering and then let them tell me when they need more by feeling the soil.
- Bottom Heat is Your Friend: If you have access to a propagation mat, using one can significantly speed up root formation. The warmth from below mimics ideal soil temperatures the plant loves. It gives those roots a real kickstart!
- Rotate Your Pots: Every few days, give your pots a quarter turn. This ensures that all sides of the cutting get even exposure to light, leading to more balanced root growth.
Aftercare & Troubleshooting
Once you start to see new leaf growth on your cuttings, that’s a great sign! It usually means roots are forming beneath the surface. You can gently tug on a cutting – if there’s resistance, you’ve got roots!
Now, it’s time to acclimate them to slightly drier conditions. Gradually open up the plastic bag or dome over a few days. Continue to keep the soil consistently moist. Once they have a good root system and are pushing new growth vigorously, you can transplant them into their own slightly larger pots.
The most common problem you might encounter is rot. If you see your stem turning black and mushy, or the leaves wilting and yellowing without new growth, it’s usually a sign of too much moisture. In this case, unfortunately, that particular cutting may not make it. Don’t get discouraged! Just assess your watering habits and try again.
Keep Growing!
Propagating Stachytarpheta crassifolia is a wonderful way to expand your garden and share these beautiful plants with friends. Be patient with the process. Sometimes it takes a few weeks for roots to develop, and that’s perfectly okay. The most important thing is to enjoy the journey of nurturing new life. Happy gardening!
Resource:
https://identify.plantnet.org/k-world-flora/species/Stachytarpheta%20crassifolia%20Schrad./data