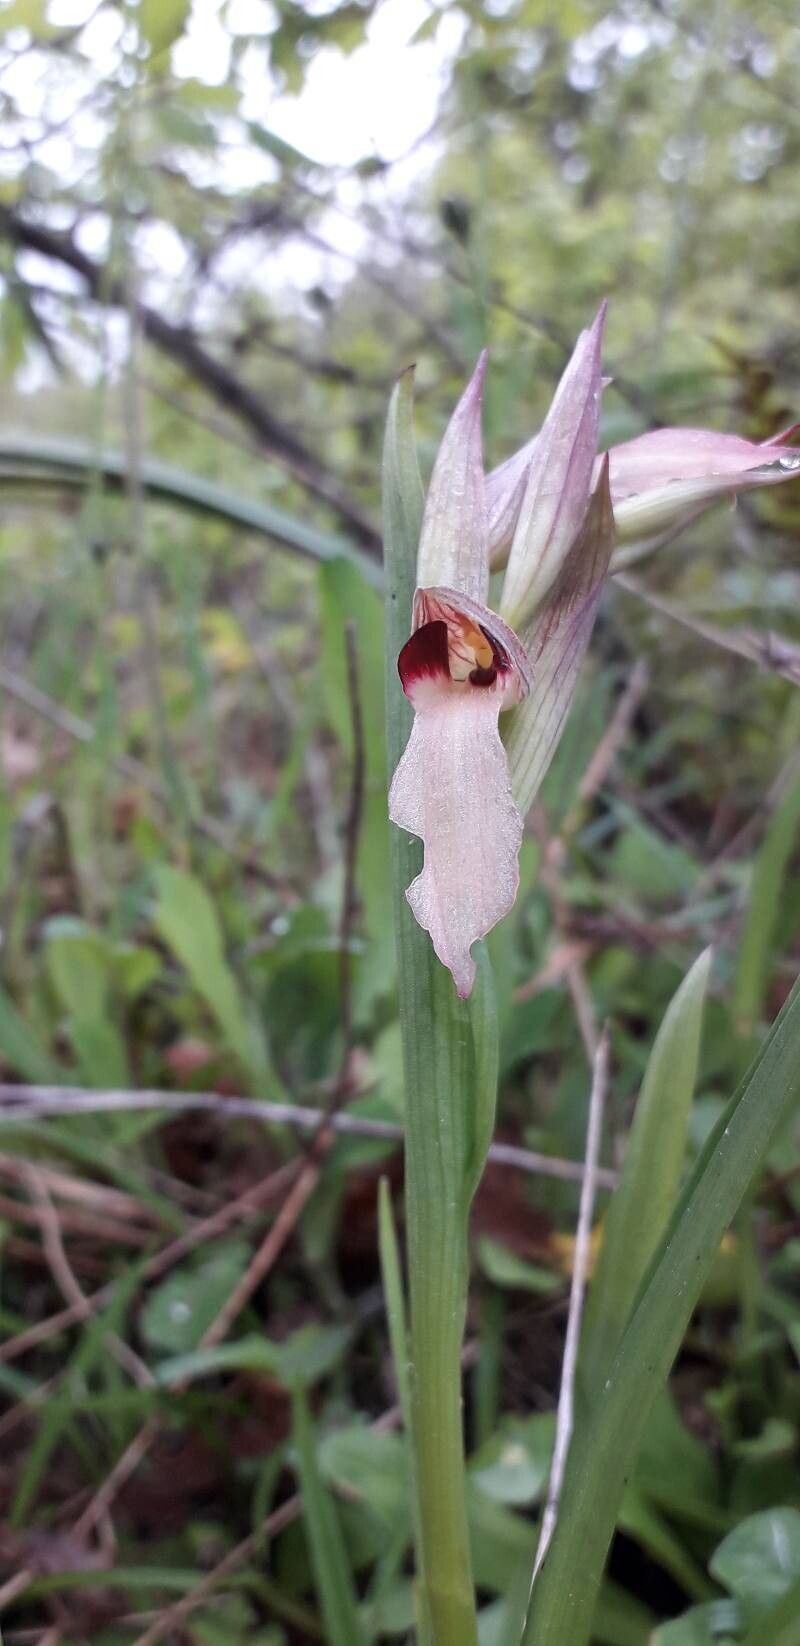
Hey there, fellow plant lovers! I’m so excited to chat with you today about a truly special orchid: Serapias nurrica. If you haven’t met this gem yet, imagine delicate, elegant blooms with a velvety texture, often in deep plums and rich browns. They have this captivating, almost secretive charm that draws you in. Propagating Serapias nurrica might sound a bit daunting, especially if you’re new to the orchid world, but trust me, with a little care and patience, it’s a wonderfully rewarding journey. It’s not the absolute easiest for a complete beginner, but it’s definitely achievable with the right guidance.
The Best Time to Start
For Serapias nurrica, the sweet spot for propagation is generally after the plant has finished flowering and is entering its active growth phase. This is usually in late spring to early summer. You want to catch it when it’s full of energy and ready to put down new roots. Trying to divide or take cuttings when it’s dormant or stressed is just asking for trouble. We’re looking for strong, healthy growth!
Supplies You’ll Need
Here’s a quick rundown of what you’ll want to have on hand:
- Sharp, sterilized pruning shears or a keen knife: Essential for clean cuts to prevent disease.
- Orchid-specific potting mix: A well-draining blend, typically containing bark, perlite, and sphagnum moss, is crucial. You don’t want anything that holds too much moisture.
- New pots or containers: Clean ones, of course! Small ones are fine to start.
- Rooting hormone (optional but recommended): This can give your cuttings a helpful boost.
- Watering can with a fine rose: Gentle watering is key.
- Labels and a permanent marker: So you don’t forget what you propagated and when!
Propagation Methods
Serapias nurrica is most successfully propagated through division, which is essentially splitting a mature plant into smaller, independent sections.
Division Step-by-Step:
- Gently remove the orchid from its pot. Be as gentle as possible to avoid damaging the roots. If it’s stuck, a little wiggle might help, but don’t force it.
- Examine the root ball. You’re looking for natural divisions. These are sections where new pseudobulbs (the swollen stem sections) are developing from the main plant, with their own set of roots.
- Carefully tease apart the sections. Use your fingers, or if needed, a sterilized knife or shears to make a clean cut where the division naturally occurs. Aim to leave at least 2-3 healthy pseudobulbs and a good amount of root mass with each new section.
- Inspect roots and remove any dead or mushy ones. This is a good opportunity to clean up the plant.
- Pot each division into its own container. You can use fresh potting mix, positioning the plant so the new growth is facing outwards. The pseudobulbs should be mostly at the surface of the mix.
- Water lightly. Just enough to settle the mix. Avoid overwatering at this stage.
As for stem cuttings or water propagation, these methods are generally not suitable or successful for Serapias nurrica. These orchids rely on their developed pseudobulbs and robust root systems for survival and new growth.
The “Secret Sauce” (Pro Tips)
Here are a couple of things I’ve learned over the years that can really make a difference:
- Don’t rush to repot: After dividing, I like to let the new divisions sit out of a pot for a day or two in a shaded, airy spot. This allows any cut surfaces to callus over slightly, which helps prevent rot when they go back into the potting mix.
- Think humidity, not soggy soil: New divisions need a humid environment to encourage root growth, but they hate sitting in wet soil. I often place newly divided plants in a loosely covered plastic bag or a propagation tent with good air circulation, or simply in a bright spot with no direct sun and mist them lightly occasionally rather than directly watering the potting mix heavily.
Aftercare & Troubleshooting
Once your new Serapias nurrica divisions are potted up, treat them with care. Keep them out of direct sunlight – bright, indirect light is perfect. Water them only when the potting mix is almost dry. It’s better to err on the side of underwatering for new divisions.
The main sign of trouble you’ll encounter is rot. This usually shows up as mushy, discolored pseudobulbs or roots. If you see this, remove the affected parts immediately with your sterilized tool and allow the remaining healthy parts to dry out a bit more before repotting in fresh, dry mix. Patience is your best friend here. Don’t expect them to take off overnight. Watch for new root growth and then new leaf formation.
A Heartfelt Closing
Propagating Serapias nurrica is a journey of nurturing. It requires observation, a touch of intuition, and a whole lot of patience. Don’t be discouraged if not every division thrives immediately. Each attempt teaches you something new about your specific plant and growing conditions. Enjoy the process, celebrate the successes, and know that you’re adding to the beauty of the orchid world, one elegant bloom at a time. Happy growing!
Resource:
https://identify.plantnet.org/k-world-flora/species/Serapias%20nurrica%20Corrias/data