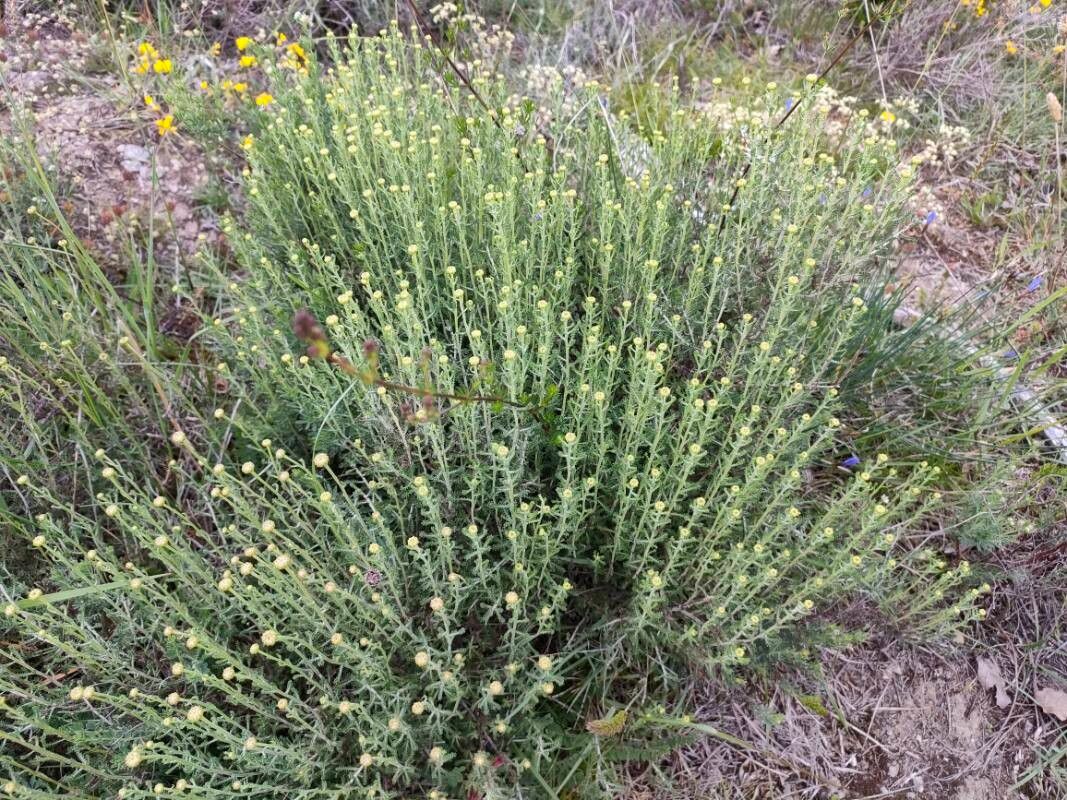
Oh, hello there! It’s so lovely to have you join me today. If you’ve ever admired those charming, silvery-grey mounds of Santolina ericoides, with their sunny little yellow button flowers dotting the landscape like scattered gold, then you’re in for a treat. This little gem, often called cotton lavender, is a dream to grow. Not only does it give you that lovely fragrant foliage and cheerful blooms, but propagating it yourself is incredibly satisfying. It’s a particularly rewarding plant for those just starting out in the world of plant propagation – genuinely, it’s quite forgiving! Let’s get your own little santolina nursery started.
The Best Time to Start
When it comes to Santolina ericoides, the sweet spot for propagation is late spring to early summer. This is when the plant is actively growing, and its young, semi-hardwood stems are perfect for taking cuttings. You’re looking for stems that are bendy but not overly floppy – think of them like a firm pencil. Avoid woodier, older stems or brand-new, flimsy shoots.
Supplies You’ll Need
Gathering your tools beforehand makes the whole process so much smoother. Here’s what you’ll want on hand:
- Sharp pruning shears or a clean, sharp knife: For taking your cuttings. Sterilize them with rubbing alcohol before you start to prevent disease.
- Small pots or trays: With drainage holes, of course! I like using 4-inch pots for cuttings.
- A good potting mix: A well-draining mix is key. I usually mix equal parts peat moss or coco coir with perlite or coarse sand. Some ready-made seedling starter mixes work wonderfully too.
- Rooting hormone (optional but recommended): This is a powdered substance that encourages root development. Look for one with IBA (indole-3-butyric acid).
- A mister or spray bottle: For keeping your cuttings hydrated.
- Plastic bags or a propagation dome: To create a humid environment.
- Labels and a marker: For keeping track of your cuttings.
Propagation Methods
Santolina ericoides is wonderfully amenable to propagation by stem cuttings. It’s the simplest and most reliable method for this plant.
Taking Stem Cuttings:
- Select your parent plant: Choose a healthy, vigorous Santolina ericoides that’s in good condition.
- Snip away: Using your clean shears, take cuttings that are about 4-6 inches long. Make a clean cut just below a leaf node (where a leaf attaches to the stem). You can take several cuttings from one plant.
- Prepare your cuttings: Gently remove the lower leaves from the bottom half of each cutting. This prevents them from rotting once they’re in the soil.
- Dip in rooting hormone (optional): If you’re using rooting hormone, dip the cut end of each stem into the powder, tapping off any excess.
- Pot them up: Fill your pots with your prepared potting mix. Make a small hole in the center of the soil with your finger or a pencil.
- Insert the cuttings: Gently push the prepared cutting into the hole, ensuring the roots the hormone coated part is going into the soil. Firm the soil around the base of the cutting.
- Water gently: Water the soil lightly using your mister or a gentle stream from a watering can. You want the soil to be moist, not waterlogged.
- Create humidity: Cover the pots with a clear plastic bag, supported by stakes so it doesn’t touch the leaves, or place them in a propagation dome. This traps moisture and helps the cuttings stay hydrated.
- Place in a bright spot: Find a location that gets bright, indirect light. Avoid direct sun, which can scorch the delicate cuttings.
The “Secret Sauce” (Pro Tips)
Here are a few little tricks I’ve learned over the years that really give your cuttings a boost:
- The “Snap Test”: Before you even take your cutting, give a young stem a gentle bend. If it snaps cleanly, it’s perfect. If it just bends and flutters, it’s too soft. If it’s too stiff and tough, it’s likely too woody.
- Bottom Heat is Your Friend: If you have a heat mat designed for seedlings, placing your pots on it can dramatically speed up rooting. The warmth encourages root development from below, while the top stays cooler. It’s like a little spa treatment for your cuttings!
- Don’t Rush the Transplant: Resist the urge to tug on your cuttings to see if they have roots. Wait until you see new growth appearing at the top. This is usually a good sign that roots have formed below.
Aftercare & Troubleshooting
Once your cuttings have rooted (which can take anywhere from 4-8 weeks), it’s time for a little more TLC.
- Wean them off the humidity: Gradually remove the plastic bag or propagation dome over a few days. This helps them adjust to the drier air.
- Watering: Keep the soil consistently moist but not soggy. Water when the top inch of soil feels dry to the touch.
- Light: Continue to provide bright, indirect light. As they grow stronger, you can slowly introduce them to more direct sunlight.
- Fertilizing: Wait until you see significant new growth before feeding. Start with a diluted liquid fertilizer (about half strength) about once a month.
Now, what if things don’t go quite as planned? The most common issue you might encounter is rot, appearing as black, mushy stems. This is usually a sign of overwatering or poor drainage. If you see this, it’s best to discard the affected cutting to prevent it from spreading. Sometimes, cuttings just don’t take. Don’t be discouraged! Nature has a mind of its own, and successful propagation is often a numbers game.
A Warm Wrap-Up
Propagating Santolina ericoides is such a rewarding journey. It’s a chance to learn, to nurture, and to multiply the beauty in your garden. Be patient, enjoy the small signs of life, and when those first little roots appear, you’ll feel a real sense of accomplishment. Happy growing!
Resource:
https://identify.plantnet.org/k-world-flora/species/Santolina%20ericoides%20Poir./data