Oh, hello there! Come on in, pull up a chair. I’ve got a fresh pot of coffee brewing. Today, we’re diving into something truly special: propagating Rosa brunonii, that magnificent Himalayan musk rose.
Introduction
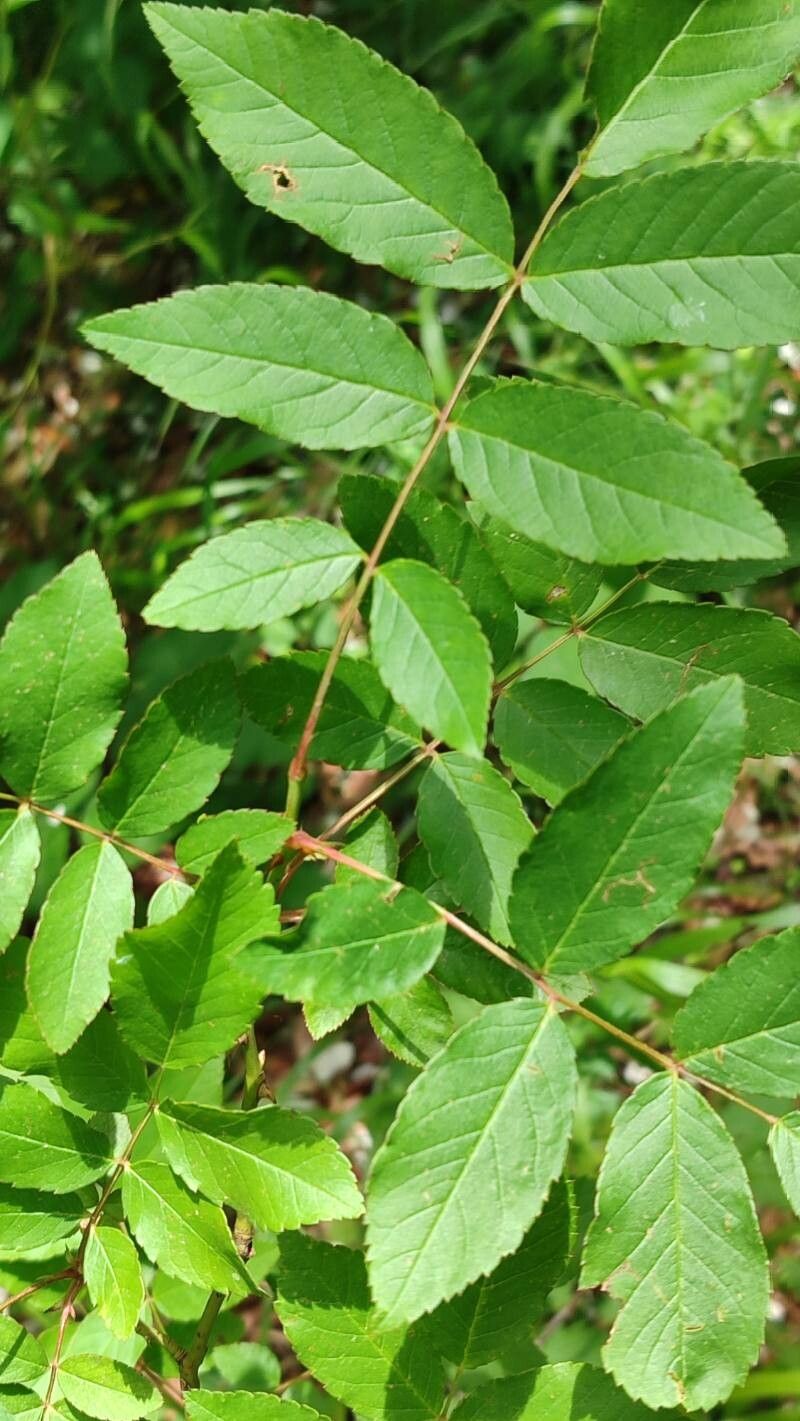
There’s something utterly romantic about Rosa brunonii. Its cascading sprays of fragrant, single white flowers, often tinged with pink, are just … breathtaking. And the scent! It’s musky, sweet, and fills the air on a summer evening. If you, like me, have fallen under its spell and want more of this beauty, propagating it yourself is incredibly rewarding. Now, for beginners, I’d say Rosa brunonii can be a little bit of a dance. It’s not the most straightforward to get going, but with a little patience and the right approach, you’ll be successful!
The Best Time to Start
When it comes to getting new Rosa brunonii plants going, timing is everything. You’ll have the best luck aiming for late spring or early summer. This is when the plant is actively growing and has plenty of energy. We’re looking for what we call “semi-ripe” or “greenwood cuttings.” These are shoots that have started to firm up but aren’t yet hard and woody. They’re perfectly flexible for our purposes.
Supplies You’ll Need
Before we get our hands dirty, let’s gather our tools. Think of this as your propagation toolkit:
- Sharp Pruning Shears or a Craft Knife: For clean cuts. We want to avoid crushing the stems.
- Rooting Hormone: A good quality rooting powder or gel can significantly boost your success rate.
- Potting Mix: A light, well-draining mix is crucial. I like a blend of peat moss or coco coir, perlite, and a bit of coarse sand. You can often buy specific propagation mixes too.
- Small Pots or Trays: About 4-inch pots or seed trays with good drainage holes work well.
- Plastic Bag or Propagator Lid: To create a mini greenhouse effect.
- Watering Can with a Fine Rose: For gentle watering.
- Labels: To keep track of what you’ve planted and when!
Propagation Methods
While you can technically divide these roses, I’ve found the most reliable way to get new Rosa brunonii plants is through stem cuttings. It’s a classic for a reason!
Here’s how I do it:
- Select Your Cuttings: On a healthy, active Rosa brunonii plant, find a stem that has just finished flowering or is in its active growth phase. Look for a stem that bends easily without snapping but isn’t completely soft.
- Take Your Cuttings: Using your sharp shears or craft knife, cut a piece of the stem that’s about 6-8 inches long. Make a cut just below a leaf node (where a leaf attaches to the stem). This is where the plant is primed for root development.
- Prepare the Cuttings: Gently remove the lower leaves from the cutting. You want to keep a couple of leaves at the top to photosynthesize, but too many will draw moisture away from the developing roots. If the remaining leaves are very large, you can carefully cut them in half horizontally to reduce water loss.
- Apply Rooting Hormone: Dip the cut end of the stem into your rooting hormone. Give it a gentle tap to shake off any excess. Not too much, just enough to coat the bottom inch or so.
- Plant Your Cuttings: Fill your pots or trays with your prepared potting mix. Make a small hole in the center of the mix with your finger or a pencil. Carefully insert the treated end of the cutting into the hole, making sure the bottom leaf nodes are below the surface of the soil. Gently firm the soil around the stem.
- Water Thoroughly: Give your cuttings a good, gentle watering to settle the soil. You want the mix to be moist but not waterlogged.
- Create a Humid Environment: This is key! Cover your pots with a plastic bag or propagator lid. Make sure the plastic doesn’t touch the leaves if possible. This traps humidity, which is vital for cuttings to root.
- Find a Suitable Spot: Place the covered pots in a bright spot out of direct sunlight. A greenhouse, a sheltered windowsill, or even a shadier corner of a patio can work.
The “Secret Sauce” (Pro Tips!)
Over the years, I’ve learned a few little tricks that seem to make all the difference.
- The bottom heat is a game-changer, truly. If you can, place your pots on a heated propagator mat set to around 70-75°F (21-24°C). This gently warms the base of the cuttings, encouraging faster root development. It’s like a little spa treatment for your rose cuttings!
- When preparing your cuttings, don’t be afraid to be a little ruthless. Sometimes, taking cuttings from slightly older, more mature wood (that’s still flexible, not brittle) can actually lead to stronger plants down the line. It’s about finding that sweet spot.
- Finally, don’t overcrowd your pots! Give each cutting enough space to thrive. Trying to cram too many in can lead to competition for resources and increase the risk of disease.
Aftercare & Troubleshooting
Once your cuttings are planted, the waiting game begins! Keep the soil consistently moist but never soggy. Check the moisture by gently sticking your finger into the soil. The plastic cover will help maintain humidity, but you might need to lift it occasionally for a few minutes to allow for air circulation and prevent any fungal issues.
How will you know they’re rooting? You’ll start to see new leafy growth appearing at the top of the cuttings. This is a sure sign that roots are forming below. It can take anywhere from 4 to 8 weeks, or sometimes even longer, so be patient!
What if things go wrong? The most common culprit is rot. If you see your cuttings turning mushy, black, or developing mold, it’s usually a sign of too much moisture and not enough air circulation. Don’t despair! Remove the affected cutting, check your watering habits, and if you have others, make sure they have good airflow. Sometimes, a little bit of rot might just affect the tip, and you can try trimming it off and hoping for the best.
A Encouraging Closing
Propagating Rosa brunonii is a journey, a beautiful hands-on experience that connects you even more deeply to your garden. Don’t be discouraged if your first few tries aren’t perfect. Every gardener has lost a cutting or two (or ten!). The joy is in the process, the learning, and the eventual triumph of seeing a new rose bush unfurl its leaves. So, grab your shears, brew another cup of coffee, and give it a go. You’ve got this!
Resource:
https://identify.plantnet.org/k-world-flora/species/Rosa%20brunonii%20Lindl./data