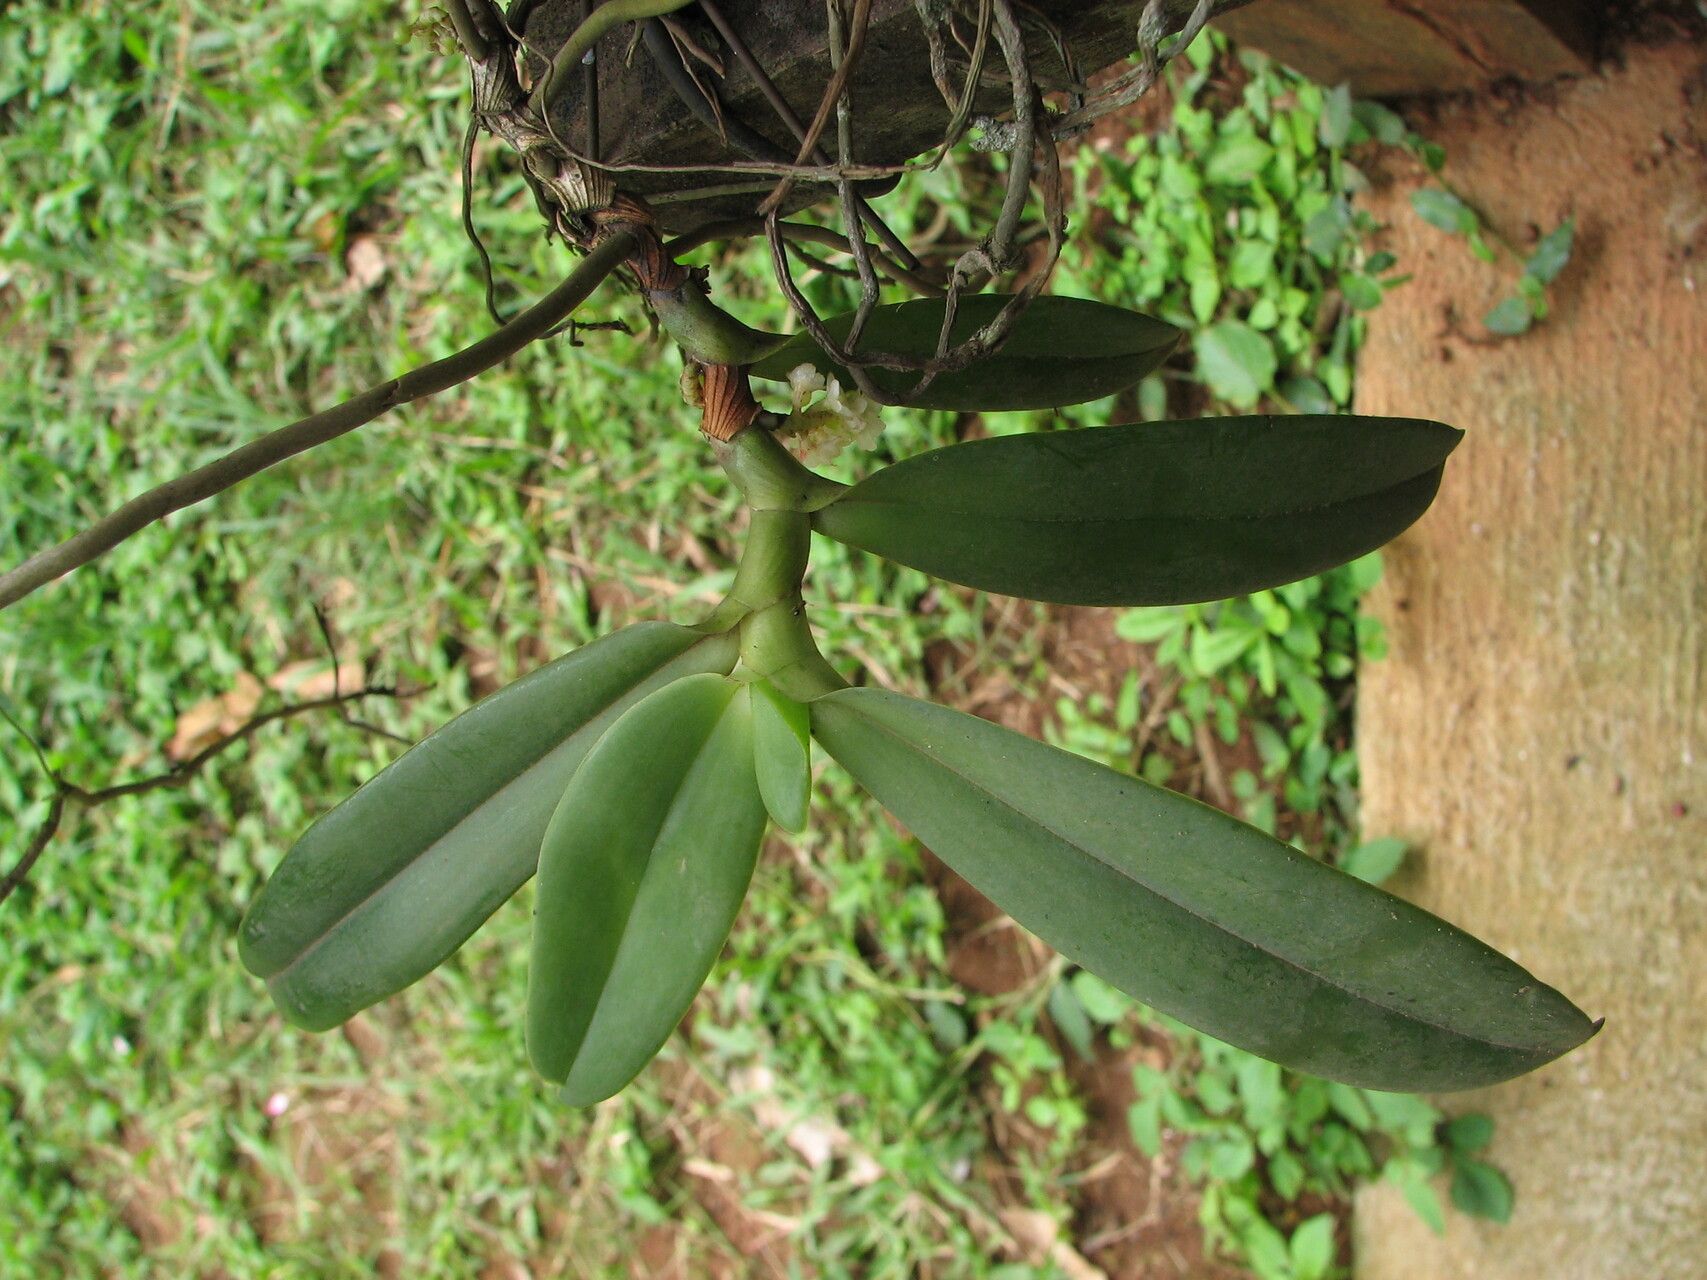
Oh, hello there! Grab a mug, settle in. Today, we’re going to chat about a truly special orchid: Rhipidoglossum obanense. Honestly, these beauties are a little gem in the orchid world. Their velvety leaves and delicate, often fragrant blooms bring such an elegant touch to any collection. And the best part? They’re surprisingly rewarding to propagate if you know a couple of tricks. Now, for absolute beginners, I’d say Rhipidoglossum obanense falls into the “moderately easy” category. They’re not complicated, but they do appreciate a bit of attentive care.
The Best Time to Start
Timing is everything, right? For Rhipidoglossum obanense, I find the late spring through early summer to be the absolute sweet spot. This is when the plant is actively growing, pushing out new shoots and leaves. It means your cuttings will have the energy they need to really get going. You can try it at other times, of course, but you’ll likely see better, faster results during this peak growth period.
Supplies You’ll Need
Let’s gather our tools before we dig in. Having everything ready makes the process so much smoother!
- Sharp, sterile pruning shears or a clean razor blade: Essential for clean cuts.
- Sphagnum moss: This is my go-to for starting these orchids. It holds moisture well without becoming waterlogged. Make sure it’s good quality, long-fibered sphagnum.
- Small pots or clear plastic containers: Small 2-4 inch pots work well, or even little clear deli containers if you want to easily see root development.
- Rooting hormone (optional but recommended for stubborn cuttings): A powder or gel kind works perfectly.
- Distilled or rainwater: Tap water can sometimes be too harsh for sensitive orchid roots.
- Labeling materials: So you don’t forget what’s what!
- A spray bottle: For misting.
- Optional: A small heating mat: If your home tends to be on the cooler side, this can be a real game-changer.
Propagation Methods
For Rhipidoglossum obanense, we’ll focus on a couple of tried-and-true methods.
Stem Cuttings (The Most Rewarding Way!)
This is how I usually add to my collection or share with fellow growers. It involves taking a piece of a healthy stem and coaxing it to root.
- Identify a healthy stem: Look for a piece of stem that has at least one to two nodes. Nodes are those little bumps along the stem where leaves emerge or will emerge.
- Make a clean cut: Using your sterile shears or razor blade, make a clean cut just below a node. Aim for a cutting that’s about 3-4 inches long and has at least two leaves.
- Prepare the cutting: Gently remove any lower leaves (but not so many that you stress the cutting). If you have a long stem, you can cut it into multiple sections, ensuring each section has at least one node.
- Apply rooting hormone (optional): If you’re using it, lightly dip the cut end of the stem into the rooting hormone. Tap off any excess.
- Plant the cutting: Moisten your sphagnum moss so it’s damp but not dripping. Gently tuck the cut end of the stem into the moss, making sure the node is buried in the moss. If you have a couple of leaves, try to keep them above the moss.
- Place in a propagator or container: You can put these in small pots, or even a clear plastic container with a lid. The goal is to create a humid environment.
Water Propagation (For the Patient Observer)
This method is great because you can literally watch the magic happen!
- Take your cutting: Follow steps 1 and 2 from the stem cuttings method.
- Prepare your container: Get a clean glass jar or vase. Fill it with distilled or rainwater.
- Place the cutting: Gently place the cutting into the water. Here’s a crucial bit: ensure the leaves do NOT touch the water. Submerged leaves will rot very quickly. The node(s) should be submerged, but the leaves should be above the waterline.
- Position for light: Place the container in bright, indirect light.
- Change the water regularly: Every few days, refresh the water to keep it clean and oxygenated.
The “Secret Sauce” (Pro Tips)
Here are a few things I’ve learned over the years that make a real difference.
- The humidity is key, but avoid soggy saturation. While the plant needs high humidity, you don’t want the moss or water to be totally waterlogged. That’s a fast track to rot. If using sphagnum moss, squeeze out excess water before planting. If water propagating, keep those leaves high and dry.
- Bottom heat is your friend. Rhipidoglossum obanense roots love a little warmth from below, especially for stem cuttings. A seedling heating mat, set to a gentle warmth (around 70-75°F or 21-24°C), can significantly speed up root development. It mimics the conditions its roots would naturally seek out.
- Don’t overcrowd your cuttings. Give each one a little space. If you’re potting multiple cuttings in one container, make sure they aren’t crammed together. This helps with air circulation and reduces the risk of fungal issues.
Aftercare & Troubleshooting
Once you see those little white roots peeking out – hooray!
- For stem cuttings in sphagnum: Once your cuttings have developed a good root system (you’ll see roots extending about an inch or two), you can gently transplant them into a well-draining orchid mix. I like to use a bark-based mix with some perlite for added aeration. Keep them in a humid environment and water when the top layer of the mix starts to feel dry.
- For water-propagated cuttings: When the roots are a few inches long, carefully transplant them into your orchid mix, just as you would with the stem cuttings. Be extra gentle with those new roots!
- Common issues: The most common problem is rot. This usually happens from overwatering or poor air circulation. If you see a cutting going soft, turning black, or smelling off, it’s likely rotten. Sadly, often these are lost causes. Prevention is key: good airflow, careful watering, and not letting leaves sit in water are your best defenses. If you see yellowing leaves that aren’t related to rot, it could be a sign of too much or too little light, or nutritional imbalance, but rot is the big one to watch for during propagation.
A Little Patience Goes a Long Way
Propagating orchids can take some time, especially if you’re new to it. Don’t get discouraged if your first attempt isn’t a roaring success. Every plant is a learning experience. The satisfaction of seeing a new plant emerge from a tiny cutting is truly immense. So, be patient, enjoy the process, and happy growing!
Resource: