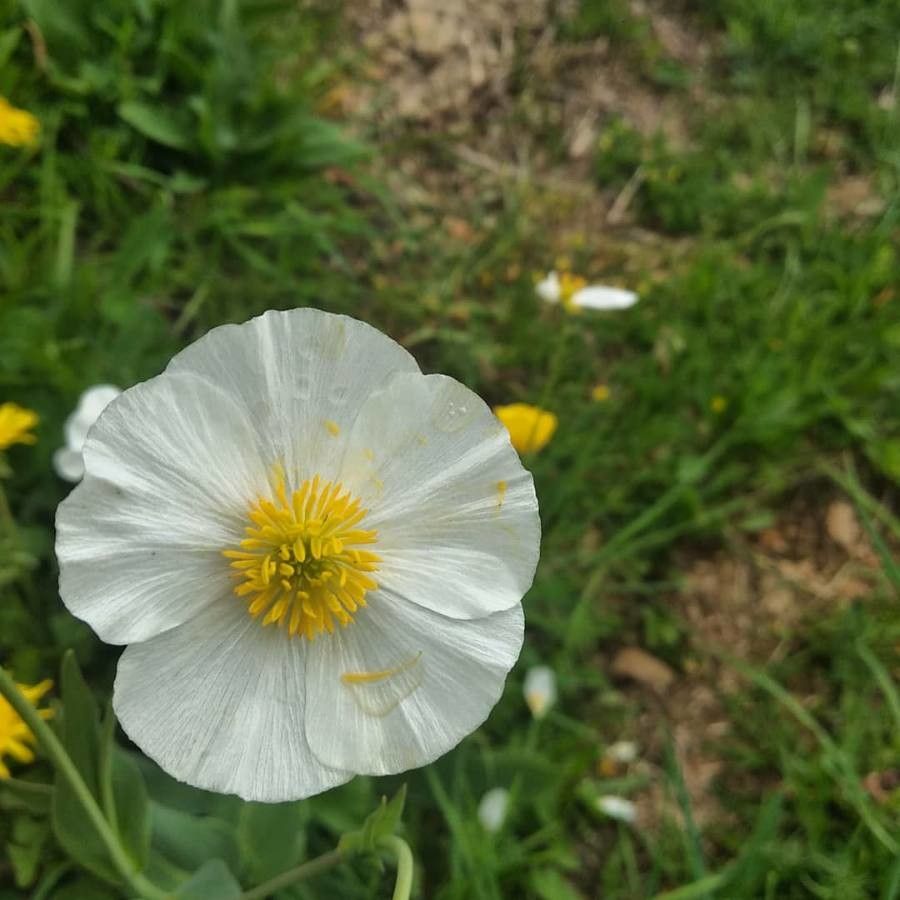
Oh, Ranunculus amplexicaulis! Isn’t it just one of those blooms that makes you swoon? Those delicate, papery petals and that unique cup shape, often in the most ethereal shades of white and pale pink – they’re truly garden treasures. And the joy of coaxing new life from an existing plant is just… well, it’s a gardener’s high, isn’t it?
If you’re new to the gardening scene, I’d say propagating Ranunculus amplexicaulis is a bit of a delightful challenge, but absolutely doable with a little patience and the right know-how. It’s not quite as straightforward as a succulent cutting, but oh-so-worth the effort.
The Best Time to Start
Timing, as always, is key. For Ranunculus amplexicaulis, your prime propagation window is in the spring, just as the plant is coming into its active growing season. You want to catch it before it gets too hot and the plant starts to wind down its blooming cycle. Think about when your lilacs are just starting to open – that’s often a good indicator for these beauties.
Supplies You’ll Need
Gathering your tools beforehand makes the whole process much smoother. Here’s what I always have on hand:
- Sharp, clean pruning shears or a small knife: For making precise cuts.
- Well-draining potting mix: I like a blend of peat moss, perlite, and a bit of compost. You want it to feel light and Airy.
- Small pots or propagation trays: Clean, of course!
- Rooting hormone powder or gel: This is a game-changer in encouraging those rooties.
- Watering can with a fine rose or a spray bottle: For gentle watering.
- Optional: A heat mat: If your propagating area tends to be cool.
Propagation Methods
Ranunculus amplexicaulis is most commonly and successfully propagated through division. It’s like giving your plant a little haircut and a chance to spread its wings, or rather, its roots!
Here’s how I do it:
- Gently unearth the parent plant. Do this in spring, as we discussed. Water the plant a day or two beforehand to make it a little easier to handle. Carefully dig around the root ball, and then lift the entire plant from its pot or the ground.
- Brush away excess soil. Be gentle! You want to see those fleshy tubers (they look a bit like little fingers or claws) and their root system.
- Locate the dormant buds or “eyes.” These are usually found on the main crown of the plant, where the stems emerge. Each healthy division needs to have at least one of these buds.
- Divide the tubers. Using your sharp knife or shears, carefully cut the root ball into sections. Make sure each section has at least one bud and some healthy root material. If there are no obvious buds, don’t worry too much, as long as there are healthy tubers and roots. They’re surprisingly resilient!
- Dust the cut surfaces with rooting hormone. This helps prevent rot and encourages new root growth.
- Pot up your new divisions. Plant each division in its own small pot filled with your well-draining potting mix. Plant them so the buds are just at or slightly below the soil surface. Water gently.
The “Secret Sauce” (Pro Tips)
Alright, let’s talk about those little tricks that make a big difference.
- Don’t overwater, especially at first. Rot is the enemy of fleshy tubers. After you’ve potted them up, water them well, then let the soil dry out a bit before watering again. A light misting can be great for keeping things humid without waterlogging.
- Location, location, location! Place your newly potted divisions in a bright spot, but out of direct, harsh sunlight. Too much sun can scorch those tender new growths. A warm windowsill is often perfect.
- Bottom heat helps! If you have a propagator or can place your pots on a gentle heat mat, it can significantly speed up root development. Those roots just love a bit of warmth from below.
Aftercare & Troubleshooting
Once your divisions are potted, give them a few weeks. You’re looking for signs of new growth – little green shoots poking through the soil. This is your cue that roots are forming!
As they grow, you can treat them much like mature plants, watering when the top inch of soil feels dry. Eventually, when they’ve established a good root system and are looking robust, you can transplant them into larger pots or their final garden spot.
Now, what if things don’t go as planned? The most common issue is rot, which usually stems from overwatering or poorly draining soil. If you see a division turning mushy or black, it’s likely a lost cause. Don’t get discouraged though! It’s all part of the learning process. Sometimes a division just doesn’t take. That’s okay.
A Encouraging Closing
Propagating Ranunculus amplexicaulis is a journey. There will be moments of triumph when you see those first fuzzy roots, and maybe a few moments of head-scratching. The most important thing is to enjoy the process, experiment, and learn what works best for your garden. Be patient, nurture your new little plants, and soon you’ll be rewarded with even more of those gorgeous blooms. Happy gardening!
Resource:
https://identify.plantnet.org/k-world-flora/species/Ranunculus%20amplexicaulis%20L./data