Hello, fellow garden enthusiasts! Today, we’re diving into the wonderful world of Psoralea pinnata, often called Fynbos Sassafras or even Blue Bush by some. I’ve spent a good chunk of my gardening life with this pretty native, and I can tell you, it’s a real charmer. Its delicate, pea-like blue flowers are simply captivating, and there’s a special kind of satisfaction in growing your own from scratch. I’d say for the patient gardener, Psoralea pinnata is moderately easy to propagate. It’s not quite a “set it and forget it” situation, but with a little attention, you’ll be rewarded.
The Best Time to Start
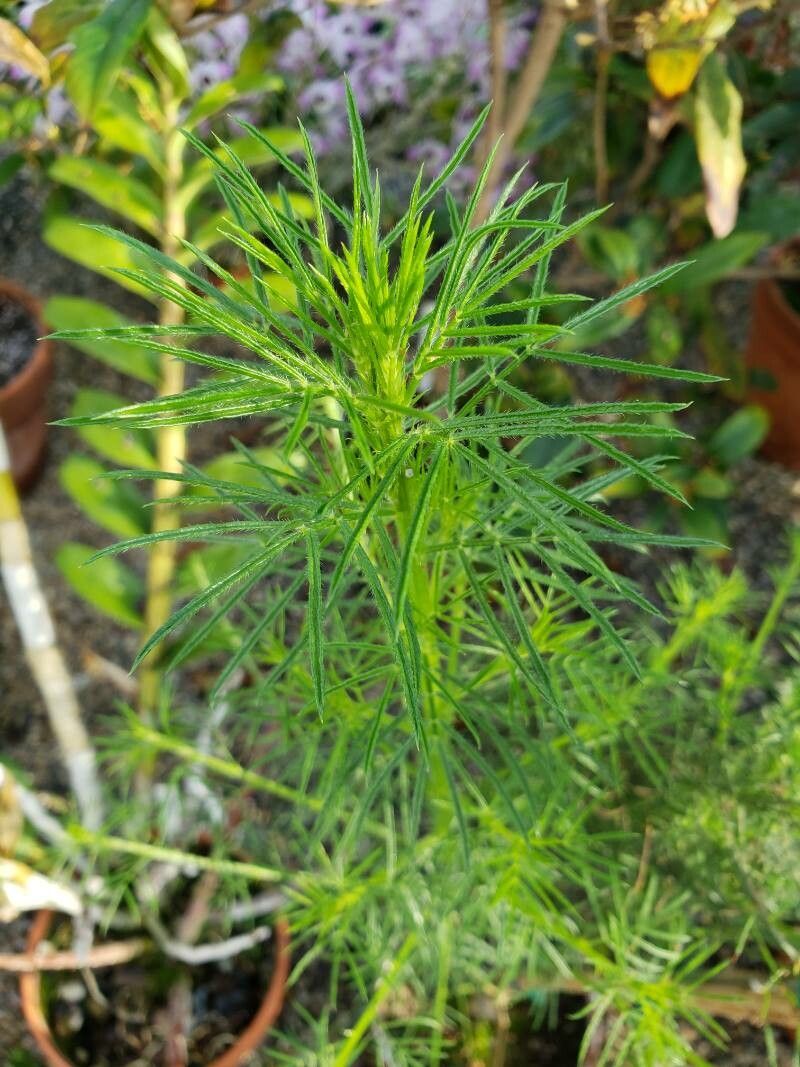
For the highest success rate with Psoralea pinnata, I’ve found that late spring to early summer is your golden window. This is when the plant is actively growing, so your cuttings have the best chance of taking off. Look for stems that are no longer soft and floppy (like brand new growth) but not yet woody and hard. Think of it as the “green” stage – supple but with a bit of structure.
Supplies You’ll Need
To get your propagation station ready, gather these essentials:
- Sharp Pruning Shears or a Craft Knife: Cleanliness is key, so make sure they are sterilized.
- A Light, Well-Draining Potting Mix: A mix of perlite, coarse sand, and peat moss (or coco coir) works beautifully. You want it to drain like a sieve!
- Small Pots or Seed Trays with Drainage Holes: Standard nursery pots are perfect.
- Rooting Hormone (Optional but Recommended): A powder or gel will give your cuttings a helpful boost.
- Plastic Bags or a Propagation Dome: To create a humid environment for your cuttings.
- A Spray Bottle: For misting.
Propagation Methods
Let’s get our hands dirty with the most common and effective way to propagate Psoralea pinnata: stem cuttings.
Stem Cuttings:
- Take Your Cuttings: In late spring or early summer, select healthy, non-flowering stems. Using your clean shears, cut a piece that is about 4-6 inches long. Aim for a clean cut just below a leaf node (where a leaf attaches to the stem).
- Prepare the Cuttings: Gently remove the leaves from the bottom half of each cutting. Leave just a couple of leaves at the very top to help with photosynthesis. If the remaining leaves are very large, you can even cut them in half.
- Apply Rooting Hormone (If Using): Dip the bottom inch of each cutting into your rooting hormone, tapping off any excess.
- Plant Your Cuttings: Fill your pots with your prepared potting mix. Make a small hole in the center with your finger or a pencil, and gently insert the cuttings, burying the leafless portion. Firm the soil around the base of each cutting.
- Water Gently: Water the soil thoroughly until water drains from the bottom of the pot.
- Create Humidity: This is crucial! Cover the pots with a clear plastic bag, making sure the leaves don’t touch the plastic, or use a propagation dome. This traps moisture and helps prevent the cuttings from drying out.
The “Secret Sauce” (Pro Tips)
Here are a couple of things I’ve learned over the years that make a real difference:
- Bottom Heat is Your Friend: If you can afford it and have the space, placing your pots on a heat mat can significantly speed up root development. It mimics the warmth of the soil in spring and encourages those roots to form much faster.
- Don’t Overwater, but Keep Them Moist: While humidity is vital, soggy soil is the enemy. Let the top inch of soil dry out slightly between waterings. It’s a delicate balance, but feeling the weight of the pot can help you gauge moisture levels.
Aftercare & Troubleshooting
Once your cuttings have been planted, place them in a bright location but out of direct, harsh sunlight. A spot that gets bright, indirect light is ideal.
When to move them from cutting to seedling stage: You’ll know they’re rooting when you see new leaf growth. This can take anywhere from 4 to 8 weeks, sometimes longer. You can also give them a very gentle tug – if there’s resistance, roots are developing. Once they have a good set of roots, you can carefully pot them up into individual containers with good quality potting soil.
Troubleshooting: The most common issue you’ll encounter is rot. This usually happens from overwatering or poor drainage. If a cutting turns mushy and black, it’s best to discard it and try again. Another sign of failure is if the cutting simply shrivels up and dies – this often means it dried out too much.
A Warm Closing
Propagating plants is a journey, and sometimes it takes a few tries to get it just right. Don’t get discouraged if your first attempt isn’t a roaring success. Observe your cuttings, learn from them, and most importantly, enjoy the process. There’s immense joy in nurturing a tiny cutting into a beautiful, blooming plant. Happy gardening!
Resource:
https://identify.plantnet.org/k-world-flora/species/Psoralea%20pinnata%20L./data