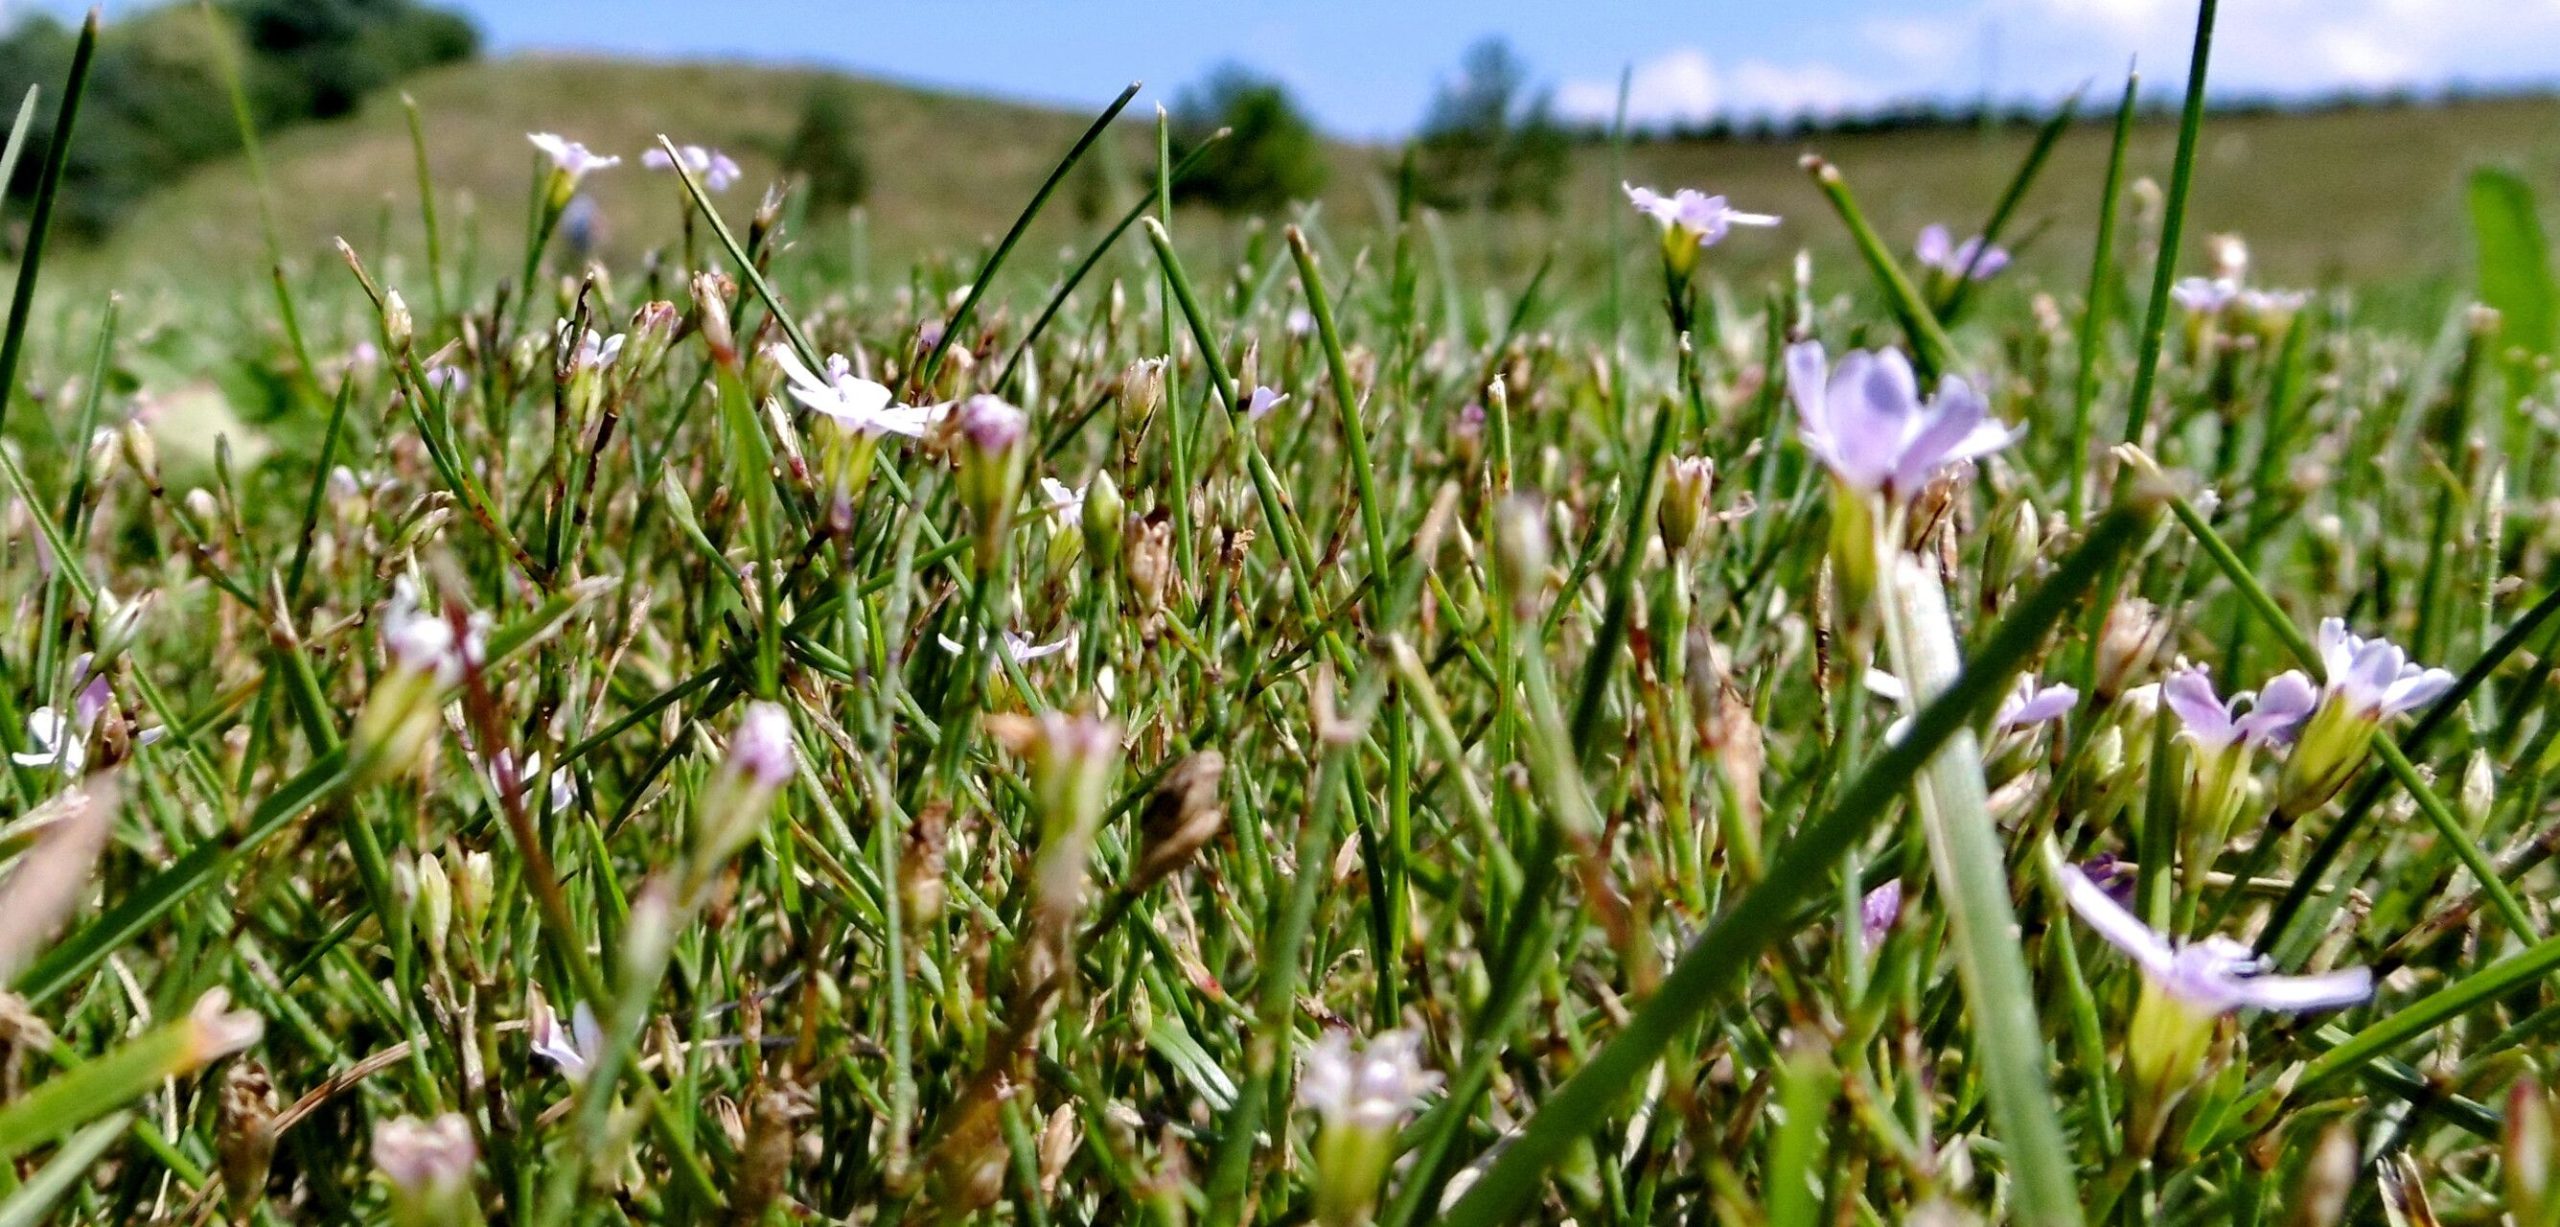
Hello my fellow plant enthusiasts! I’m so excited to talk to you today about a plant that has truly captured my heart: Psammophiliella muralis. Don’t let that fancy scientific name fool you; this delightful little succulent, often called a “wall-dwelling sand-lover,” is a gem for any gardener. Its delicate, trailing stems adorned with tiny, jewel-like leaves are just gorgeous spilling over a pot or climbing a small support. Propagating it is incredibly rewarding, and honestly, I think even beginners can have a go at it with a little guidance. It’s not overly fussy!
The Best Time to Start
For the highest success rate with Psammophiliella muralis, I always recommend starting your propagation efforts in the late spring or early summer. This is when the plant is in its active growth phase, meaning it has plenty of energy to put into developing new roots. Think of it as giving your cuttings the best possible head start!
Supplies You’ll Need
Gathering your supplies beforehand makes the whole process so much smoother. Here’s what I always have on hand:
- Sharp Pruning Shears or a Clean Knife: A clean cut is a happy cut!
- Well-Draining Potting Mix: I prefer a succulent or cactus mix, or you can make your own by combining potting soil with perlite or pumice (about 1:1 ratio).
- Small Pots or Propagation Trays: Nothing too large; we want the roots to fill the space.
- Optional: Rooting Hormone: This can give your cuttings an extra boost, especially if you’re a bit nervous. Look for a powder or gel.
- Optional: Mist Bottle: For gentle watering.
- Labels: To keep track of what you’ve propagated and when!
Propagation Methods
I find two methods work wonderfully for Psammophiliella muralis: stem cuttings and division.
Stem Cuttings: This is my go-to for this plant!
- Select a healthy stem: Look for a mature, yet flexible stem. You want a section that’s at least 3-4 inches long.
- Make a clean cut: Using your sharp shears or knife, cut just below a leaf node. This is where the magic happens for root development.
- Remove lower leaves: Gently peel off the bottom 1-2 sets of leaves. This exposes the nodes where roots will form and prevents them from rotting in the soil.
- Let it callus: This is a crucial step! Place the cuttings in a dry, well-ventilated spot for 1-3 days. You’ll see the cut end dry up and form a slight callus. This prevents rot when you plant them.
- Plant your cuttings: Dip the callused end into rooting hormone if you’re using it, then gently insert the cut end about an inch deep into your prepared potting mix.
- Water lightly: Water sparingly, just enough to moisten the soil. I like to use a mist bottle for this initial watering.
Division: If your Psammophiliella muralis is already a lovely, full clump, division is a great option.
- Gently unpot: Carefully remove the parent plant from its pot.
- Loosen the roots: Gently work your fingers or a clean tool around the root ball to separate it into smaller sections. Try to ensure each section has some healthy roots and a few stems.
- Pot up the divisions: Plant each division into its own small pot with well-draining soil, just as you would with a cutting.
- Water sparingly: Again, a light watering is all that’s needed initially.
The “Secret Sauce” (Pro Tips)
Now for a couple of little tricks I’ve learned over the years that make a big difference:
- Don’t Overwater, Especially Early On: This is the number one mistake with succulents. For cuttings, it’s even more critical. The callusing stage is your best defense against rot. Once planted, let the soil dry out almost completely between waterings.
- A Touch of Bottom Heat Can Work Wonders: If you have a propagation mat or can place your pots on a warm windowsill (not direct sun), that gentle warmth can really encourage root development. It mimics the conditions the plant loves in warmer climates.
Aftercare & Troubleshooting
Once your Psammophiliella muralis cuttings have developed roots (you can gently tug on a stem – if there’s resistance, you’ve got roots!), you can start treating them like a mature plant. Increase watering slightly, but always allow that soil to dry out. Watch for signs of trouble.
The most common issue is rot, which usually looks like mushy, dark stems or leaves. This is almost always due to overwatering. If you see this, act fast! You might be able to salvage a healthy section of stem, let it callus again, and try propagating it. Also, keep an eye out for pests like mealybugs – a quick wipe with a rubbing alcohol-dipped cotton swab usually does the trick.
Keep Growing!
Propagating plants, especially beauties like Psammophiliella muralis, is a journey of patience and observation. Don’t get discouraged if your first try isn’t perfect. Each attempt teaches you something new. Enjoy the process, celebrate every tiny new root, and soon you’ll have a whole collection of these charming little succulents! Happy gardening!
Resource:
https://identify.plantnet.org/k-world-flora/species/Psammophiliella%20muralis%20(L.)%20Ikonn./data