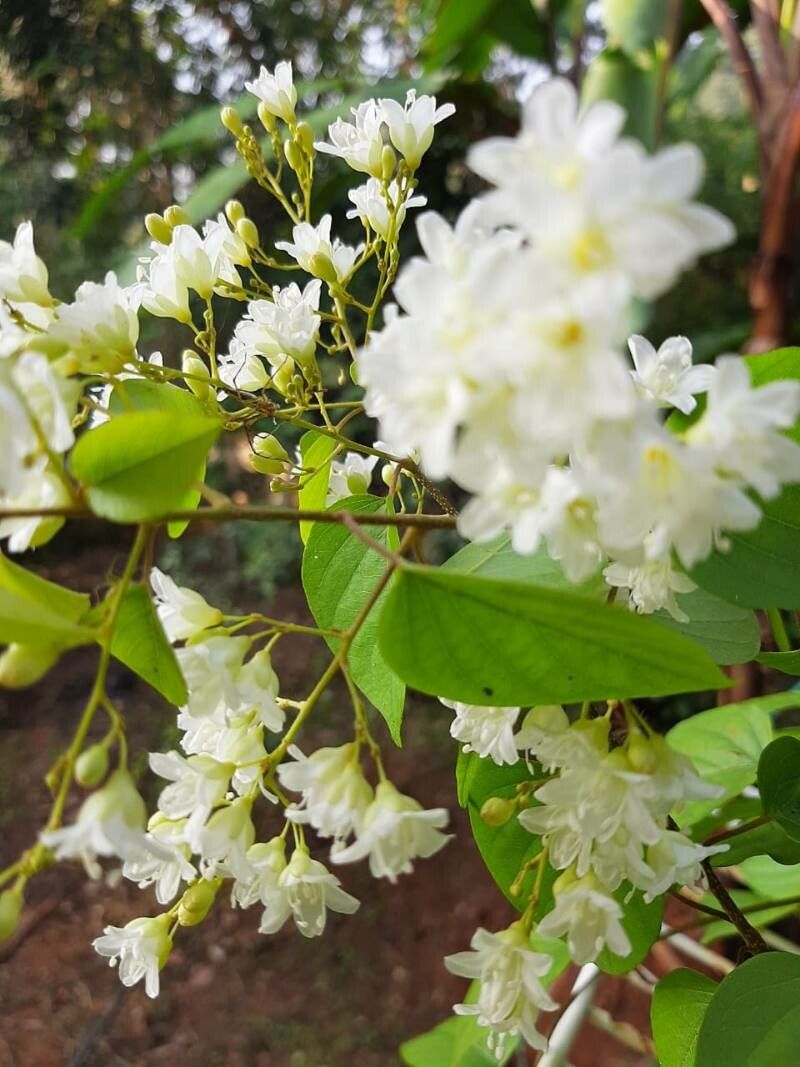
Well hello there, fellow plant enthusiasts! Grab a mug of your favorite brew, and let’s chat about a truly special plant: Poranopsis paniculata. You might know it by its common names, like the delicate “Sky Vine” or “Paniculata Vine.” I’ve been growing and sharing this beauty for years now, and honestly, it’s a joy. Its airy, cascading stems adorned with lovely, trumpet-shaped flowers are just captivating. And the best part? Sharing that beauty by propagating it yourself is incredibly rewarding. Don’t let it daunt you; while it requires a little attention, it’s not overly tricky, even for those newer to the gardening scene.
The Best Time to Start
Timing is everything in gardening, isn’t it? For Poranopsis paniculata, the sweet spot for propagation is when the plant is in its active growing phase. For most of us, this means late spring through early summer. You’re looking for stems that are mature but not woody. Think of it like this: they’ve done the hard work of growing, but they’re still plump and full of life. This is when they have the most energy to sprout new roots.
Supplies You’ll Need
Before we get our hands dirty, let’s make sure we have our tools ready. It’s like preparing for any good adventure!
- Sharp Pruning Shears or a Clean Knife: For making clean cuts. A dull tool can crush stems, making it harder to root.
- Rooting Hormone (Optional but Recommended): This stuff really gives your cuttings a boost.
- Well-Draining Potting Mix: A seed-starting mix or a blend of peat moss and perlite works wonderfully. You don’t want anything too heavy that will hold excessive moisture.
- Small Pots or Containers: Think 2-4 inch pots with drainage holes.
- Plastic Bag or Dome: To create a humid environment for your cuttings.
- Watering Can or Spray Bottle: For gentle watering.
Propagation Methods
There are a couple of ways I find most successful for Poranopsis paniculata. Let’s dive in!
Stem Cuttings
This is my go-to method, and it’s usually the most reliable for me.
- Take Cuttings: Select healthy, non-flowering stems. Using your sharp shears, cut sections that are about 4-6 inches long. I like to make my cuts just below a leaf node (where a leaf attaches to the stem).
- Prepare the Cuttings: Gently remove the leaves from the lower half of each cutting. You want to expose the nodes, as this is where roots will emerge. If the remaining leaves are very large, you can even snip them in half to reduce water loss.
- Dip in Rooting Hormone: Moisten the cut end of the stem slightly, then dip it into your rooting hormone powder. Tap off any excess. The hormone helps encourage root development.
- Plant the Cuttings: Fill your small pots with your well-draining potting mix. Make a small hole in the center of the mix with your finger or a pencil. Insert the cut end of the stem into the hole, making sure at least one leaf node is buried in the soil. Gently firm the soil around the stem.
- Water Gently: Water the soil thoroughly but gently. You want the soil to be moist, not soggy.
Water Propagation
This method is wonderfully visual and quite satisfying when you see those little roots forming!
- Prepare Cuttings: Follow steps 1 and 2 from the stem cutting method – take 4-6 inch cuttings and remove lower leaves.
- Place in Water: Find a clean jar or glass. Fill it with fresh, room-temperature water. Place the cuttings in the water, ensuring that the leaf nodes are submerged.
- Change Water Regularly: This is key! Change the water every 2-3 days to keep it fresh and prevent bacterial growth. I usually keep them in a bright spot, but avoid direct sunlight at this stage.
The “Secret Sauce” (Pro Tips)
Now, for a little insider knowledge that might just make your propagation journey a bit smoother.
- Humidity is Your Friend: Once you’ve planted your stem cuttings, I like to give them a light misting and then cover the pot with a clear plastic bag or a propagation dome. This creates a mini-greenhouse effect, keeping the humidity high, which is crucial for preventing the cuttings from drying out before they can root. Just make sure a leaf or two doesn’t get pressed right against the plastic, as that can encourage rot.
- Bottom Heat Helps: If you can, giving your pots a little gentle bottom heat can really speed things up. A heating mat designed for seedlings, placed underneath your pots, will encourage root development from below. It’s not essential, but it’s a nice little nudge for those stubborn cuttings.
- Be Patient with New Growth: When you see new leaves or stems emerging, that’s a great sign! It doesn’t always mean strong roots are present yet, so resist the urge to immediately transplant. Give it a few more weeks to establish a good root system before you consider potting it up.
Aftercare & Troubleshooting
Once you see those lovely little roots poking out from the drainage holes of your pot (or a good network of roots in your water propagation jar), it’s time for a little tender loving care.
- For Cuttings in Soil: When your cuttings have developed a robust root system (meaning you’ll feel some gentle resistance when you lightly tug on them), you can gradually acclimate them to lower humidity by opening the plastic bag or dome a little more each day over a week. Then, you can pot them up into a slightly larger pot with fresh, well-draining potting mix. Continue to keep the soil consistently moist but not waterlogged.
- For Cuttings from Water: Once the roots are at least an inch long, you can carefully plant them into small pots filled with your well-draining potting mix. Water them in gently and keep the soil lightly moist.
- Troubleshooting: The most common issue you’ll face is rot. If you see your cutting turning black and mushy, especially at the cut end, it’s likely too much moisture and/or not enough air circulation. If this happens, you might need to discard that particular cutting and start again, ensuring your soil is airy and you’re not overwatering. Yellowing leaves can sometimes indicate it’s just adjusting, but if they’re also wilting and the stem is soft, it’s not a good sign.
And there you have it! Propagating Poranopsis paniculata is a journey, and like any good garden project, it thrives on patience and a little bit of love. Don’t be discouraged if not every cutting makes it – that’s part of the learning process! Enjoy the magic of watching new life emerge from a simple stem. Happy propagating!
Resource:
https://identify.plantnet.org/k-world-flora/species/Poranopsis%20paniculata%20(Roxb.)%20Roberty/data