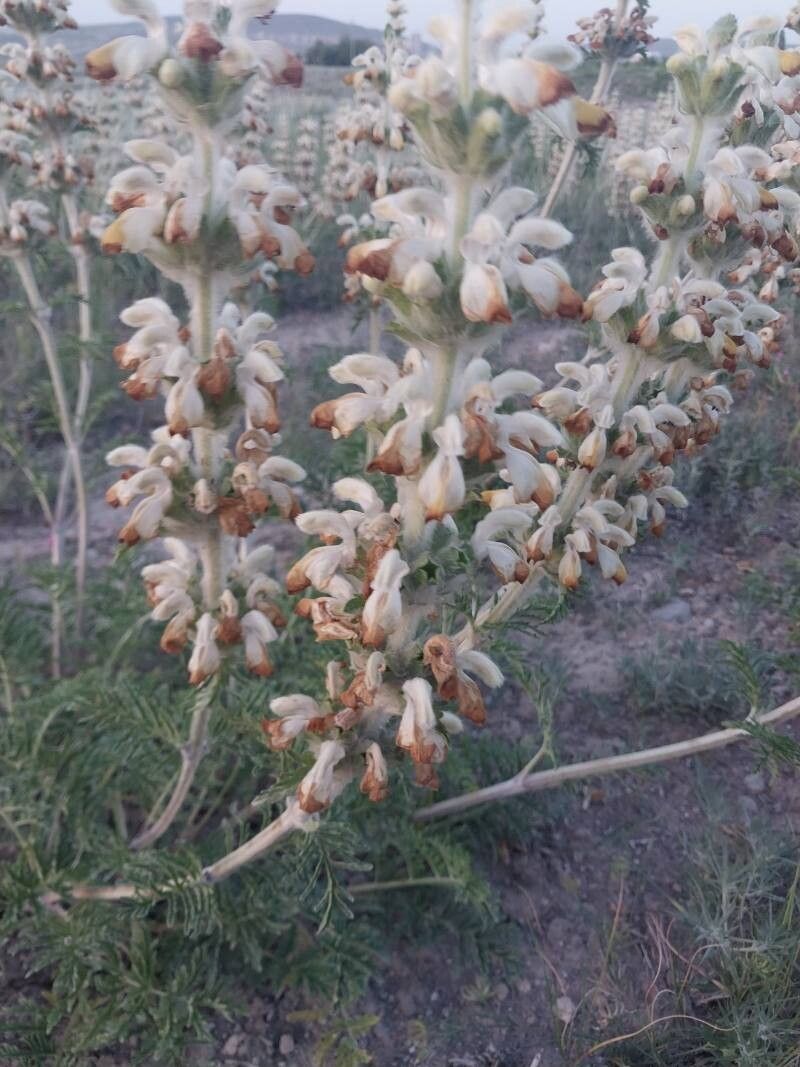
Hello, fellow plant enthusiasts! It’s wonderful to connect with you today. If you’ve ever admired the unique, architectural beauty of Phlomoides laciniata, also known as Cutleaf Jerusalem Sage, you’re in for a treat. Its striking, deeply lobed leaves and lovely, hooded flowers make it a real showstopper in the garden. And the best part? It’s surprisingly rewarding to propagate. While it might seem a little daunting at first, I promise, with a few pointers, you’ll be well on your way to multiplying this gorgeous plant. For beginners, I’d say it’s moderately easy – a great plant to grow your propagation skills with!
The Best Time to Start
Timing is everything in the garden, and when it comes to Phlomoides laciniata, spring and early summer are your golden windows. This is when the plant is actively growing and has the most energy to put into developing new roots. Look for healthy, non-flowering stems that are firm but not woody. You want growth that’s happening now, not something that’s been sitting around for ages.
Supplies You’ll Need
Gathering your supplies beforehand makes the whole process much smoother. Think of this as your propagation toolkit:
- Sharp pruning shears or a clean, sharp knife: Sterilize them with rubbing alcohol to prevent disease transmission.
- Rooting hormone (optional but recommended): A powder or gel to give your cuttings a little boost.
- Well-draining propagation mix: I like a blend of 50% perlite and 50% peat moss or coco coir. You can also use a sterile seed-starting mix.
- Small pots or trays: Clean ones, of course!
- Plastic bags or a propagation dome: To create a humid microclimate.
- Watering can or spray bottle: For gentle watering.
- Labels: To keep track of what you’ve propagated and when.
Propagation Methods
Phlomoides laciniata is a joy to propagate, and here are a couple of my go-to methods:
Stem Cuttings
This is my personal favorite for Phlomoides laciniata. It’s efficient and gives you a great chance of success.
- Take Your Cuttings: Select a healthy stem, ideally about 4-6 inches long. Make a clean cut just below a leaf node (where the leaf attaches to the stem). This is where root-forming hormones are concentrated.
- Prepare the Cuttings: Gently remove the lower leaves from the cutting, leaving just a couple at the top. This prevents them from rotting in the soil. If your cutting is long, you can even cut it in half horizontally at the base, creating more cut surfaces for roots.
- Apply Rooting Hormone: Dip the cut end of the stem into your rooting hormone, tapping off any excess.
- Plant the Cuttings: Fill your small pots with your prepared propagation mix. Make a small hole in the center with your finger or a pencil and insert the cutting, ensuring the nodes where you removed leaves are below the surface. Gently firm the soil around the stem.
- Water Gently: Water the soil lightly. You want it moist, not soggy.
- Create Humidity: Place a plastic bag over the pot, securing it with a rubber band, or use a propagation dome. This creates a humid environment that helps prevent the cuttings from drying out before they develop roots.
Division
If you have an established plant, division is a wonderfully easy way to get more.
- Dig Up the Plant: In spring or fall, gently dig around the root ball of your Phlomoides laciniata. You want to lift the entire plant out of the ground.
- Inspect the Roots: Shake off excess soil to expose the root system. You’ll likely see multiple crowns and interwoven roots.
- Separate the Divisions: Using your hands, a trowel, or a sharp, clean spade, gently pull or cut the root ball into sections. Each section should have at least one healthy root system and a few leafy shoots.
- Replant Immediately: Replant the divisions into their new locations in the garden or into pots with fresh soil. Water them well.
The “Secret Sauce” (Pro Tips)
Here are a couple of things I’ve learned over the years that really make a difference:
- Don’t Be Afraid to Pinch: For stem cuttings, once they start showing signs of growth (like new leaves appearing), I often gently pinch off the very tip. This encourages the plant to branch out, making for a bushier, more robust plant later on. It sounds counterintuitive, but trust me!
- Bottom Heat is Your Friend: If you’re struggling with rooting speed or have a cooler climate, consider using a heat mat placed under your pots or trays. Phlomoides laciniata loves a little warmth at its base, which can significantly speed up root development and increase your success rate.
Aftercare & Troubleshooting
Once you see signs of new growth or feel resistance when gently tugging on a cutting (indicating roots developing), it’s time to transition your new plants.
- Gradual Acclimation: Slowly introduce your cuttings to drier air by gradually opening the plastic bag or propagation dome over a week or two.
- Move to Individual Pots: Once they have a good root system, transplant them into individual pots with a good quality potting mix.
- Watering: Water them as you would any other potted plant – allow the top inch of soil to dry out before watering again.
- Watch for Rot: The biggest enemy of cuttings is rot. If you see mushy, brown stems, it’s likely due to overwatering or poor drainage. Sadly, these cuttings are usually lost, but don’t get discouraged! Learn from it and adjust your watering. Make sure your soil is always well-draining.
A Little Patience Goes a Long Way
Propagating plants is a journey, not a race. There will be successes and, yes, sometimes failures. But each time you try, you learn a little more. Watching a tiny cutting transform into a thriving plant is one of the most satisfying feelings in gardening. So, be patient, enjoy the process, and soon you’ll have a whole collection of your own gorgeous Phlomoides laciniata to share (or keep all to yourself!). Happy propagating!
Resource: