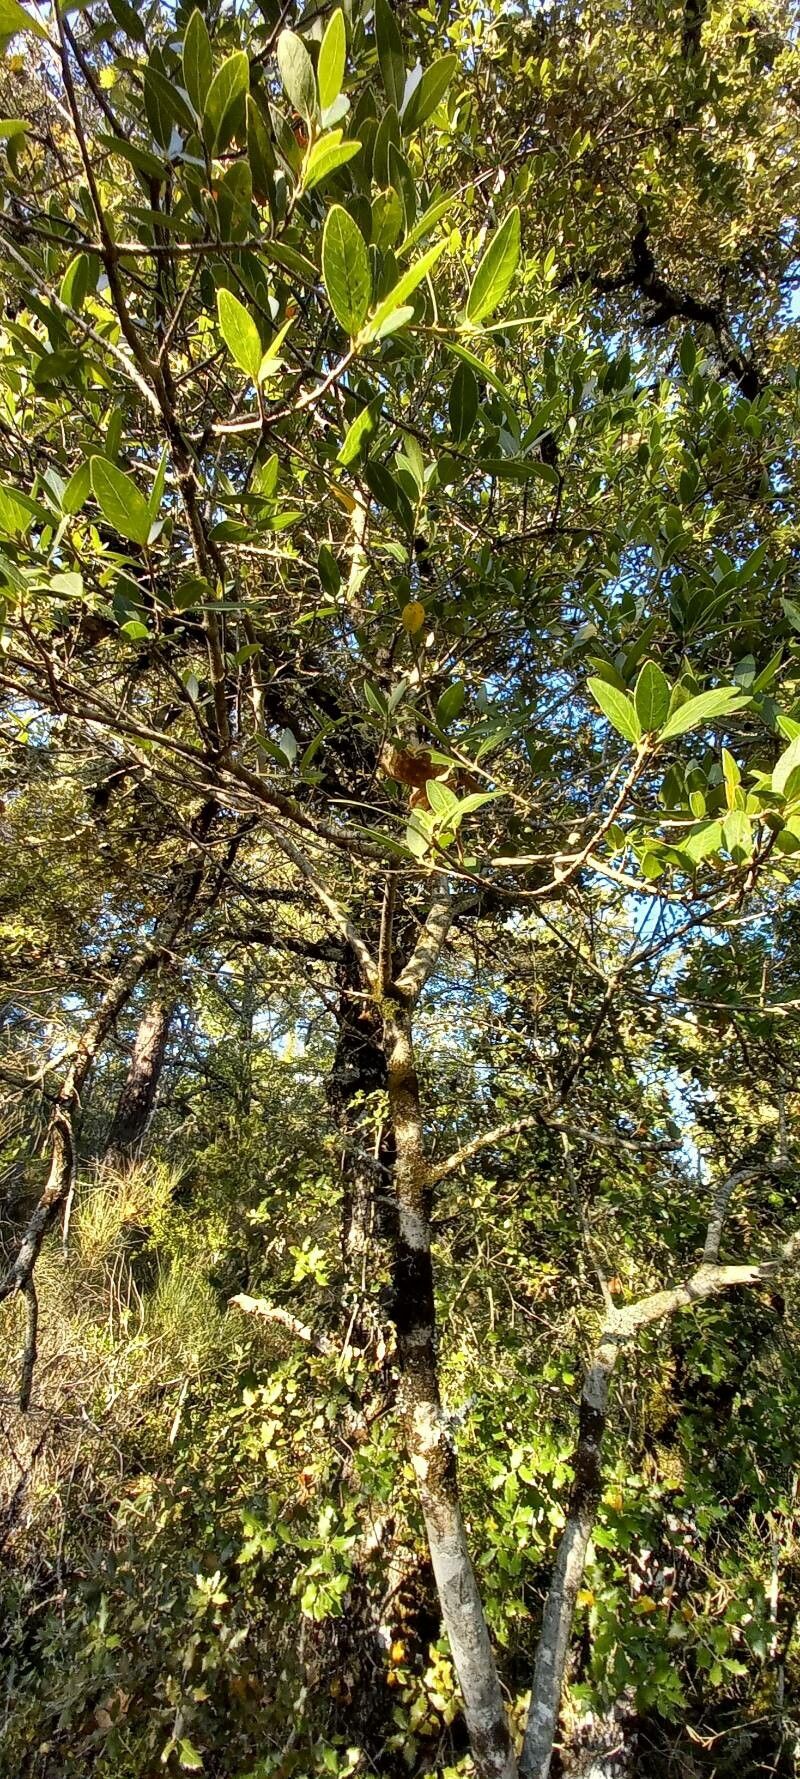
Oh, Phillyrea latifolia! I’m so glad you’re interested in this beautiful evergreen. It’s a plant that really rewards a bit of attention. With its glossy, leathery leaves and elegant, almost architectural form, it adds a touch of sophistication to any garden. And the best part? Multiplying it yourself is incredibly satisfying. Some folks think it might be a bit tricky, but I’ve found with a few pointers, it’s quite manageable, even for those newer to propagation.
The Best Time to Start
For Phillyrea latifolia, late spring to early summer is truly your sweet spot. You want to be working with semi-ripe cuttings. This means the stems are firming up after the initial flush of spring growth but haven’t quite become hard and woody. Think of it as that perfect stage where they have enough energy to root but are still pliable enough to make the cut successfully.
Supplies You’ll Need
Gathering your tools beforehand makes the whole process so much smoother. Here’s what I always have on hand:
- Sharp, clean pruning shears or a sharp knife: For making clean cuts.
- Rooting hormone: A good quality cloning hormone (powder or gel) will give your cuttings a much-needed boost.
- Well-draining potting mix: I like a blend of peat moss or coco coir, perlite, and coarse sand. About equal parts usually does the trick, or you can buy a specifically formulated potting mix for cuttings.
- Small pots or seed trays: Clean ones are essential to prevent disease.
- Plastic bags or a propagator lid: To create a humid environment.
- Willow pegs or small wooden skewers: To hold your cuttings upright in the pot.
- Water spray bottle: For keeping things humid.
- Labels and a permanent marker: So you don’t forget what you planted where!
Propagation Methods
I find stem cuttings to be the most reliable method for Phillyrea latifolia. Here’s how I do it:
- Take your cuttings: Look for healthy, vigorous stems from your mature plant. Using your sharp shears, take cuttings that are about 4-6 inches long. Make the cut just below a leaf node (where the leaves attach to the stem) – roots tend to form most readily here.
- Prepare the cuttings: Gently remove the lower leaves from the bottom half of the cutting. This helps prevent them from rotting in the soil and exposes the nodes where roots will emerge. If your cutting is quite large, you can even pinch off the top few sets of leaves to reduce water loss.
- Apply rooting hormone: Dip the cut end of each cutting into your rooting hormone, giving it a good coating over the swollen end. Tap off any excess.
- Pot them up: Fill your clean pots with your prepared well-draining mix. Make a hole in the center of the soil with a pencil or small stick.
- Insert the cuttings: Gently place the rooting hormone-coated end of each cutting into the hole, making sure the nodes where you removed the leaves are buried. I like to use willow pegs or skewers to help keep the cuttings from falling over. You can usually fit 3-4 cuttings in a small pot, depending on their size.
- Water gently: Lightly water the soil to settle it around the cuttings.
- Create humidity: Place a plastic bag over the pots, securing it with a rubber band or tape, or put them inside a propagator with the lid on. You just want to create a mini greenhouse effect.
The “Secret Sauce” (Pro Tips)
Over the years, a few little tricks have really boosted my success rates with trickier plants, and they work wonders for Phillyrea too!
- One thing I’ve learned is to ensure no leaves are touching the soil inside your propagation pots. If they are, they can quickly rot and take your cutting down with them. Fold them up slightly if they’re too long.
- And this is a big one: bottom heat! Phillyrea roots are much more eager to develop when their base is warm. I’ll often place my pots on a heated propagator mat set to a temperature of around 70-75°F (21-24°C). It makes a remarkable difference.
Aftercare & Troubleshooting
Once your cuttings are potted, place them in a bright spot out of direct sunlight. Keep the soil consistently moist but not waterlogged. The humidity you created is crucial, so check the condensation on the bag or propagator lid regularly. If it disappears, give the soil a light misting.
You’ll know your cuttings have rooted when you see new leaf growth, or if you gently tug on a cutting and feel a bit of resistance. This usually takes anywhere from 6 weeks to 3 months, so patience is key!
The most common problem you’ll encounter is rot. If a cutting looks mushy, blackens at the base, or the leaves start to yellow and fall off prematurely, it’s likely a sign of too much moisture or a fungal infection. Remove any affected cuttings immediately to prevent it from spreading. You might also see wilting, which can be due to dehydration. Make sure your humidity is right and the soil isn’t drying out too much.
A Encouraging Closing
Don’t get discouraged if not every single cutting takes. Propagation is a bit of an art, and sometimes the plant just doesn’t feel like cooperating! The joy is in the process, in learning to read the plant and giving it the best possible start. Be patient, keep trying, and soon you’ll have a whole new collection of these wonderful Phillyrea plants to enjoy or share. Happy gardening!
Resource:
https://identify.plantnet.org/k-world-flora/species/Phillyrea%20latifolia%20L./data