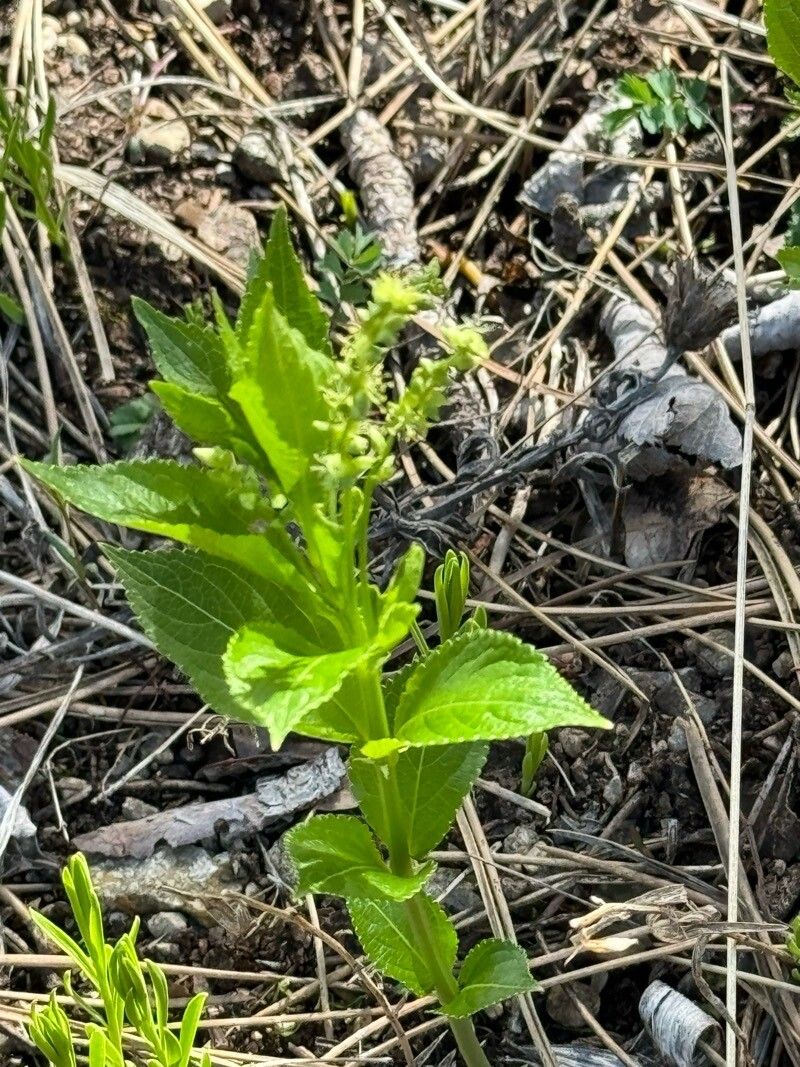
Oh, hello there! Pull up a chair and let’s chat about dog’s mercury, or Mercurialis perennis as it’s known by its fancy botanical name. If you’ve ever strolled through a woodland in spring, you’ve likely seen its hazy green glow carpeting the forest floor. It’s a charming, unfussy native plant, and the thought of multiplying it for your own garden is just delightful! I find propagating it incredibly satisfying, and honestly, it’s a pretty beginner-friendly endeavor once you get the hang of it. You’ll be sharing cuttings with friends in no time.
The Best Time to Start
For dog’s mercury, timing is everything, and the sweet spot is definitely late spring to early summer, right around May or June. This is when the plant is actively growing, and the stems are young and pliable enough to root easily. You want to catch it before it gets too woody and spent from its main flowering period.
Supplies You’ll Need
Gathering your supplies beforehand makes the whole process much smoother. Here’s what you’ll want to have on hand:
- Sharp pruning shears or a clean knife: For making clean cuts.
- Rooting hormone (optional but helpful): Especially for a little boost.
- Small pots or trays: Clean ones are a must!
- Well-draining potting mix: I like a mix of equal parts peat-free compost and perlite for good aeration.
- Watering can or spray bottle: For gentle watering.
- Plastic bags or a propagator: To create a humid environment.
Propagation Methods
Dog’s mercury is a trooper and can be propagated in a couple of straightforward ways.
1. Stem Cuttings: This is my go-to method.
- Take your cuttings: Choose healthy, non-flowering stems from your established plant. Use your sharp shears to take cuttings that are about 4-6 inches long. Make your cut just below a leaf node. A leaf node is where a leaf attaches to the stem.
- Prepare the cuttings: Gently remove the lower leaves, leaving just a few at the top. This prevents them from rotting in the soil. If you’re using rooting hormone, dip the cut end into it now.
- Pot them up: Fill your clean pots with your prepared potting mix. Make a small hole with your finger or a pencil and insert the cutting, ensuring the leaf nodes are below the soil surface. Gently firm the soil around the stem.
- Create humidity: Water the soil gently. Then, cover the pots with a plastic bag or place them in a propagator. This traps moisture and creates the humid environment cuttings crave. You can support the bag with a few stakes so it doesn’t touch the leaves.
2. Division: If you have a mature clump of dog’s mercury, this is a wonderfully easy method.
- Dig up the plant: In early spring, before the new growth gets too vigorous, carefully dig up the entire clump.
- Separate the divisions: Gently tease apart the root ball into smaller sections. You want each section to have plenty of healthy roots and some healthy shoots. If the soil is really compacted, you might need to use a clean trowel or even your fingers to carefully pull them apart. Avoid using a spade if possible to minimize root damage.
- Replant: Immediately replant the divisions into their new locations in the garden. Make sure to water them in well.
The “Secret Sauce” (Pro Tips)
Here are a few little tricks I’ve learned over the years that always seem to give me an edge with dog’s mercury:
- Don’t let the leaves touch the water: This is crucial if you’re trying a water propagation method (though I prefer soil for Mercurialis). Any leaves submerged will just rot and likely take the whole cutting down with them. Keep them high and dry!
- Think “bottom heat”: If you have a propagator, or even just a warm windowsill, gentle bottom heat can really speed up root development. This mimics the warmth of spring soil and encourages those roots to get going. A heat mat from a garden center is a good investment if you propagate often.
- Be patient with water: Even with stem cuttings in soil, don’t be tempted to yank them out to check for roots constantly. Give them ample time. New roots can take 3-6 weeks to develop.
Aftercare & Troubleshooting
Once you start seeing new leaf growth on your cuttings, that’s a great sign! It means roots are forming.
- Harden off: Gradually introduce your new plants to drier air by opening the plastic bag or propagator for longer periods over a week or two. Once they look robust, you can transplant them into individual pots if they were in a tray.
- Watering: Keep newly rooted cuttings consistently moist but not waterlogged. As they establish, you can water them as you would other young plants.
- Rot is the enemy: The most common pitfall is root rot, indicated by stems turning mushy and black at the soil line, or yellowing leaves that wilt. This usually happens from overwatering or poor drainage. If you see this, it’s sadly time to start again with fresh cuttings and a better drainage mix.
A Encouraging Closing
Propagating dog’s mercury is a wonderfully rewarding way to expand your garden and share the beauty of this woodland native. Don’t be discouraged if your first attempt isn’t perfect; gardening is a journey of learning. Be patient, enjoy the process of nurturing these new life forms, and soon you’ll have more of that lovely green carpet to admire. Happy propagating!
Resource:
https://identify.plantnet.org/k-world-flora/species/Mercurialis%20perennis%20L./data