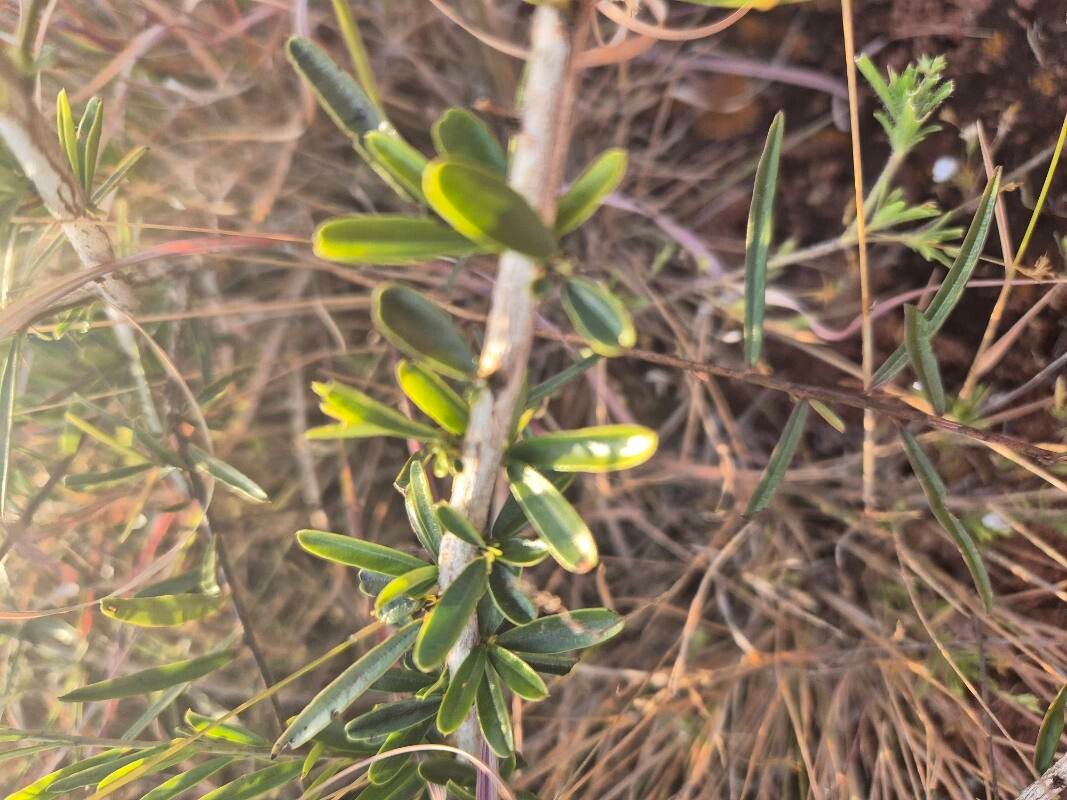
Ah, Maerua endlichii! What a delightful plant to bring into your garden or conservatory. Its delicate, bell-shaped flowers are a true marvel, often appearing in clusters and carrying a sweet, ethereal fragrance that just makes you want to linger. And the foliage! Lush and vibrantly green, it provides a beautiful backdrop. If you’ve fallen in love with this unique gem, then you’re in for a treat, because propagating it yourself is incredibly rewarding. Now, for a little honesty: Maerua endlichii can be a bit of a picky propagator. It’s not quite a “chuck it in water and watch it grow” situation, but with a little patience and the right approach, you can certainly find success. It’s definitely a project for those with a bit of growing experience, or enthusiastic beginners willing to learn!
The Best Time to Start
For the highest chance of success, I always aim to propagate Maerua endlichii during its active growing season. Think late spring through early to mid-summer. This is when the plant has plenty of energy to put into root development. You’ll want to select stems that are firm and semi-hardwood, not brand new, floppy growth, nor old, woody material.
Supplies You’ll Need
Here’s what I keep on hand when I’m ready to get propagating:
- Sharp Pruning Shears or a Clean Knife: Essential for taking clean cuts.
- Rooting Hormone: A powdered or liquid variety works well.
- Well-Draining Potting Mix: A good option is a 50/50 blend of perlite and peat moss, or a specialty seed starting mix.
- Small Pots or Trays: Clean containers are key to preventing disease.
- Plastic Bags or a Propagation Dome: To create a humid environment.
- Spray Bottle: For gentle misting.
- Optional: Heat Mat: Can significantly speed up rooting.
Propagation Methods
While Maerua endlichii can be a little tricky, stem cuttings are generally the most reliable method for creating new plants.
Method: Stem Cuttings
- Select Your Cuttings: Look for healthy, semi-hardwood stems on your Maerua endlichii. Aim for pieces that are about 4-6 inches long. Using a clean, sharp tool, make a cut just below a leaf node (where a leaf attaches to the stem).
- Prepare the Cuttings: Gently remove the lower leaves from the cutting, leaving just a few at the very top. This prevents them from rotting once planted.
- Apply Rooting Hormone: Dip the cut end of each stem into your rooting hormone. You only need to coat about an inch of the stem. Tap off any excess.
- Plant Your Cuttings: Fill your small pots with the prepared potting mix. Make a small hole in the center with your finger or a pencil. Insert the hormone-coated end of the cutting into the hole and gently firm the soil around it.
- Create Humidity: Water the soil gently until it’s moist but not soggy. Then, place the potted cuttings into a plastic bag or cover them with a propagation dome. This traps moisture and creates the humid environment your cuttings need to reroute.
The “Secret Sauce” (Pro Tips)
Here are a few things I’ve learned over the years that can make a real difference:
- Keep the Leaves High and Dry: When you’re setting your calloused cuttings in their pots, make sure none of the remaining leaves are touching the soil surface. This is a common cause of rot.
- Bottom Heat is Your Best Friend: If you have a heat mat, placing your pots on it can work wonders. It encourages root development from the bottom, giving you a much faster and more robust root system.
- Don’t Overwater! This is probably the biggest mistake new propagators make. The soil should be consistently moist, but never waterlogged. Too much water will drown your cuttings.
Aftercare & Troubleshooting
Once your cuttings are planted and housed, the waiting game begins! Keep them in a bright spot, but out of direct sunlight, which can scorch the delicate leaves.
Signs of Success: You’ll know your cutting has rooted when you see new growth appearing. You might also feel a gentle tug when you very lightly pull on the stem. This usually takes anywhere from 4 to 8 weeks, sometimes longer.
Troubleshooting: The most common issue you’ll face is rot. If you see your cuttings turning black and mushy, it’s usually a sign of too much moisture and not enough air circulation. Discard any rotted cuttings. If the leaves start to yellow and droop, it could be a sign that the cutting is drying out too much, so mist it gently and ensure your humidity dome is sealed.
A Encouraging Closing
See? It takes a little know-how, but it’s absolutely achievable. Don’t be discouraged if your first few attempts aren’t perfect. Gardening is all about trial and error, and every plant teaches us something new. Be patient with your Maerua endlichii cuttings, give them the care they need, and soon enough, you’ll be rewarded with beautiful new plants to share or enjoy yourself. Happy propagating!
Resource:
https://identify.plantnet.org/k-world-flora/species/Maerua%20endlichii%20Gilg%20&%20Gilg-Ben./data