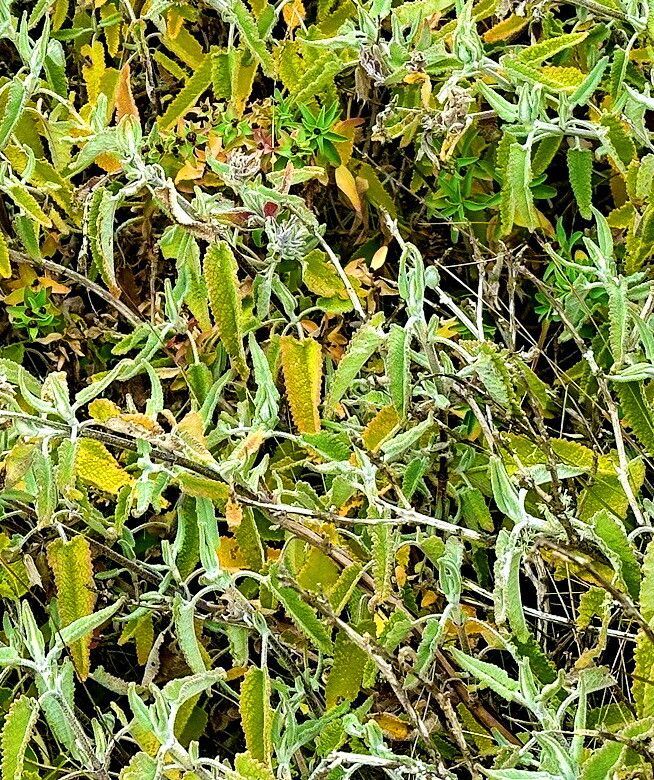
Oh, hello there! Come on in and pull up a chair. I’ve been meaning to chat with you about a real gem of a plant: Lepechinia salviae. Sometimes called Desert Sage or Salvifructus from the Andes, it’s got this wonderful, aromatic foliage that smells like a blend of sage and something a little citrusy – just divine when it brushes against your hand. Plus, those lovely spires of white flowers are a magnet for our buzzy pollinator friends. If you’ve ever admired this beauty, you’ll be thrilled to know that propagating it is absolutely doable and, honestly, quite satisfying. Don’t be shy; it’s a pretty forgiving plant to start with.
The Best Time to Start
For the happiest outcomes with Lepechinia salviae cuttings, I’ve found that late spring to early summer is your sweet spot. This is when the plant is actively growing and has plenty of energy to put into developing new roots. You want to look for stems that are new growth, but not too soft and floppy. They should have a bit of a woody character to them, but still be flexible. Think of it as the plant transitioning from its spring surge to its summer bloom – a perfect time to gently encourage it to make some babies.
Supplies You’ll Need
Gathering your supplies beforehand makes the whole process so much smoother. Here’s what I usually have on hand:
- Sharp Pruning Shears or a Craft Knife: For clean cuts. Dull tools can bruise the stems, which invites problems.
- Rooting Hormone: Not strictly essential for Lepechinia, but it can give your cuttings a little boost. I prefer a powder for ease of use.
- Well-Draining Potting Mix: A good blend of peat moss or coco coir, perlite, and a bit of sand works wonders. You want to avoid anything that holds too much moisture. Pre-moisten it slightly before you start.
- Small Pots or Seedling Trays: Three-to-four-inch pots are ideal for individual cuttings. Make sure they have drainage holes!
- Clear Plastic Bags or a Propagation Dome: To create a humid environment for your cuttings.
- Labels and a Marker: So you don’t forget what you’ve planted!
- Watering Can with a Fine Rose or a Spray Bottle: For gentle watering.
Propagation Methods: Let’s Get Your Hands Dirty!
I’ve found stem cuttings to be the most reliable method for Lepechinia salviae. It’s straightforward and yields great results.
Stem Cuttings:
- Take Your Cuttings: Using your clean secateurs or knife, select a healthy stem that’s about 4-6 inches long. Aim for a stem that has new growth but has started to firm up a bit. Make your cut just below a leaf node (where a leaf attaches to the stem). This is where the magic happens for root formation.
- Prepare the Cuttings: Gently remove the lower leaves from the bottom half of the cutting. You only want to leave a few leaves at the very top. This prevents them from rotting in the soil and reduces water loss.
- Apply Rooting Hormone (Optional but Recommended): Dip the cut end of the stem into the rooting hormone powder, tapping off any excess.
- Plant Your Cuttings: Make a hole in your prepared, pre-moistened potting mix with your finger or a pencil. Insert the cutting, ensuring the leaf nodes you removed are now below the soil surface. Gently firm the soil around the stem.
- Water Gently: Give them a light watering to settle the soil.
The “Secret Sauce” (Pro Tips)
Here are a few little tricks I’ve picked up over the years that seem to make a difference with these aromatic sages:
- Don’t Overcrowd: Give each cutting a bit of breathing room in its pot. Overcrowding can lead to poor air circulation and increases the risk of fungal diseases.
- The Humid Chamber is Key: Once planted, pop your pots into your propagation dome or cover them loosely with a clear plastic bag. This creates a mini-greenhouse effect, keeping the moisture levels high and preventing the cuttings from drying out before they can root. Make sure the leaves don’t touch the plastic – air circulation is important, even in a humid environment.
- Give Them a Little Warmth (Optional but Helpful): A propagation mat placed underneath your pots can work wonders, especially if your propagation space is a bit on the cooler side. This gentle bottom heat encourages root development significantly.
Aftercare & Troubleshooting
Once your cuttings are planted, treat them with care. Keep the soil consistently moist but not waterlogged. You’ll want to ventilate the humidity dome daily for a few minutes to prevent mold.
You’ll know they’re starting to root when you see new leaf growth emerging from the top. Another good indicator is a slight resistance when you gently tug on the cutting – don’t yank it out, though! This usually takes anywhere from 4 to 8 weeks, and sometimes a bit longer.
The most common problem you might encounter is rot. If a cutting turns black and mushy, it’s likely too wet and not getting enough air. Sadly, this one is usually a goner, but don’t be discouraged! It’s a learning process. Ensure your soil is airy, and don’t overwater.
A Gentle Closing
Propagating plants is such a rewarding experience, and watching your little Lepechinia salviae cuttings take hold is a special kind of joy. Be patient with them, little ones. Sometimes they take their time. Enjoy the process, learn from each attempt, and before you know it, you’ll have a whole new clan of these wonderful fragrant herbs to share (or keep all to yourself – I won’t tell!). Happy propagating!
Resource:
https://identify.plantnet.org/k-world-flora/species/Lepechinia%20salviae%20(Lindl.)%20Epling/data