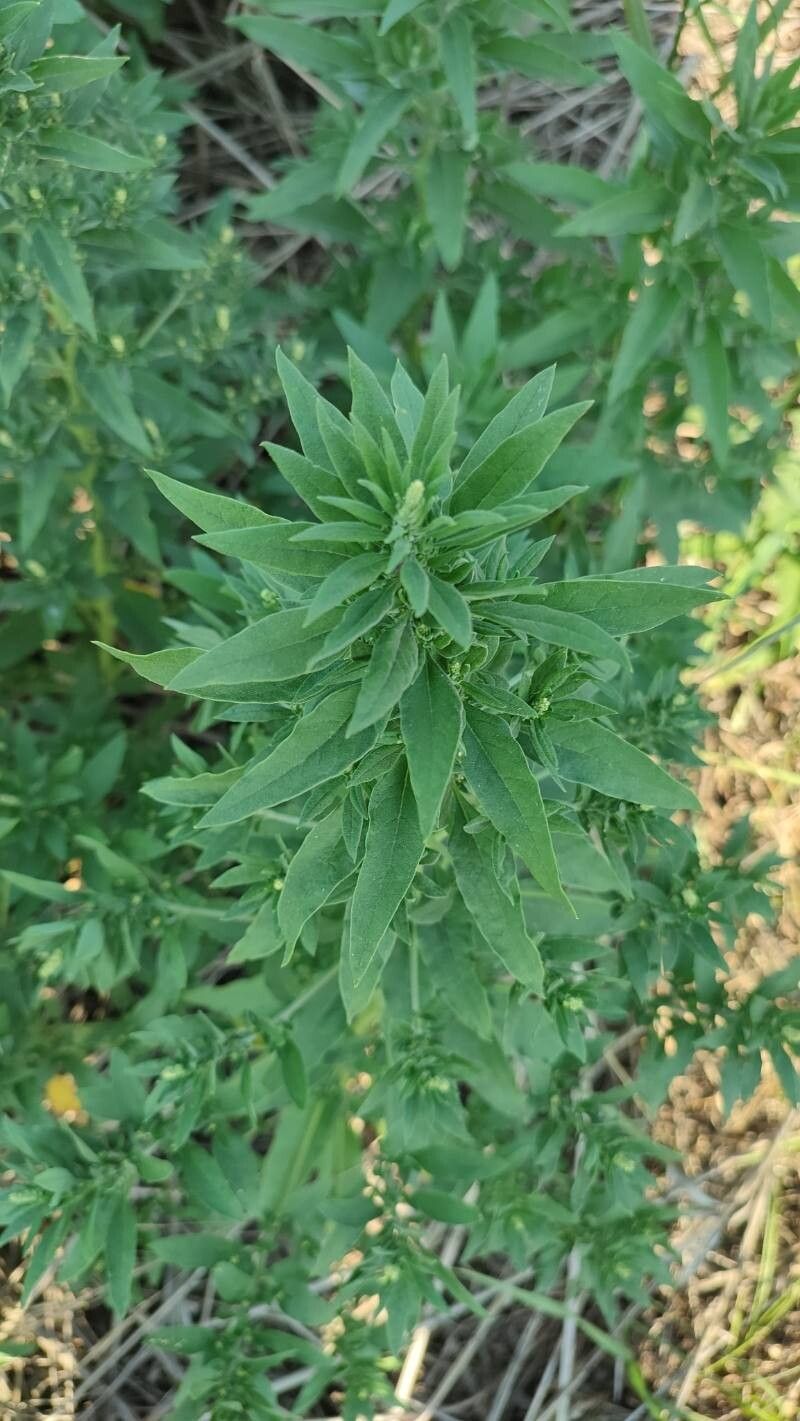
Oh, hello there, fellow plant enthusiast! It’s so lovely to have you join me today. We’re going to dive into the wonderful world of propagating Iva annua, also known as sumpweed or annual marsh elder. This native beauty, with its lovely golden-green foliage and charming, often overlooked small flowers, is a fantastic addition to any garden, especially for those looking for something a little wild and resilient.
Propagating Iva annua is a truly rewarding experience. Watching a tiny cutting or seed transform into a flourishing plant is like witnessing pure magic. And I’m happy to report that for beginners, this plant is quite forgiving! You’ll likely find success even if this is one of your first forays into plant propagation.
The Best Time to Start
Generally, the spring and early summer are your golden windows for propagating Iva annua, especially through cuttings. This is when the plant is actively growing and has plenty of youthful energy. Starting from seed is also best done in early spring, either directly sown outdoors after the last frost or started indoors a few weeks prior.
Supplies You’ll Need
Gathering your supplies before you begin makes the whole process smoother. Here’s what you’ll want on hand:
- Sharp Pruning Shears or a Clean Knife: For making clean cuts on stems.
- Small Pots or Seedling Trays: Clean ones are a must to prevent disease.
- Well-Draining Potting Mix: A mix for seedlings or cuttings is ideal. I often use a blend of half peat moss and half perlite or coarse sand.
- Rooting Hormone (Optional but Recommended): This little helper can significantly boost your success rates.
- Watering Can or Spray Bottle: For gentle watering.
- Plastic Bags or Cloches: To create a humid environment for cuttings.
Propagation Methods
Let’s get our hands dirty! Here are the most common ways to bring more Iva annua into your garden:
1. Stem Cuttings:
- Choose Your Stems: Look for healthy, non-flowering stems from your mature plant. Aim for stems that are about 4-6 inches long.
- Make the Cut: Using your clean shears or knife, take a cutting just below a leaf node (where a leaf attaches to the stem). This is where roots are most likely to form.
- Prepare the Cutting: Gently remove the lower leaves from your cutting, leaving just the top 2-3 leaves. This prevents them from rotting when buried.
- Dip in Rooting Hormone: If you’re using rooting hormone, dip the cut end of the stem into it. Tap off any excess.
- Plant Your Cuttings: Moisten your potting mix, then make a small hole with a pencil or your finger. Insert the cut end of the stem into the hole and gently firm the soil around it.
- Water and Cover: Water the pot lightly. Then, cover the pot with a clear plastic bag or a cloche to maintain high humidity. This is crucial for helping the cutting callous and start rooting. Place it in a bright spot, but out of direct, harsh sunlight.
2. Seed Propagation:
- Gather Seeds: You can save seeds from your own plants in the fall, or purchase them.
- Sowing Indoors: In early spring, fill small pots or seed trays with your seed-starting mix. Sow the seeds about 1/8 inch deep and water gently. Keep the soil consistently moist and warm (around 70°F is good).
- Sowing Outdoors: Once your last frost has passed and the soil has warmed up, you can sow seeds directly into your garden bed. Prepare the soil, scatter the seeds, and lightly cover them.
The “Secret Sauce” (Pro Tips)
After years of nurturing plants, you pick up a few tricks! Here are a couple of things I’ve found make a big difference:
- Bottom Heat is Your Friend: For stem cuttings, placing your pots on a heat mat can really speed up root development. The warmth encourages root formation from the bottom up.
- Don’t Be Afraid to Prune: If your cuttings start to look leggy before they root, a light pinch back of the tip can encourage bushier growth, which often means a stronger root system later on.
Aftercare & Troubleshooting
Once you see new leaf growth on your cuttings, that’s a good sign roots are forming! You can gently tug on the cutting. If there’s resistance, it’s usually rooted.
- Acclimatize: Slowly start to remove the plastic cover over a few days to help your new plants adjust to drier air.
- Potting Up: Once they have a decent root system and are strong enough to handle, you can pot them into individual, slightly larger pots.
- Watering: Continue to keep the soil evenly moist but not waterlogged. Overwatering is one of the biggest culprits for failure.
- Troubleshooting: The most common issue you might encounter is rot. This is usually caused by too much moisture and poor air circulation. If you see stems turning mushy and black, it’s sadly a sign of rot, and it’s best to discard the affected cutting to prevent it from spreading. Ensure good drainage and avoid overwatering.
A Encouraging Closing
And there you have it – a guide to bringing more of these lovely Iva annua plants into your life! Remember, plant propagation is an art as much as it is a science. Be patient, observe your plants, and celebrate every little success. You’ve got this, and I can’t wait to hear about your thriving new plants! Happy gardening!
Resource:
https://identify.plantnet.org/k-world-flora/species/Iva%20annua%20L./data