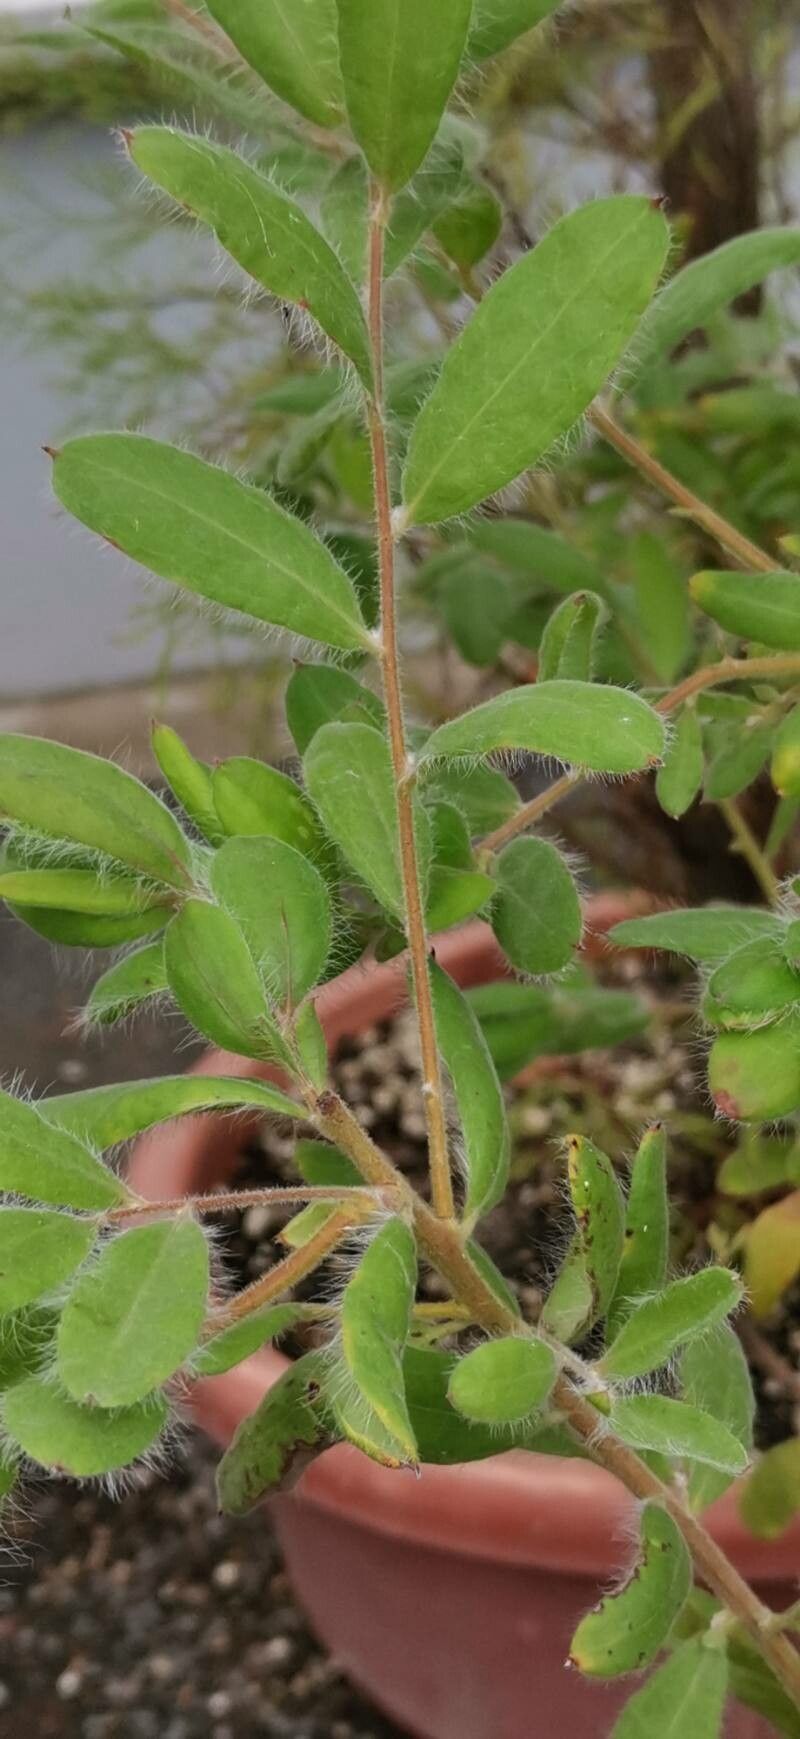
Oh, Grevillea pimeleoides! What a stunner. Those delicate, pinkish-red flowers just dance in the breeze, and the fuzzy, grey-green foliage adds such wonderful texture to the garden. If you’ve got one of these beauties, or are dreaming of adding them, you’ll be thrilled to know that propagating them is a really rewarding experience. It’s not the absolute easiest plant to get started with from scratch, but with a little patience and these tips, you’ll be well on your way to more Grevilleas!
The Best Time to Start
For Grevillea pimeleoides, the sweet spot for taking cuttings is generally in late spring to early summer. This is when the plant is actively growing, and the new shoots have hardened off just enough to make good cuttings. You’re looking for Semi-hardwood cuttings – not the super soft, floppy new growth, but not the old, woody stems either. It should snap cleanly when bent.
Supplies You’ll Need
Gathering your supplies beforehand makes the whole process much smoother. Here’s what I usually have on hand:
- Sharp pruning shears or a clean, sharp knife: For making clean cuts.
- Rooting hormone: A powder or gel specifically designed for cuttings.
- Well-draining potting mix: I like a blend of coarse sand, perlite, and a bit of compost.
- Small pots or propagation trays: With drainage holes!
- Clear plastic bags or a propagator lid: To create a humid environment.
- Small labels and a marker: To keep track of what you’ve propagated and when.
- A watering can or spray bottle: For gentle watering.
Propagation Methods: Stem Cuttings
This is my go-to method for Grevillea pimeleoides. It’s reliable and gives you a good chance of success.
- Take Your Cuttings: Using your sharp pruning shears or knife, select healthy, current-year growth that’s semi-hardwood. Cut a piece about 10-15 cm long. Make the cut just below a leaf node (where a leaf joins the stem).
- Prepare the Cuttings: Remove the lower leaves, leaving just a couple at the top. This prevents them from rotting in the soil and reduces moisture loss. If the leaves are large, you can even cut them in half.
- Apply Rooting Hormone: Dip the cut end of each stem into your chosen rooting hormone. Tap off any excess.
- Pot Them Up: Fill your clean pots with your well-draining potting mix. Make a hole in the center of each pot with a pencil or your finger.
- Insert the Cuttings: Gently place the hormone-coated end of each cutting into the hole and firm the soil around it. Ensure the leaf nodes that were buried are below the soil surface.
- Water Gently: Water the soil thoroughly but gently. You don’t want to disturb the cuttings.
- Create Humidity: Cover the pots loosely with a clear plastic bag or place them in a propagator. This helps keep the humidity high, which is crucial for cuttings to root.
The “Secret Sauce” (Pro Tips)
Here are a few things I’ve learned over the years that really seem to make a difference:
- Cleanliness is King: Always use sterilized tools and clean pots. Grevillea cuttings can be prone to fungal issues, and starting clean drastically reduces the risk of rot. A quick dip of your shears in rubbing alcohol between cuttings is a good habit.
- Don’t Drown Them: While humidity is key, you don’t want soggy soil. Let the surface of the soil dry out slightly between waterings. Overwatering is a fast track to rot.
- A Touch of Warmth Helps: If you can, place your propagation setup in a spot that gets gentle bottom heat. This often encourages root development much faster than just relying on ambient room temperature. A heat mat designed for seedlings can work wonders.
Aftercare & Troubleshooting
Once your cuttings are potted up and happily covered, patience is your best friend.
Keep them in a bright spot, but out of direct, harsh sunlight. Check them regularly for signs of rooting. You’ll usually see new leaf growth or feel a gentle tug when you very carefully nudge the cutting – that’s a good sign! This can take anywhere from 6 to 12 weeks, so don’t despair if it’s not immediate.
If you notice wilting that doesn’t recover after watering, or slimy stems, it’s likely rot. This usually means the environment is too wet or there’s a fungal issue. Unfortunately, a rotted cutting is usually a goner, so remove it to prevent it from affecting others. Sometimes, a cutting might just fail to root, and that’s okay too. It’s all part of the learning curve!
The Joy of Growing On
So there you have it! It might take a little practice, but seeing those little Grevilleas take off is incredibly satisfying. Embrace the process, learn from each attempt, and before you know it, you’ll have a whole little garden of your own creations. Happy propagating!
Resource:
https://identify.plantnet.org/k-world-flora/species/Grevillea%20pimeleoides%20W.Fitzg./data