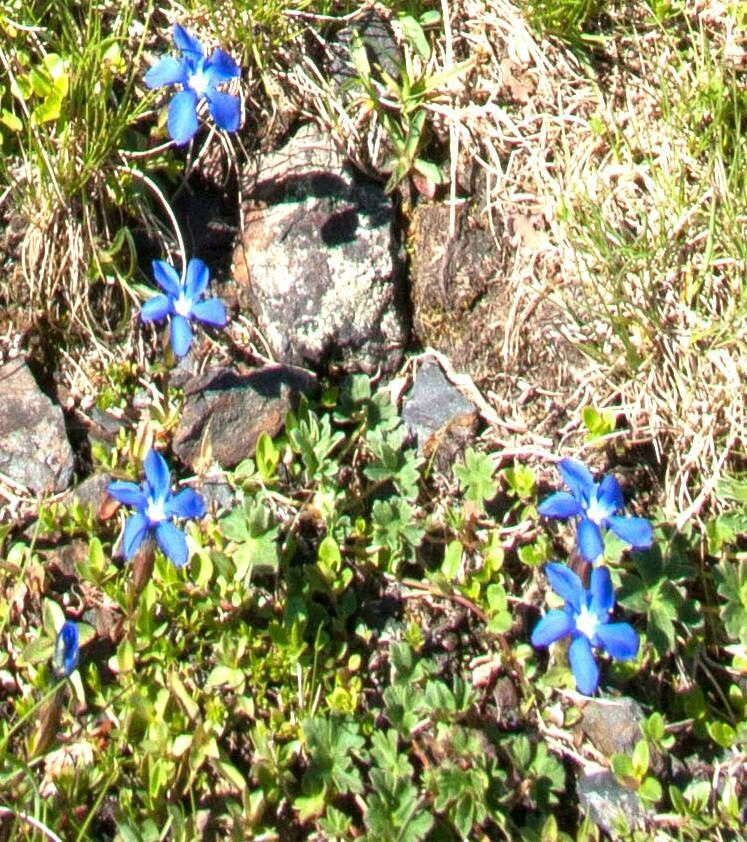
Hello my fellow garden enthusiasts! Today, we’re going to talk about a little gem that brings a splash of brilliant blue to the alpine garden: Gentiana nivalis, or Snow Gentian. These tiny alpine beauties, with their intense, trumpet-shaped flowers, are a true delight. If you’ve ever admired them and wished you had more, or wanted to share that magic with a friend, propagating them is a wonderfully rewarding endeavor. Now, I won’t sugarcoat it – Gentiana nivalis isn’t the easiest plant to propagate for absolute beginners. It demands a bit of finesse and understanding. But with a little patience and these tips, I’m confident you can succeed!
The Best Time to Start
For Snow Gentians, the sweet spot for propagation is late spring to early summer. This is when the plant is actively growing after its spring awakening. You’re looking for young, fresh growth that has just started to mature. Avoid taking cuttings when the plant is stressed, perhaps from extreme heat or drought. Early morning is often the best time to take cuttings, as the plant is well-hydrated.
Supplies You’ll Need
Gathering your tools before you start makes the whole process smoother. Here’s what I usually have on hand:
- Sharp, sterile pruning shears or a clean razor blade: Precision is key to avoid damaging the parent plant.
- Rooting hormone (optional, but recommended for Gentiana nivalis): A powder or gel can give your cuttings a helpful boost.
- Well-draining potting mix: A good mix for alpine plants, usually containing sand, perlite, and peat moss. You want excellent drainage to prevent rot.
- Small pots or propagation trays: Clean and with drainage holes, of course!
- A plastic bag or propagation dome: To create a humid environment for your cuttings.
- Misting bottle: For gently moistening the soil and cuttings.
- Labels: Because trust me, you will forget what you planted where!
Propagation Methods
For Gentiana nivalis, stem cuttings are generally the most successful method. Let’s dive in!
Stem Cuttings
- Select your stems: Look for healthy, non-flowering shoots that are about 2-4 inches long. Gently pull or snip them from the parent plant, making sure to get a clean cut just below a leaf node (where a leaf attaches to the stem).
- Prepare the cuttings: Carefully remove the lower leaves. You only want one or two sets of leaves at the very top. This prevents them from rotting in the soil and encourages energy to go into root development.
- Apply rooting hormone (if using): Dip the cut end of the stem into the rooting hormone, tapping off any excess.
- Plant the cuttings: Fill your small pots with the well-draining potting mix and gently moisten it. Make a small hole in the center of the soil with a pencil or your finger. Insert the cut end of the cutting into the hole, ensuring the lowest leaf nodes are below the soil surface. Firm the soil gently around the stem.
- Create humidity: Mist the cuttings lightly and then cover the pot with a clear plastic bag or place it under a propagation dome. This traps humidity, which is crucial for the cuttings to root.
The “Secret Sauce” (Pro Tips)
Here are a couple of things I’ve learned over the years that make a real difference with these fussy beauties:
- Bottom Heat is Your Friend: Gentiana nivalis really benefits from gentle bottom heat. If you have a seedling heat mat, place your pots on it. This encourages root development from below, mimicking warm soil. Just make sure the heat isn’t so intense that it dries out your cuttings quickly.
- Don’t Let Those Pretty Leaves Drip: When misting, be sure to avoid letting water sit on the leaves for extended periods, especially in humid conditions. This is a fast track to fungal disease and rot. A gentle mist is all they need.
Aftercare & Troubleshooting
Once your cuttings are planted, keep them in a bright spot, but out of direct, harsh sunlight. Continue to mist them periodically to maintain humidity. You’ll know they’re rooting when you see new growth emerging from the top. This can take several weeks, so be patient!
If you see your cuttings turning yellow and mushy, or developing a black, slimy stem, that’s usually a sign of rot. This is often due to too much moisture and poor drainage. Unfortunately, these are usually a lost cause. Sometimes, the cuttings just fail to root, which is also part of the gardening learning curve. Don’t get discouraged! Just assess what might have gone wrong – was it too wet? Too dry? Try again with fresh cuttings and perhaps adjust your watering or humidity levels. Once you see definite signs of root development (gentle tugging will show resistance), you can gradually acclimate them to lower humidity by opening the plastic bag a little more each day.
A Encouraging Closing
Taking cuttings can feel a bit like a gamble sometimes, and Gentiana nivalis definitely adds a touch of challenge. But the thrill of seeing those tiny roots appear and watching a new plant develop is incredibly satisfying. Embrace the process, learn from each attempt, and before you know it, you’ll be sharing your gorgeous Snow Gentians with everyone! Happy gardening!
Resource:
https://identify.plantnet.org/k-world-flora/species/Gentiana%20nivalis%20L./data