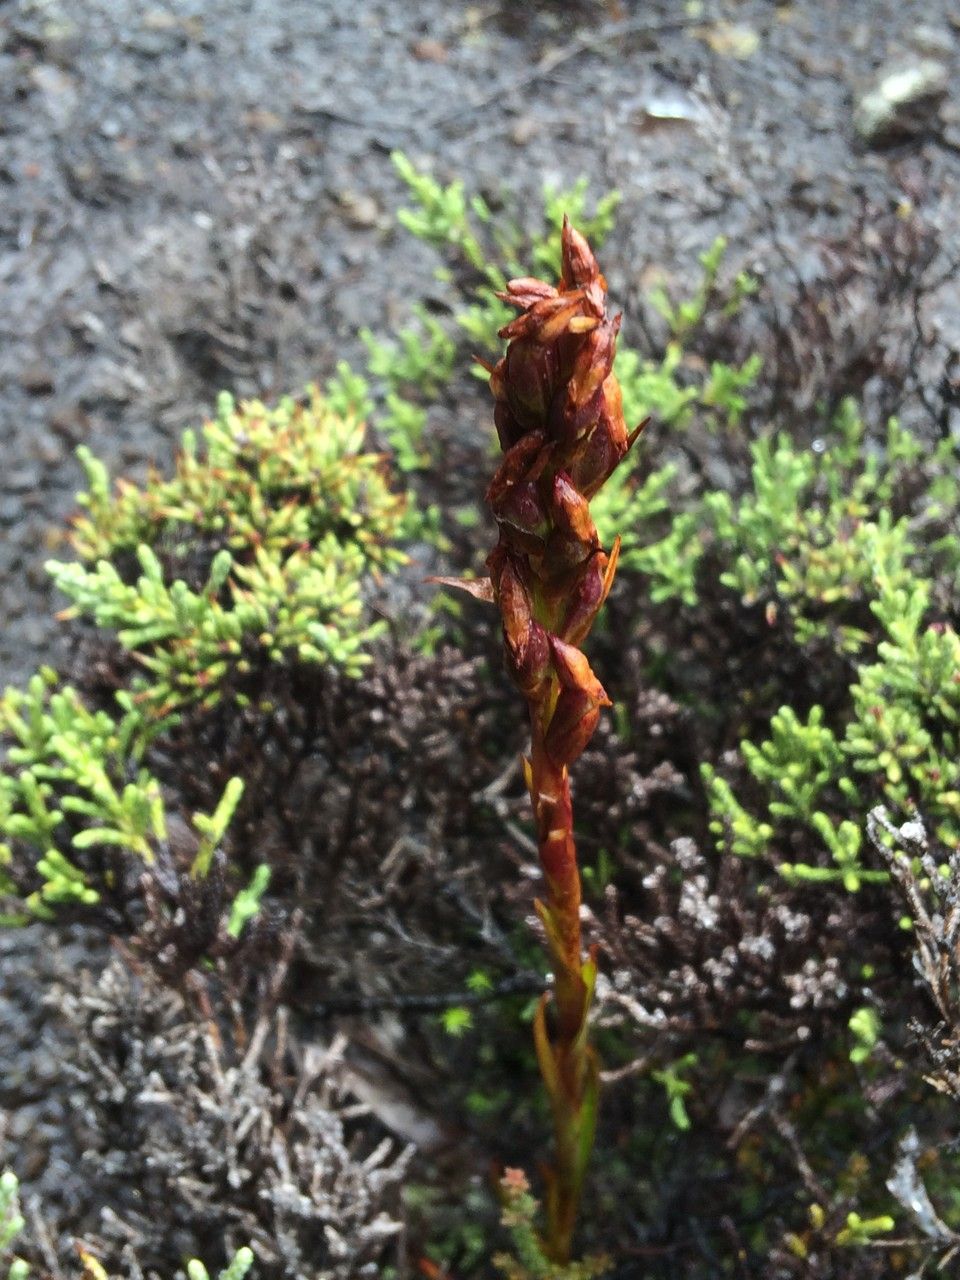
Hello fellow plant enthusiasts! Today, we’re diving into the whimsical world of Disa borbonica. If you’ve ever seen one of these beauties gracing a garden or a windowsill, you know exactly what I mean. Their delicate, almost otherworldly blooms are just captivating, aren’t they? They bring a touch of magic, a whisper of the tropics right into our homes.
For me, propagating Disa borbonica has been one of those little gardening victories that truly fills my heart. It’s incredibly rewarding to nurture a tiny cutting into a thriving plant. Now, I won’t lie to you, Disa borbonica can be a little bit of a diva, and for absolute beginners, it might present a few learning curves. But with a bit of patience and the right know-how, you can absolutely succeed!
The Best Time to Start
The prime time to really get going with propagating Disa borbonica is during its active growing season, which is typically in spring and early summer. This is when the plant has the most energy to put into developing new roots and shoots. You’ll see the most vigorous growth then, making your propagation efforts much more likely to take hold.
Supplies You’ll Need
- Sharp, sterile pruning shears or a clean knife: For making precise cuts.
- Peat moss and perlite or orchid bark mix: A well-draining medium is crucial here. Think light and airy!
- Small pots or trays: With drainage holes, of course.
- Rooting hormone (optional, but recommended): This can give your cuttings a nice little boost.
- Clear plastic bag or dome: To create a humid environment.
- Spray bottle: For gentle misting.
- A warm spot: Bottom heat can be a game-changer.
Propagation Methods
For Disa borbonica, I’ve found that stem cuttings are generally the most reliable and rewarding method. Here’s how I do it:
- Select your cutting: Look for a healthy, non-flowering stem. You want a piece that’s about 4-6 inches long, with at least two to three leaf nodes (where the leaves attach).
- Make the cut: Using your sharp, sterile shears, make a clean cut just below a leaf node. This is where the magic of root development really happens.
- Prepare the cutting: Gently remove the lower leaves, leaving just a few at the top. This reduces water loss and helps the cutting focus its energy on rooting. If you’re using rooting hormone, dip the cut end into it now, tapping off any excess.
- Planting: Fill your small pot or tray with your well-draining potting mix. Make a small hole in the center with your finger or a pencil.
- Insert the cutting: Carefully place the cut end of the stem into the hole and gently firm the soil around it, ensuring the node where you removed the leaves is below the soil surface.
- Water and cover: Lightly water the soil. Then, cover the pot with a clear plastic bag or a propagator lid to maintain high humidity. You can also use a plastic bag supported by sticks to keep it off the leaves.
The “Secret Sauce”
Here are a couple of tricks I’ve picked up over the years that make a real difference:
- Wipe your leaves, don’t drown them: If you’re ever tempted to try water propagation with Disa borbonica (which I generally advise against for consistent success), never let the leaves touch the water. They’ll rot in a heartbeat. Always ensure only the stem is submerged.
- Embrace the cozy warmth: These little guys love a bit of gentle warmth from below. Using a heat mat under your propagation tray can significantly speed up root formation. It’s like a warm blanket for your cuttings!
Aftercare & Troubleshooting
Once your cuttings are in their pots and covered, place them in a bright spot that doesn’t get direct, scorching sunlight. Misting them lightly every few days will help maintain humidity.
You’ll know your cutting is happy when you see new leaf growth or feel a slight resistance when you gently tug on the stem – that’s a sign of roots! This can take anywhere from a few weeks to a couple of months.
The most common problem you’ll encounter is rot. This usually happens if the soil stays too wet or the humidity is too high without enough airflow. If you see leaves turning yellow and mushy, or the stem looks dark and slimy, malheureusement, it’s probably too late for that cutting. Don’t despair! Just discard it and try again. Good drainage and occasional airing out of the cover are your best defenses.
A Little Patience Goes a Long Way
Propagating Disa borbonica is a journey, not a race. There will be times when it feels like nothing is happening, and that’s okay. Just keep tending to your cuttings with love and attention, and eventually, you’ll be rewarded. Enjoy the process, celebrate every tiny sign of life, and before you know it, you’ll have a whole new collection of these gorgeous plants to admire! Happy gardening!
Resource:
https://identify.plantnet.org/k-world-flora/species/Disa%20borbonica%20Balf.f.%20&%20S.Moore/data