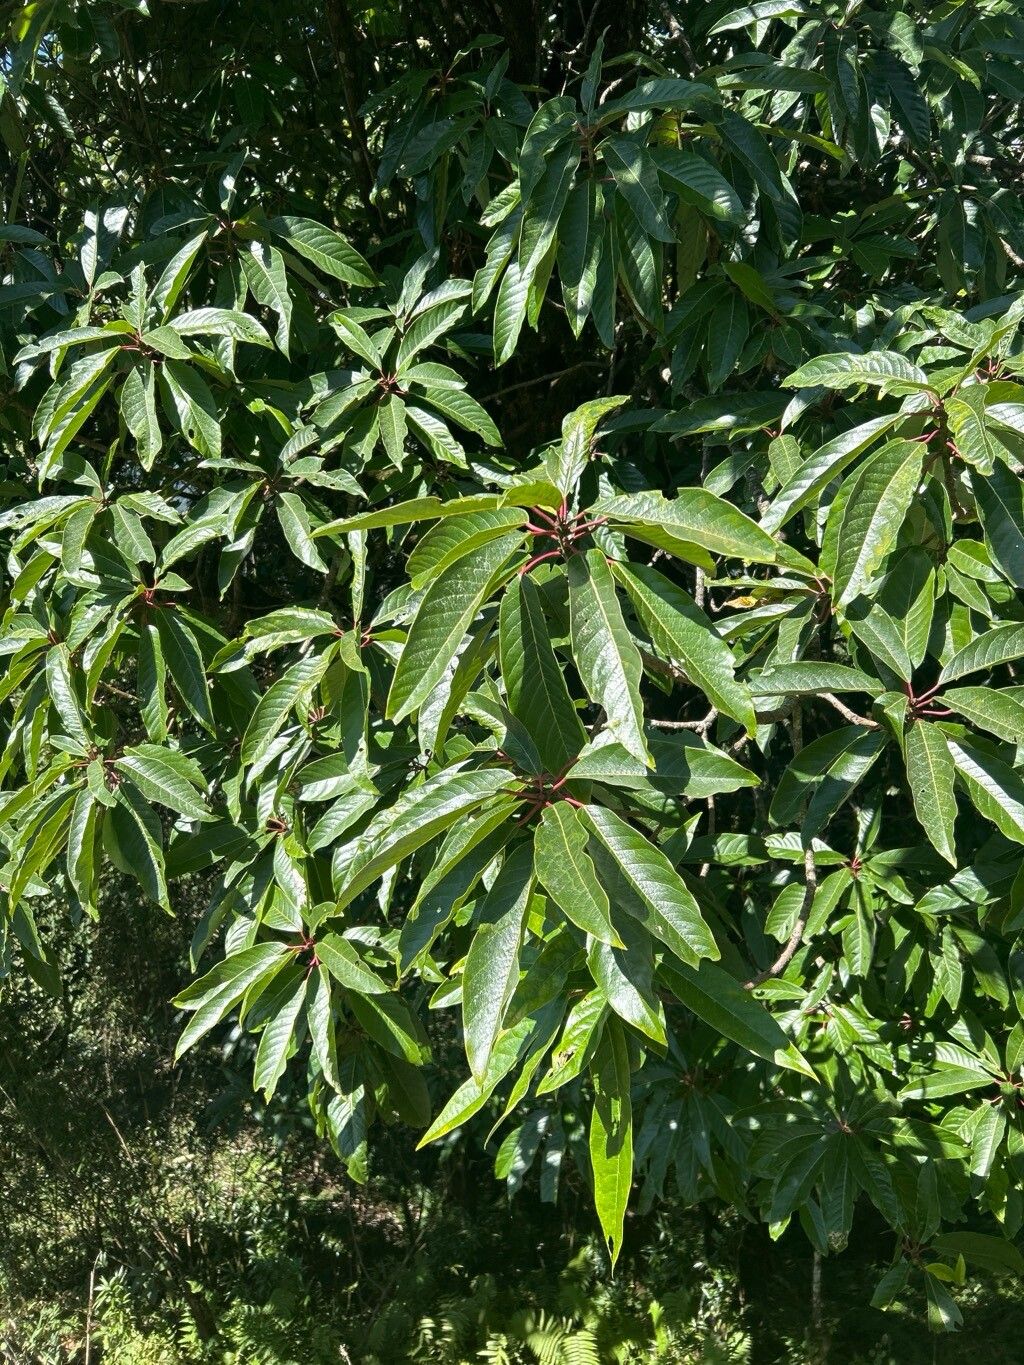
Hey there, fellow plant enthusiasts! I’m so excited to chat with you today about a truly beautiful and rather unique plant: Daphniphyllum chartaceum. Honestly, I’ve been growing these for years, and they never cease to amaze me with their glossy, leathery leaves and graceful, understated elegance. They bring a touch of sophistication to any garden or indoor space. And the best part? You can absolutely grow more of them yourself!
Propagating Daphniphyllum chartaceum isn’t necessarily a “set it and forget it” kind of deal, but with a little attention, you can absolutely succeed. It’s moderately challenging, meaning a beginner might need a bit more patience and observation, but I promise, the satisfaction of nurturing a new plant from a tiny cutting is an unmatched reward.
The Best Time to Start
For the highest success rate with Daphniphyllum, I always aim for late spring to early summer. This is when the plant is actively in its growth phase. You’ll be looking for new, soft growth – usually the current season’s shoots that are still a bit flexible. Avoid trying to propagate from old, woody stems; they just don’t have the youthful vigor needed to root easily.
Supplies You’ll Need
Gathering your supplies beforehand makes the whole process so much smoother. Here’s what I usually have on hand:
- Sharp Pruning Shears or a Clean Knife: This is crucial for making clean cuts to avoid damaging the parent plant and the cutting.
- Rooting Hormone: While not always strictly necessary, it significantly boosts your chances of success, especially with slightly trickier plants like this. I like to use a powder form.
- Propagating Medium: A well-draining mix is key. I usually go for a blend of perlite and peat moss, about a 50/50 ratio. Some folks like a mix of perlite and vermiculite, which also works wonderfully.
- Small Pots or Seedling Trays with Drainage Holes: You don’t need anything fancy! Clean plastic pots or even repurposed containers work perfectly, as long as they let excess water escape.
- Plastic Bags or a Humidity Dome: To create that humid environment cuttings crave.
- Watering Can or Spray Bottle: For gentle watering.
Propagation Methods: Stem Cuttings
This is by far the most common and effective way I propagate Daphniphyllum.
- Take Your Cuttings: Select healthy shoots that are about 4-6 inches long. Make a clean cut just below a leaf node (where a leaf attaches to the stem). Remove the lower leaves, leaving just a few at the top.
- Prepare the Cutting: Dip the cut end into rooting hormone, shaking off any excess.
- Plant Your Cuttings: Fill your small pots with your chosen propagating medium. Make a small hole with your finger or a pencil, and gently insert the cutting. Firm the soil gently around the stem.
- Water Gently: Water the soil thoroughly but avoid waterlogging it.
- Create a Humid Environment: Cover the pot with a clear plastic bag (making sure the leaves don’t touch the plastic if possible) or place it under a humidity dome. If using a bag, you can secure it with a rubber band around the pot.
- Provide Light and Heat: Place the pot in a bright, indirect light location. If you have a heat mat, placing the pots on it can greatly speed up rooting – I find this particularly helpful.
The “Secret Sauce” (Pro Tips)
Here are a couple of things I’ve learned over the years that make a real difference:
- Don’t Rush the Cut: When you take your cuttings, make sure the stem is firm enough to hold its shape but still easy to snap or cut cleanly. That sweet spot is usually where the new growth is just starting to harden off a bit.
- Bottom Heat is Your Friend: Seriously, if you can invest in a small seedling heat mat, do it. It mimics the warmth of a greenhouse floor and encourages those roots to form much faster. You’ll see a noticeable difference!
- Mist, Don’t Drench: While humidity is crucial, you don’t want soggy soil. I like to give the leaves a light misting every couple of days, in addition to making sure the soil stays consistently moist but not wet.
Aftercare & Troubleshooting
Once you start seeing new leaf growth or feel a bit of resistance when gently tugging on the cutting, that’s a good sign roots are forming!
- Acclimatize Slowly: Once you see roots, begin to gradually remove the plastic bag or humidity dome over a week or so. This helps the new plant adjust to normal humidity levels.
- Potting Up: Once they have a decent root system, you can pot them up into slightly larger pots with a good quality potting mix.
- Watch for Rot: The biggest enemy of cuttings is rot, which usually happens from overwatering or poor drainage. If you see leaves turning mushy and brown, or the stem at the soil line becoming black and soft, it’s likely rot. In this case, sadly, it’s usually too late for that particular cutting, but don’t be discouraged! You can try again, ensuring better drainage and water management. Fungal issues can also arise; good air circulation helps prevent this.
A Encouraging Closing
Growing new plants from cuttings is a journey, my friends. There will be successes, and perhaps a few moments of head-scratching. But with a bit of patience and the right approach, you’ll soon have a whole new generation of these beautiful Daphniphyllums to enjoy, or to share with friends. Just keep at it, observe your plants, and celebrate every little bit of progress. Happy propagating!
Resource:
https://identify.plantnet.org/k-world-flora/species/Daphniphyllum%20chartaceum%20K.Rosenthal/data