Hello there, fellow garden enthusiasts! Today, we’re going to dive into the wonderful world of propagating one of my personal favorites: Crataegus phaenopyrum, also known as the Washington Hawthorn.
Why Grow Washington Hawthorn?
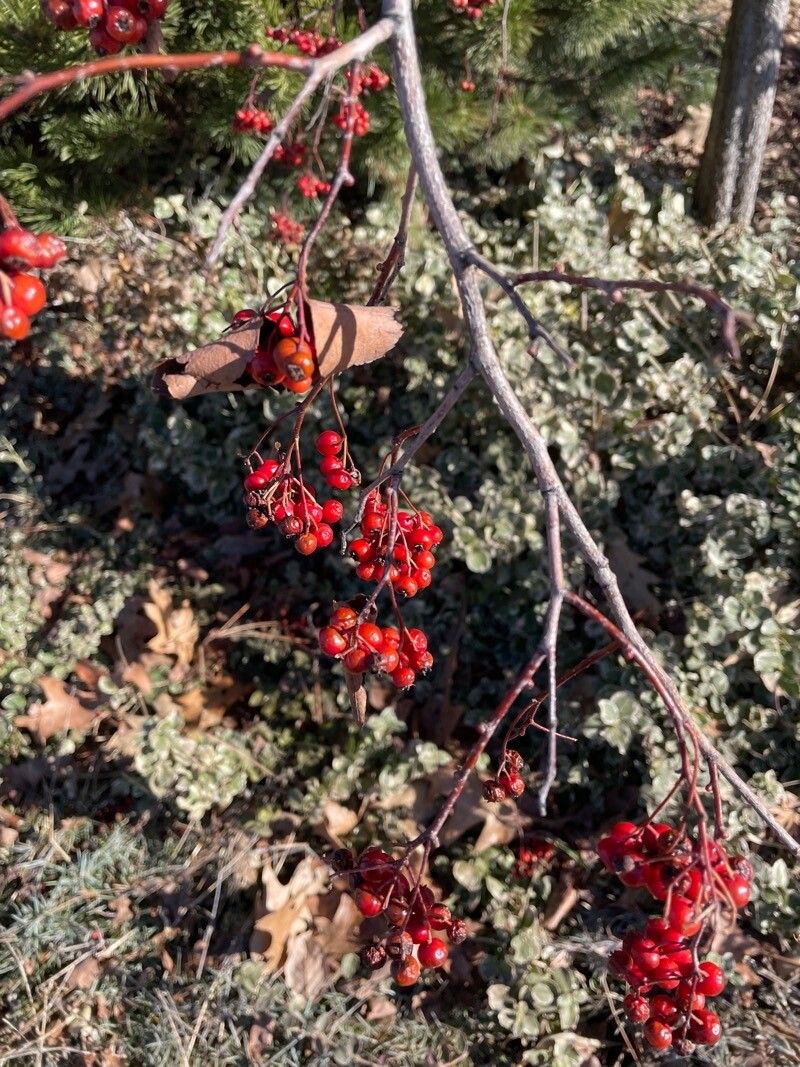
This tree is simply a delight. Its delicate white flowers in spring give way to a spectacular display of vibrant red fruit in the fall and winter, a true beacon for birds and a splash of color in the colder months. Plus, its attractive form makes it a lovely addition to any landscape. Propagating it is incredibly rewarding. While it might take a little patience, it’s certainly achievable for most home gardeners, even those just starting out on their propagation journey.
When to Get Your Hands Dirty
The absolute best time to take cuttings from your Washington Hawthorn is during the late spring to early summer, when the new growth is semi-hardened. You’re looking for stems that have started to firm up but aren’t yet woody and rigid. They should snap cleanly when bent, rather than just bending over. This is when they have the most vigor and are primed for rooting.
Your Propagation Toolkit
Gathering your supplies is half the fun! Here’s what you’ll want to have on hand:
- Sharp Pruning Shears or a Knife: Clean cuts are key!
- Rooting Hormone (Powder or Gel): This is a game-changer for encouraging root development.
- Perlite and Peat Moss (or a good quality seed starting mix): A well-draining medium is crucial. I often use a 50/50 mix.
- Small Pots or Trays with Drainage Holes: About 4-6 inches deep works well.
- Plastic Bags or a Domes: To create a humid environment.
- Watering Can with a Fine Rose: For gentle watering.
- A Small Trowel or Dibber: For making holes in the soil.
- Optional: A Heat Mat: For encouraging faster rooting.
Let’s Get Propagating: Stem Cuttings
This is my go-to method for Washington Hawthorn. It’s tried and true!
- Take Your Cuttings: Head out to your tree during that prime late spring/early summer window. Select healthy, one-year-old shoots that are about pencil-thick. You want cuttings that are 6 to 8 inches long.
- Prepare the Cuttings: Using your clean shears, make a cut just below a leaf node (where a leaf attaches to the stem). Strip off the lower leaves, leaving just 2-3 at the top. This helps reduce water loss.
- Dip in Rooting Hormone: Moisten the bottom inch of each cutting. Then, dip it into your rooting hormone, tapping off any excess. This step significantly boosts your success rate.
- Pot Them Up: Fill your pots with your chosen well-draining mix. Make a hole in the center of the soil with your trowel or dibber. Carefully insert the cutting into the hole, ensuring the bottom leaf nodes are below the soil surface. Gently firm the soil around the cutting.
- Water and Cover: Water the soil thoroughly until you see water drain from the bottom. Then, place your pots inside a clear plastic bag or cover them with a propagator dome. This creates a humid microclimate, which is essential for preventing the cuttings from drying out.
The “Secret Sauce” from My Garden
Here are a few things I’ve learned over the years that really make a difference:
- Don’t Let Leaves Touch the Water: If you decide to try water propagation (which can work for hawthorns, though not always as reliably as cuttings), make sure absolutely no leaves are submerged in the water. Rot will set in very quickly.
- Bottom Heat is Your Friend: While not strictly necessary, placing your pots on a gentle heat mat can dramatically speed up root formation. Think lukewarm, not hot! It mimics the warmth of the soil in spring.
- “Wound” Your Cuttings (Carefully!): For tougher woody cuttings, I sometimes make two tiny vertical slits on opposite sides of the very bottom of the stem. This exposes more cambium tissue, which can encourage faster rooting. Do this after dipping in rooting hormone.
Aftercare and What to Watch For
Once your cuttings are potted up, place them in a bright spot out of direct sunlight. Keep the soil consistently moist but not waterlogged. Peek under the plastic regularly to check for moisture and air things out a bit to prevent fungal issues.
You’ll know your cuttings are rooting when you see new leaf growth or gently tug on a cutting and feel resistance. This can take anywhere from 4 to 8 weeks, sometimes longer. Be patient!
The main thing to watch out for is rot. If your cuttings start to look mushy, black, or slimy, they’ve likely rotted. This usually happens from too much moisture or poor drainage, or not enough air circulation. Don’t despair if some don’t make it – that’s part of the learning process!
Happy Propagating!
There you have it – a straightforward path to growing more of these charming Washington Hawthorns. Remember, gardening is a journey of patience and observation. Enjoy the process, celebrate every tiny root you find, and soon you’ll have a whole new generation of beautiful trees to share or plant in your own evolving garden. Happy growing!
Resource:
https://identify.plantnet.org/k-world-flora/species/Crataegus%20phaenopyrum%20(L.f.)%20Medik./data