Hello, fellow plant enthusiasts! It’s so lovely to have you join me today. I’ve been tending to plants for a good two decades now, and if there’s one thing I’ve learned, it’s that there’s a special kind of magic in coaxing new life from an existing plant. And today, we’re diving into the delightful world of Conophytum bolusiae.
Why You’ll Love Propagating Conophytum Bolusiae
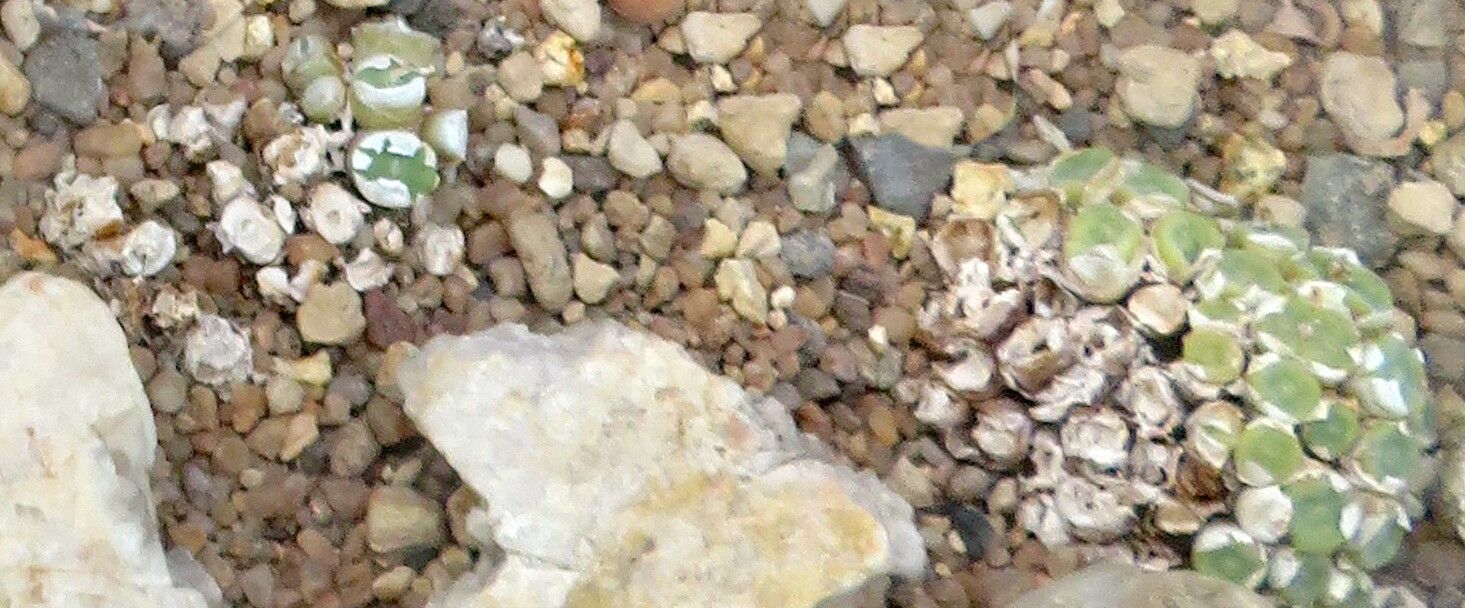
These little gems, often called “living pebbles” or “button plants,” are simply captivating. Their fascinating forms and often vibrant colors make them a real statement piece in any succulent collection. Propagating them can be incredibly rewarding. Watching a tiny fragment transform into a healthy, new plant gives you a real sense of accomplishment. Now, let’s be honest, Conophytum bolusiae isn’t the absolute easiest succulent for a complete beginner, but with a little attention to detail and patience, you can absolutely succeed. Don’t let that stop you!
The Best Time to Start
For Conophytum bolusiae, the sweet spot for propagation is during its active growing season. This typically falls in the late summer through early autumn, as the days start to cool down a bit and before the plant enters its winter dormancy. You’ll see them plump up and looking their best then. Trying to propagate when they’re stressed or dormant is like asking a sleepy animal to run a marathon – it’s just not going to work as well.
Supplies You’ll Need
Gathering your tools beforehand makes the whole process smoother sailing. Here’s what I always have on hand:
- Well-draining soil mix: A cactus and succulent mix is a great start. I like to amend mine with a bit of perlite or pumice to ensure excellent drainage. Think of it like a well-draining pastry dough – you don’t want it to be heavy or sticky!
- Sharp, sterile pruning shears or a clean knife: For making clean cuts. Sterilizing with rubbing alcohol is crucial to prevent disease.
- Small pots or trays: Clean containers with drainage holes are a must. Think terracotta or plastic seedling trays.
- Rooting hormone (optional but helpful): A powdered rooting hormone can give your cuttings a little boost.
- A fine-tipped watering can or spray bottle: For gentle watering.
- Plastic bag or cloche (for humidity): To create a mini-greenhouse environment.
- A well-lit location: Bright, indirect light is ideal.
Propagation Methods: Bringing New Life
There are a couple of ways to go about this, but division is usually the most successful for Conophytum bolusiae.
Method 1: Division (The Most Reliable Way!)
Conophytum bolusiae naturally form clumps over time. This makes division the easiest and most rewarding method.
- Gently remove the plant from its pot. If it’s stuck, don’t force it. You can tap the sides of the pot or, very carefully, use a butter knife around the edge.
- Examine the clump. Look for natural divisions where new stems or bodies have grown from the main plant. You’re looking for pieces that already have a few body segments.
- Carefully separate the divisions. Use your clean fingers or a sterile tool to gently pull or twist the sections apart. You want to preserve as much of the root system as possible on each division. Don’t be afraid if a few tiny roots break; it’s normal.
- Allow the divisions to callous. This is super important! Place the separated pieces on a dry paper towel in a well-ventilated area for 2-3 days. This allows any cuts to dry and form a protective ‘skin,’ which helps prevent rot when you plant them.
- Potting up. Fill your small pots with your well-draining soil mix. Make a little well in the center and gently place the calloused division in. You want the base of the plant to be just at the soil surface. You don’t need to bury it deeply.
- Watering (Very Sparingly!): After potting, wait another day or two before giving them their first, very light watering. You want the soil to be barely moist, not wet.
Method 2: Leaf Cuttings (A Bit More Patience Required)
While less common and often slower for Conophytum bolusiae, you can try with individual body segments. This is best attempted when the plant is plump and healthy.
- Select a healthy, mature body segment. Gently twist or carefully cut a single, plump segment from the parent plant.
- Let it callous. Just like with divisions, lay the segment on a dry paper towel in a bright, airy spot for 3-5 days to form a callous.
- Place on soil. Fill a shallow tray or pot with your succulent mix. Lay the calloused leaf segment directly on top of the soil. Do not bury it.
- Mist lightly. You can gently mist the surface of the soil every few days, just enough to keep it barely humid. The goal is to encourage root and new growth without causing the segment to rot.
The “Secret Sauce” (Pro Tips from My Garden)
Here are a few tricks I’ve picked up that can really make a difference:
- Don’t overwater, ever. This is the golden rule for all succulents, but especially for propagations. It’s so easy to drown a little cutting. When in doubt, wait. A dry plant can recover; a rotted one cannot.
- Bottom heat is your friend. If you’re propagating in a cooler environment, a gentle heat mat placed underneath your pots can significantly speed up root development. It mimics the natural warmth of the soil.
- Patience is a virtue, and a necessity. Especially with leaf cuttings, you might see nothing for weeks. Resist the urge to fiddle! Let them do their thing. Even with divisions, it can take a bit for them to establish.
Aftercare & Troubleshooting
Once your new Conophytums have started to show signs of life – whether that’s tiny roots peeking out or a small new growth emerging – you can slowly transition them to more regular care.
- Continue with bright, indirect light. Avoid direct hot sun, which can scorch these young plants.
- Watering rhythm. Once you see roots, you can start watering a little more normally, but always allow the soil to dry out completely between waterings. This is crucial.
- Dealing with rot. The biggest sign of trouble is mushy, discolored tissue, usually starting at the base. If you see this, act fast. Remove the affected part with a sterile knife, allow any clean sections to callous again, and try replanting. Sometimes, sadly, it’s a loss, but don’t get discouraged.
Happy Growing!
Propagating Conophytum bolusiae is a journey, and like any good journey, it’s about the experience. Be patient, observe your little ones closely, and enjoy the process of watching them grow. You’ve got this! Happy gardening!
Resource:
https://identify.plantnet.org/k-world-flora/species/Conophytum%20bolusiae%20Schwantes/data