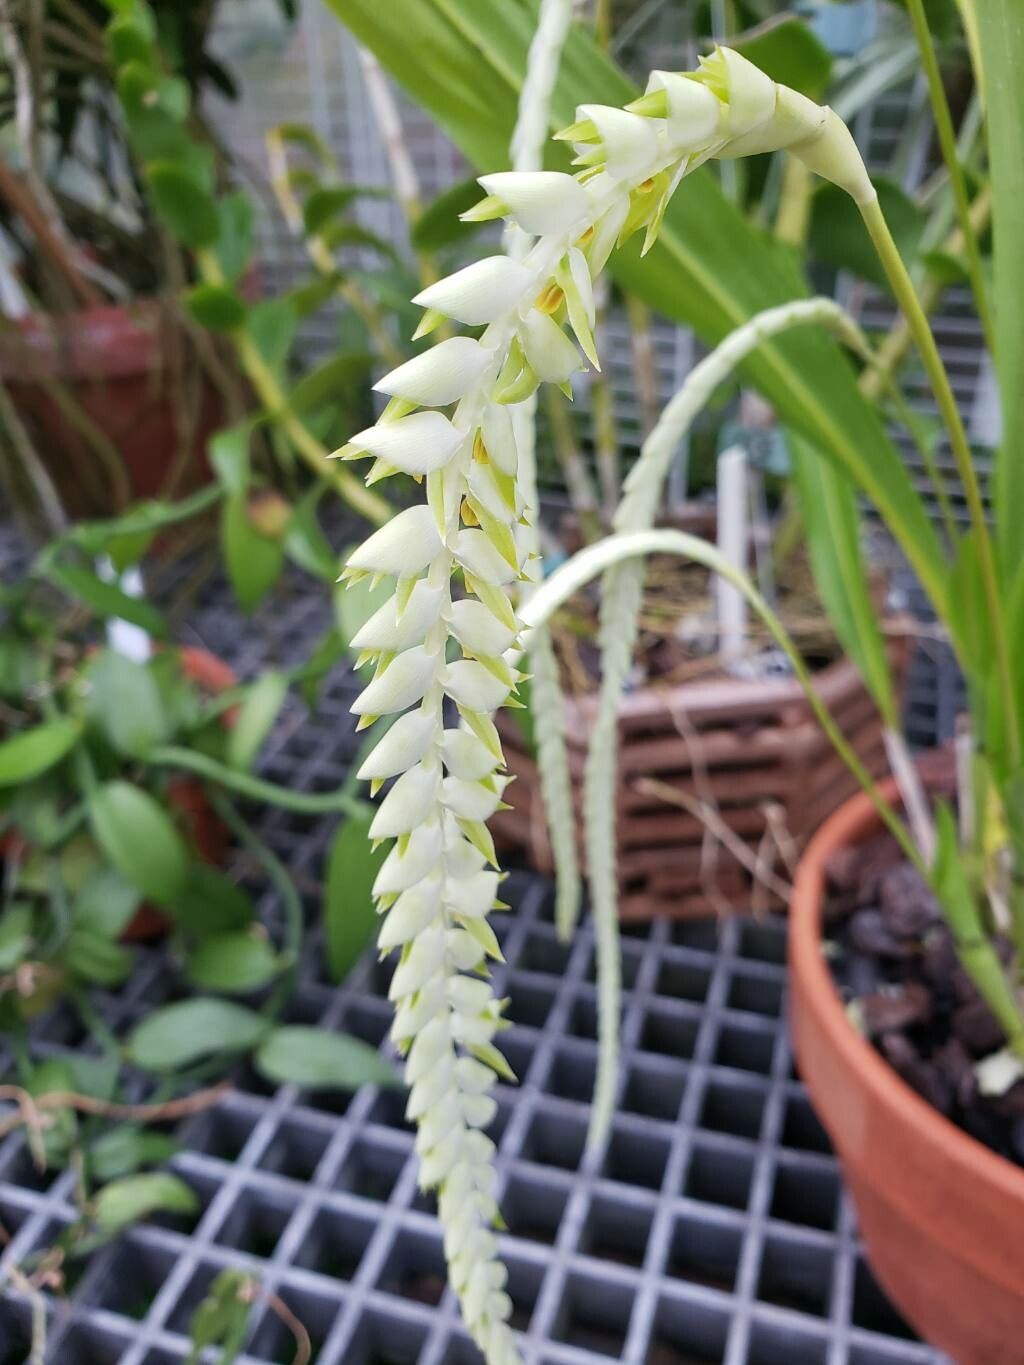
Oh, Coelogyne magna! What a beauty to have gracing your home. Those ruffled petals and that lovely fragrance are just about irresistible. If you’ve fallen for this orchid, you’re in for a treat. Propagating them is so rewarding – it’s like giving the gift of more beauty, and there’s a special kind of joy in nurturing something from a tiny piece into a full-blown plant. Now, is it a breeze for absolute beginners? I’d say it has a slight learning curve, but with a little patience and following these tips, you’ll do wonderfully.
When’s the Magic Moment?
The best time to propagate Coelogyne magna is generally after it has finished flowering. You want to see good, active growth happening. Think spring or early summer, when the days are getting longer and brighter, and the plant is pushing out new shoots or pseudobulbs. This is when it has the most energy to dedicate to making new roots.
What You’ll Need to Get Started
Here’s a little kit to have ready. Don’t worry if you don’t have everything at first; we can make do!
- Sharp, STERILE Pruning Shears or a Clean Knife: Essential for making clean cuts to prevent disease. I like to give mine a wipe with rubbing alcohol between cuts.
- Potting Medium: For division, a good orchid mix is key. I prefer a bark-based mix with perlite and charcoal. For stem cuttings, you might try perlite or sphagnum moss that’s been well-moistened.
- New Pots or Seedling Trays: Small, clean pots are perfect for your new divisions or cuttings.
- Rooting Hormone (Optional but helpful): A little dip in this can give those new roots a head start.
- Watering Can or Spray Bottle: For gently moistening your new propagations.
- Patience! It’s the most important tool, really.
Let’s Get Propagating!
The most successful way to propagate Coelogyne magna is through division. These orchids grow in clumps, and dividing them is usually the best bet.
- Gently Remove from Pot: Carefully take your Coelogyne magna out of its current pot. You might need to tap the sides or gently loosen it. If the roots are really stuck, don’t force it too hard; a little patience here saves a lot of heartache later.
- Clean the Roots: Gently brush away as much of the old potting mix as you can. You want to see those roots clearly.
- Identify Divisions: Look for sections of the plant that have at least 2-3 healthy pseudobulbs and a strong root system. These are your potential new plants.
- Make the Cut: Using your sterile pruning shears or knife, carefully cut between the chosen divisions. Try to keep as many roots intact as possible for each new piece. If there are older, leafless pseudobulbs that seem a bit spent on the back of a division, you can often remove those to direct the plant’s energy to the more vital parts.
- Pot Up Your New Plants: Plant each division in its own small pot with fresh orchid mix. Make sure the pseudobulbs are sitting just at the surface of the mix. Gently firm the mix around the roots.
- Water Lightly: Give your newly potted plants a very light watering. You don’t want to drown them.
My “Secret Sauce” Tips
Here are a few little tricks I’ve learned over the years that can really make a difference:
- Don’t Overwater New Divisions: This is crucial! Your new divisions don’t have established root systems to take up a lot of water. They are much more susceptible to rot than established plants. Water sparingly for the first few weeks, just enough to keep the potting medium lightly moist. You’ll get a feel for it.
- Consider Bottom Heat: If you’re propagating during a cooler time of year, placing your pots on a gentle seedling heat mat can really encourage root development. Just make sure it’s not too hot – think of it as cozy warmth, not a bake!
- “Rest” Them First: After dividing, I like to let my new plants sit for a day or two in a dry-ish spot before their first light watering. This allows any small cuts to callus over a bit, reducing the risk of infection.
Aftercare and What to Watch For
Once your Coelogyne magna divisions are potted, give them a bright, indirect light spot. Keep them out of harsh sun. Water them only when the potting mix is starting to dry out – and remember, sparingly at first!
Keep an eye out for signs of trouble. The most common issue is rot. If you see mushy, brown or black pseudobulbs, that’s a clear sign of too much moisture. Unfortunately, rot is hard to recover from. On the flip side, if the leaves start to look a bit limp and wrinkled, it might mean they need a tiny bit more water, but don’t overdo it! Good new root growth is the ultimate goal, and you’ll see plump roots emerging from the base eventually.
Keep Growing!
Propagating orchids can feel a bit nerve-wracking at first, but with Coelogyne magna, it’s a very achievable and wonderfully satisfying endeavor. Celebrate each tiny bit of progress, be patient through the quiet stages, and know that you’re nurturing new life. Happy growing, and enjoy those beautiful blooms for years to come!
Resource: