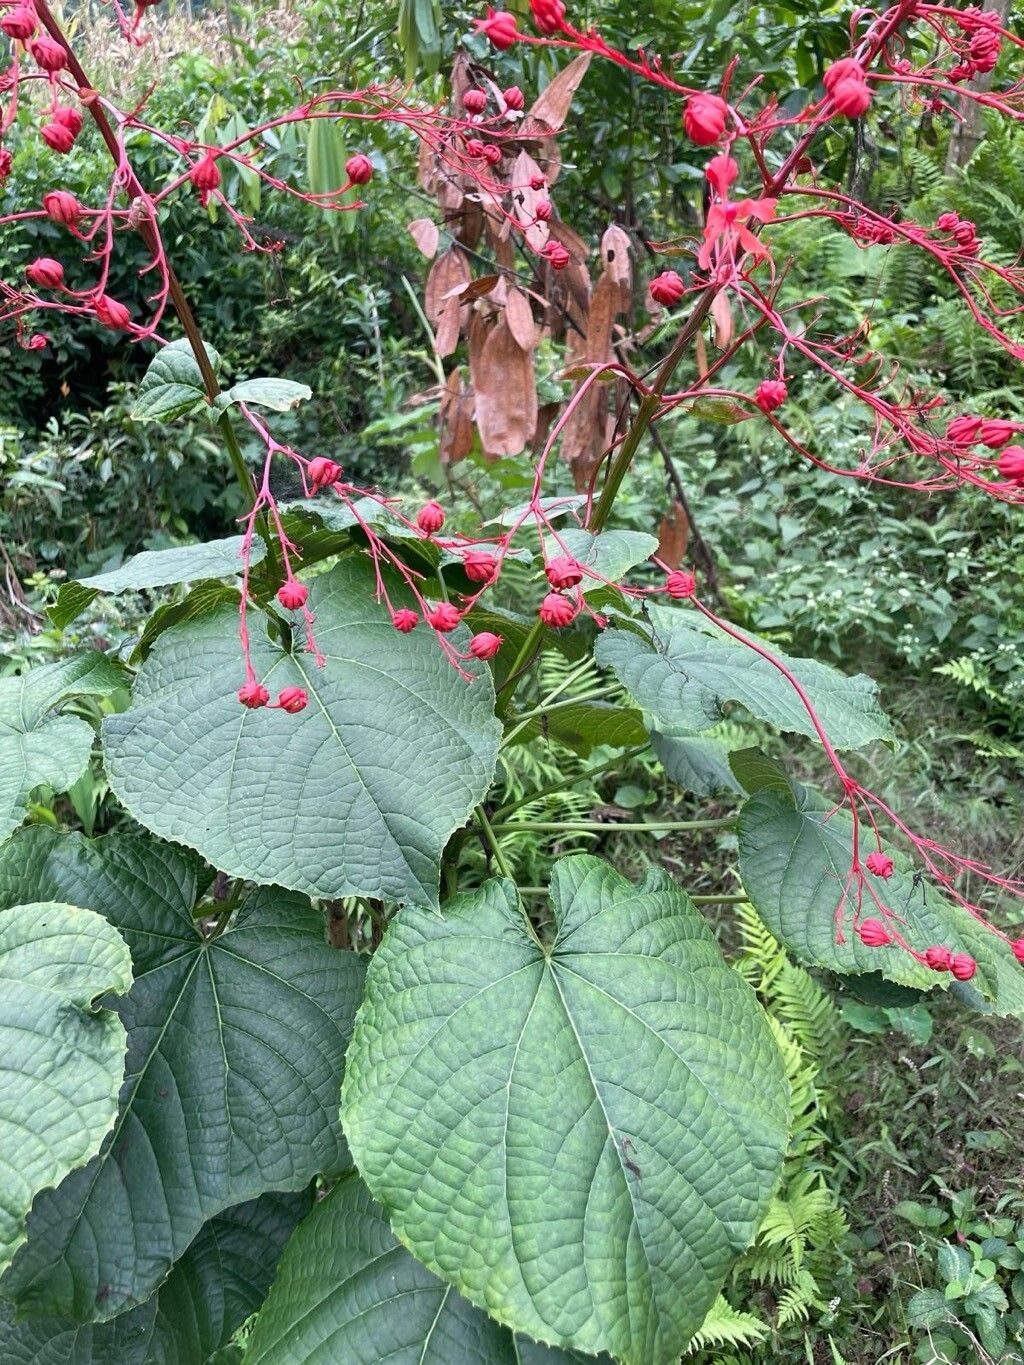
Hello fellow plant lovers! Welcome to my little corner of the internet. Today, we’re diving into the wonderfully fragrant world of Clerodendrum japonicum, often called Japanese Glory Bower. If you’ve ever been captivated by its clusters of vibrant, often pink or red, tubular flowers and the way butterflies just flock to it, you’re not alone. Growing these beauties from scratch is a truly satisfying experience, like nurturing a little piece of magic into existence. And the good news? I find Clerodendrum japonicum to be quite generous with its propagation, making it a rewarding project for even those newer to the plant parenting scene.
The Best Time to Start
For Clerodendrum japonicum, your best bet for propagation success is during its active growing season. Think late spring through early to mid-summer. This is when the plant is putting on new growth, and your cuttings will have the energy they need to root. You want to take cuttings from stems that are semi-hardwood – not brand new, soft growth, but not old, woody stems either. They should be flexible enough to bend without snapping.
Supplies You’ll Need
Gathering your tools before you begin always makes the process smoother. Here’s what I typically have on hand:
- Sharp pruning shears or a clean, sharp knife: For making clean cuts.
- Rooting hormone powder or gel: Highly recommended to speed up root development.
- Well-draining potting mix: A good blend of peat moss or coco coir, perlite, and a bit of compost works wonders. You can also buy a specific seed-starting mix.
- Small pots or trays with drainage holes: Clean containers are key to preventing disease.
- Plastic bags or a propagation dome: To create a humid environment for cuttings.
- Watering can with a fine rose: For gentle watering.
Propagation Methods
I find that stem cuttings are the most reliable and straightforward method for Clerodendrum japonicum. Here’s how I do it:
- Take Your Cuttings: In late spring or summer, select healthy, non-flowering stems. Using your clean shears or knife, take cuttings that are about 4-6 inches long. Make the cut just below a leaf node (where a leaf attaches to the stem).
- Prepare the Cuttings: Gently remove the lower leaves from the cutting, leaving only the top two or three leaves. If the leaves are very large, I’ll often trim them in half horizontally. This reduces water loss through transpiration while still allowing the plant to photosynthesize.
- Apply Rooting Hormone: Dip the cut end of each stem into your rooting hormone. Tap off any excess so you have a nice, even coating.
- Plant Your Cuttings: Fill your small pots or trays with your prepared potting mix. Make a hole in the center with your finger or a pencil, then insert the cutting so the bottom leaf nodes are also buried. Gently firm the soil around the stem.
- Create a Humid Environment: Water the soil gently until it’s moist but not soggy. Then, cover the pots with a clear plastic bag, a propagation dome, or even an overturned plastic bottle. Make sure the plastic doesn’t touch the leaves of your cuttings. If you’re using a bagged method, you might want to prop the bag up with a few small stakes.
Alternatively, for a quicker, though sometimes less successful, method:
- Water Propagation: Simply take your prepared cuttings (same as step 1 & 2 above) and place them in a jar or vase filled with clean water. Ensure no leaves are submerged below the water line, as they will rot. Change the water every few days to keep it fresh. Once you see good root development (about half an inch to an inch long), you can carefully transplant them into potting soil.
The “Secret Sauce” (Pro Tips)
After years of fiddling, I’ve picked up a few tricks that seem to make all the difference:
- Wipe it Down: If you’re using a plastic bag to cover your cuttings, give the inside of the bag a gentle wipe with a clean paper towel. This helps prevent excessive condensation and the risk of fungal diseases that thrive in stagnant, overly wet environments.
- Bottom Heat is Your Friend: For stem cuttings, placing your pots on a gentle heating mat designed for plants can significantly speed up root formation. It mimics the warmth of the soil in summer and gives your cuttings that extra boost they need. Just make sure the mat isn’t getting too hot – barely warm to the touch is perfect.
- Patience with the Potting Mix: When potting up your cuttings from water propagation, don’t be tempted to use a heavy potting soil. Start with a lighter, fluffier mix and water it well beforehand. This makes it easier for those delicate new roots to push through and establish themselves without getting waterlogged.
Aftercare & Troubleshooting
Once you see those tiny roots starting to emerge, congratulations! It’s time for a little more careful attention.
- Acclimation: Gradually introduce your rooted cuttings to drier air. If they’re under a plastic bag, start by loosening the bag for a few hours each day. Then, remove it entirely for longer periods.
- Light and Water: Place your young plants in a spot with bright, indirect light. Water them when the top inch of soil feels dry. They’re still delicate, so avoid letting them dry out completely or become waterlogged.
- Signs of Trouble: The most common issues you’ll encounter are rot (if the cuttings are too wet or not getting enough air circulation) or failure to root. Rotting usually manifests as mushy, black stems. If you see this, it’s often best to discard the affected cutting and try again, ensuring better drainage and airflow for your next attempt. If a cutting just seems to be wilting and not developing roots after a few weeks, it may simply not have taken.
A Little Encouragement
Propagating plants is a journey, a beautiful dance with nature. Don’t get discouraged if your first few attempts aren’t perfect. Every gardener has had their share of cuttings that didn’t make it. The key is to keep trying, adjust your methods, and learn from each experience. Enjoy the process, and soon you’ll have a whole garden full of your own glorious Glory Bowers to share!
Resource:
https://identify.plantnet.org/k-world-flora/species/Clerodendrum%20japonicum%20(Thunb.)%20Sweet/data