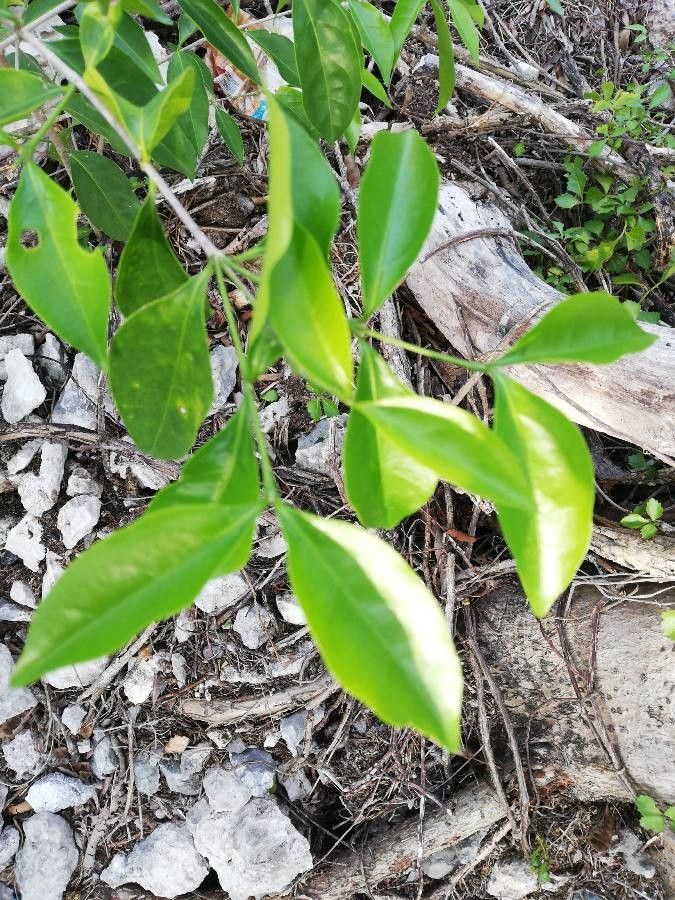
Oh, I’m so glad you’re interested in Bunchosia swartziana! It’s a truly special fruit, isn’t it? Sometimes called the “Plum of the Amazon” or “Ox-Heart,” its lovely red, plum-like fruits have a unique sweet and slightly tart flavor that just brightens up any snack. Plus, the plant itself is quite attractive with its glossy green leaves.
Propagating it yourself is such a rewarding journey. You get to witness that miracle of new life unfolding right before your eyes, and before you know it, you’ll have more delicious fruits to share! Now, to be perfectly honest, Bunchosia swartziana can be a little finicky for absolute beginners with propagation, but with a bit of patience and care, you absolutely can succeed. Think of it as a rewarding challenge, not an impossible one!
The Best Time to Start
For Bunchosia swartziana, late spring or early summer is usually your golden ticket. This is when the plant is actively growing, bursting with energy. You want to take cuttings from current year’s growth, which is often a bit softer and more pliable than old, woody stems. This active growth phase means the plant is more receptive to rooting.
Supplies You’ll Need
Here’s what I like to have on hand when I’m propagating Bunchosia swartziana:
- Clean, sharp pruning shears or a hobby knife: For making clean cuts to prevent disease.
- Rooting hormone powder or gel: This is a great booster, especially for woody plants. I’ve found the powder to be quite effective.
- A well-draining potting mix: I often use a blend of equal parts perlite, peat moss, and coco coir. You can also find commercial seed-starting or propagation mixes.
- Small pots or trays with drainage holes: Terracotta or plastic pots work equally well.
- A clear plastic bag or humidity dome: To create that essential humid environment.
- A small watering can or mister: For gentle watering.
- Labels and a marker: To keep track of your cuttings!
Propagation Methods
While you can try Bunchosia swartziana from seed, it can be quite slow and the germination rates aren’t always the highest. For a more reliable and faster result, stem cuttings are my go-to.
Stem Cuttings:
- Select your cutting: Choose a healthy, vigorous stem that’s about 4-6 inches long. Look for stems that have grown this season (they’ll be greener and more flexible than older, woody branches).
- Make the cut: Using your clean shears, make a clean cut just below a leaf node. A leaf node is where a leaf attaches to the stem. This is where the magic of rooting hormones tends to work best.
- Prepare the cutting: Gently remove the leaves from the bottom half of the cutting. You can also trim any very large leaves in half horizontally – this reduces water loss through transpiration.
- Apply rooting hormone: Dip the cut end into your rooting hormone powder or gel. Tap off any excess. Don’t be shy with it; it helps give your cutting a real head start.
- Plant your cutting: Fill your small pot with your prepared well-draining potting mix. Make a small hole in the center with your finger or a pencil.
- Insert the cutting: Gently place the calloused end of the cutting into the hole and firm the soil around it. Make sure at least one leaf node is buried beneath the soil surface.
- Water gently: Water lightly to settle the soil.
- Create humidity: Place the pot inside a clear plastic bag or cover it with a humidity dome. Ensure the leaves don’t touch the plastic if possible. Prop it up with a few sticks if needed. This traps moisture, which is crucial for the cutting to survive before it develops its own roots.
- Provide light and warmth: Place the pot in a bright, indirect light location. Avoid direct sun, which can scorch the tender cutting. A little gentle warmth from the bottom can also be beneficial, so a heating mat designed for seedlings is a nice addition if you have one.
The “Secret Sauce” (Pro Tips)
Here are a few things I’ve learned over the years that can really make a difference:
- Keep it humid, but not soggy: While humidity is key, you don’t want the soil to be waterlogged. This is a prime recipe for rot. The leaves should look turgid and fresh, but the soil should feel moist, not like a swamp. I like to peek inside the bag every few days to check the moisture level and give it a light mist if needed.
- The power of the parent plant: When you’re taking cuttings, try to take them from a healthy, well-established plant that is already producing fruit. This implies it’s a robust specimen, and you’re essentially taking a “chip” off a success story.
- Be patient with water propagation (if you try it): While I prefer cuttings in soil, some folks find success with water. If you go this route, never let the leaves touch the water. Submerge only the nodes where you removed the leaves. Change the water every couple of days to keep it fresh and oxygenated.
Aftercare & Troubleshooting
Once your cuttings start showing signs of rooting – this could be new leaf growth or when you gently tug and feel resistance – it’s time to transition them!
- Gradual acclimatization: Slowly remove the plastic bag or humidity dome over a week or two. Start by opening it for a few hours a day, then gradually increase the time. This prevents shock.
- Potting up: Once you see good root development (you might see roots peeking out of the drainage holes, or new growth is clearly visible), you can pot it up into a slightly larger pot with more of your regular potting mix.
- Watering: Water thoroughly after potting up. Then, water when the top inch of soil feels dry.
- Troubleshooting: The most common issue you’ll face is rot. If your cutting turns black and mushy, it’s likely rotted due to too much moisture or a lack of air circulation. Don’t despair! You can sometimes take a healthy portion of a rotting stem and try again. Another sign of stress is wilting leaves that don’t perk up after misting. This often indicates it hasn’t rooted yet and is losing water too quickly, so double-check that humidity is adequate.
A Little Encouragement
Propagating Bunchosia swartziana is a beautiful way to connect with nature. Don’t be discouraged if your first few attempts aren’t perfect. Every gardener has their learning curve! Embrace the process, celebrate the little victories, and before you know it, you’ll have your very own little Bunchosia swartziana to nurture and, hopefully, to enjoy its delicious harvest from in the years to come. Happy gardening!
Resource:
https://identify.plantnet.org/k-world-flora/species/Bunchosia%20swartziana%20Griseb./data