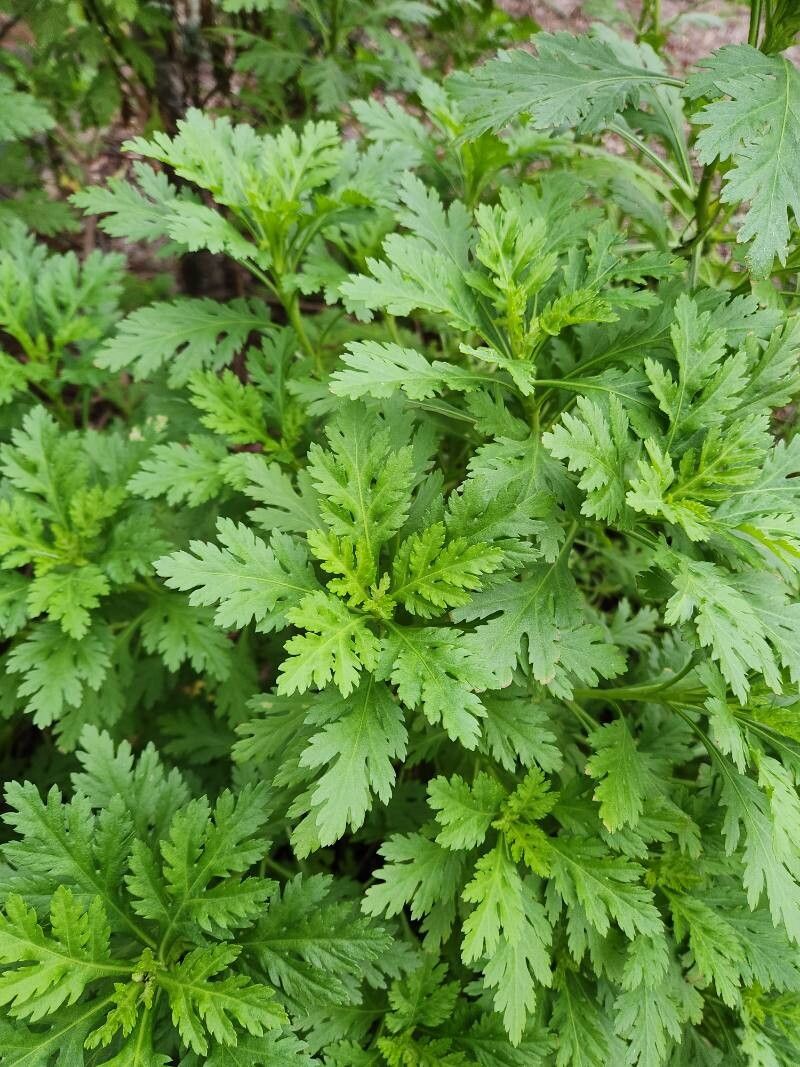
Hey there, fellow plant enthusiasts! If you’ve ever been captivated by the cheerful, daisy-like blooms of Argyranthemum broussonetii, you’re in for a treat. This charming shrub, often called Moroccan daisy or Moroccan chrysanthemum, brings such a lovely burst of color to the garden. And guess what? Propagating your own is totally achievable and incredibly rewarding. I’ve been coaxing new life from these beauties for years, and I’m excited to share how you can too. For beginners, I’d say it’s moderately easy, especially if you follow a few key steps.
The Best Time to Start
The sweet spot for propagating Argyranthemum broussonetii is generally late spring or early summer. This is when the plant is actively growing, producing plenty of fresh, yet not woody, stems. You’re looking for stems that feel firm but still have some flexibility – not completely hardened off, but not whisper-soft new shoots either.
Supplies You’ll Need
Gathering your tools beforehand makes the whole process smoother. Here’s what I usually have on hand:
- Sharp pruning shears or a clean, sharp knife: For making clean cuts.
- Rooting hormone powder or gel: This isn’t strictly essential, but it gives your cuttings a significant boost.
- Well-draining potting mix: I like a blend of equal parts peat moss or coco coir and perlite, or a commercial seedling mix.
- Small pots or trays: Clean pots are key to preventing disease.
- Plastic bags or a propagator lid: To keep humidity high.
- Watering can or spray bottle: For gentle watering.
Propagation Methods
I’ve found stem cuttings to be the most reliable method for Argyranthemum broussonetii. Here’s how I do it:
- Select Your Cuttings: Choose healthy, non-flowering stems about 4-6 inches long. Look for stems that have recently stopped flowering, or where flowers have been removed.
- Make the Cut: Using your clean shears or knife, make a clean cut just below a leaf node. A leaf node is where a leaf emerges from the stem. This is where roots are most likely to form.
- Prepare the Cuttings: Gently remove the lower leaves from the stem, leaving just a few at the top. This prevents them from rotting in the soil and reduces moisture loss.
- Apply Rooting Hormone (Optional but Recommended): Dip the cut end of the stem into your rooting hormone, tapping off any excess.
- Plant Your Cuttings: Moisten your potting mix so it’s damp but not soggy. Make small holes in the mix with a pencil or your finger, and insert the cuttings about an inch deep. Firm the soil gently around them.
- Create a Humid Environment: Water lightly. Then, cover the pot with a plastic bag, securing it with a rubber band, or place it inside a propagator with the lid on. Make sure the leaves don’t touch the plastic if possible! You can stick a few small stakes in the pot to hold the bag up.
The “Secret Sauce” (Pro Tips)
Now, for a couple of little tricks that have really upped my success rate:
- Don’t let the leaves touch the water. If you’re doing a water propagation experiment (which I’ve tried, and it can work, but soil is more consistent!), make sure only the very bottom of the stem is submerged. Leaves sitting in water tend to rot very quickly, taking your cutting with them.
- Bottom heat is your friend. If you have a heating mat designed for seedlings, placing your pots on it can make a huge difference. It encourages root development and speeds things up considerably. I find it particularly helpful if the weather isn’t as warm as I’d like.
Aftercare & Troubleshooting
Once your cuttings are potted, the real waiting game begins. Keep the soil consistently moist but not waterlogged. Check the humidity inside the bag or propagator regularly and mist if it seems dry. After a few weeks, you should start to see new growth. A good sign that roots are forming is when the plant starts to perk up and look vigorous again.
The most common issue you’ll face is rot. If a cutting turns black and mushy, it’s a goner. This usually happens due to too much moisture and poor air circulation. Don’t be discouraged; just discard the failed cutting and try again with fresh material and perhaps a bit more attention to drainage and airflow. Sometimes, you might not see any action for up to 6-8 weeks, so patience is key!
A Hearty Encouragement
Watching a tiny cutting grow into a healthy, blooming plant is one of the most satisfying aspects of gardening. It connects you to the natural cycle and gives you an endless supply of your favorite blooms. So, gather your supplies, embrace the process, and know that even the most experienced gardeners have their share of failures. You’ve got this! Happy propagating!
Resource: