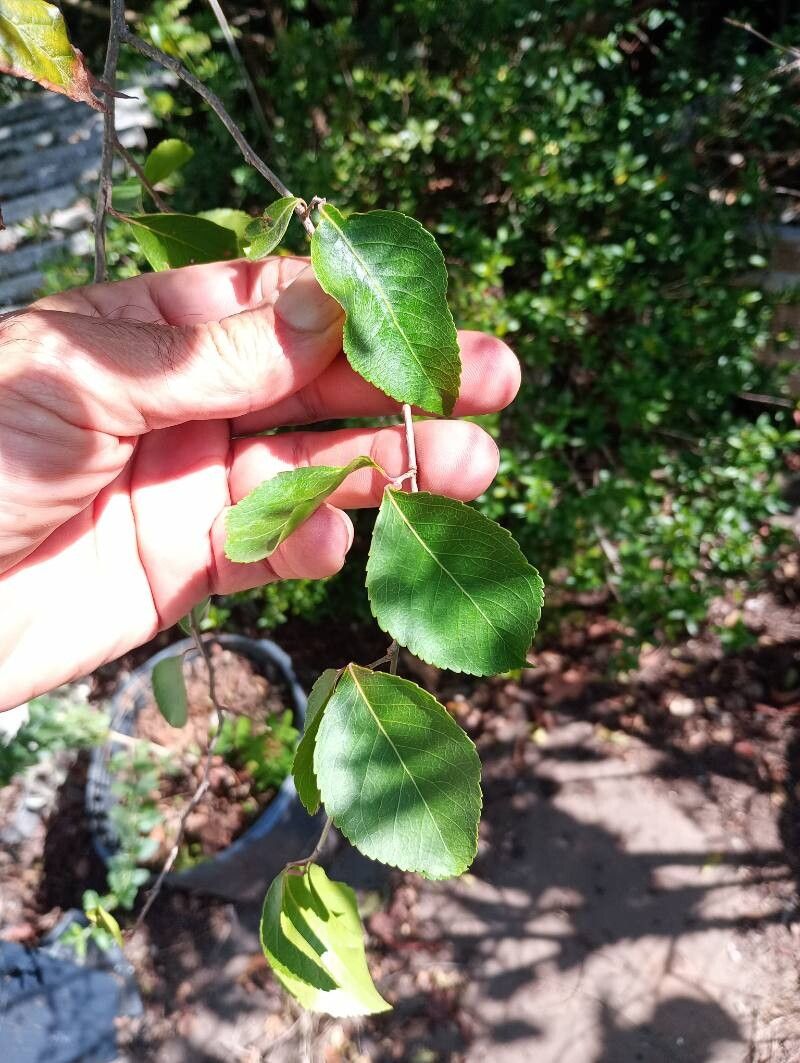
Oh, hello there! It’s so lovely to have you join me in the garden today. We’re going to chat about a plant that I absolutely adore – Xylosma venosa. If you’re looking for a plant with a bit of charm, glossy, evergreen leaves, and a graceful habit, then this is one for you. It’s that delightful shrub that can add structure and shine to just about any corner of your garden. And the best part? Propagating it is wonderfully rewarding. For a beginner, I’d say Xylosma venosa is moderately easy. It won’t throw a fit if you get a few things slightly wrong, but being a little thoughtful will certainly boost your success.
The Best Time to Start
For the highest success rate with Xylosma venosa, I always aim for the late spring or early summer. This is when the plant is actively growing. You’re looking for new shoots that are still a bit soft and flexible, but have started to firm up. We call these “semi-hardwood cuttings.” Avoid trying to take cuttings from very old, woody stems or brand-new, floppy growth. That sweet spot in the middle is your golden ticket.
Supplies You’ll Need
Before we dive in, let’s make sure we have everything ready. Having your tools at the ready makes the whole process so much smoother. Here’s what I usually gather:
- Sharp Pruning Shears or a Knife: Cleanliness is key! Make sure they’re sterilized to prevent any nasty diseases from hitching a ride.
- Rooting Hormone: A good quality rooting hormone (powder or gel) will significantly increase your chances of successful rooting. Xylosma seems to really appreciate it.
- Potting Mix: I like a lightweight, well-draining mix. A good blend is equal parts peat moss, perlite, and coarse sand. You could also use a seed-starting mix.
- Small Pots or Trays: Clean pots with drainage holes are essential. Small nursery pots work wonderfully.
- Clear Plastic Bags or a Propagator: This creates a humid microclimate, which is crucial for cuttings.
- Watering Can or Mister: For gently watering your cuttings.
Propagation Methods
The most reliable way to propagate Xylosma venosa is through stem cuttings. It’s straightforward, and you can get quite a few new plants from a single parent.
- Select and Prepare Your Cuttings: Head out to your Xylosma venosa plant with your clean shears. Look for those semi-hardwood shoots I mentioned. You want cuttings that are about 4-6 inches long. Make a clean cut just below a leaf node (where a leaf attaches to the stem).
- Strip Lower Leaves: Gently remove the leaves from the bottom half of each cutting. If a leaf is very large, you can even cut it in half horizontally to reduce water loss. Leave just a few leaves at the top.
- Apply Rooting Hormone: Dip the cut end of each cutting into your rooting hormone, tapping off any excess. This is like giving your cutting a little boost of encouragement!
- Plant Your Cuttings: Fill your clean pots with your prepared potting mix. Make a small hole in the center of the mix with a pencil or your finger. Insert the cut end of the cutting into the hole, ensuring the rooting hormone-treated part is covered. Gently firm the soil around the base of the cutting.
- Water Gently: Water the potting mix thoroughly until it’s evenly moist, but not waterlogged. A gentle spray is often best to avoid disturbing the cuttings.
- Create a Humid Environment: Place the pots inside a clear plastic bag, forming a mini-greenhouse, or put them in a propagator. Make sure the leaves don’t touch the bag or sides if possible; this can encourage rot. If you’re using a bag, you might need to prop it up with stakes. Place your propagator or bagged cuttings in a bright spot out of direct sunlight.
The “Secret Sauce” (Pro Tips)
Over the years, I’ve picked up a few little tricks that seem to make all the difference. These aren’t complex, but they do help.
- Bottom Heat is Your Friend: If you have one, placing your propagator or pots on a heated propagation mat can really speed up root development. It mimics the warmth of spring soil and gives those roots a great start.
- Don’t Overcrowd: Resist the urge to pack as many cuttings as possible into one pot. Give them a little breathing room. This also helps prevent the spread of any fungal issues.
- A Little Clean Air Can Help: Even with the humidity, it’s good to briefly open the plastic bag or propagator lid for a few minutes each day to allow for some air exchange. This helps prevent diseases from taking hold.
Aftercare & Troubleshooting
Once your cuttings are planted, the waiting game begins! Keep the soil consistently moist but never soggy. Mist the leaves occasionally if they look a bit dry, especially if you don’t have a plastic cover.
You’ll know your cuttings have rooted when you see new leaf growth starting to emerge or when you gently tug on a cutting and feel a slight resistance. This usually takes anywhere from 4 to 8 weeks, sometimes longer. Patience is indeed a virtue here!
The most common problem you might encounter is rot. If you see a cutting turning black and mushy at the base, unfortunately, it’s probably too far gone. This usually happens due to too much moisture, poor drainage, or not enough air circulation. Don’t despair – just remove the affected cutting and assess your conditions.
Once your Xylosma has developed a healthy root system, you can begin to gradually acclimate it to less humid conditions. This means slowly opening the bag or propagator for longer periods over a week or two. After that, you can pot them into individual, slightly larger pots using a good quality potting mix and continue to care for them as you would a young shrub.
A Little Encouraging Closing
See? Propagating Xylosma venosa is a lovely way to get more of this beautiful plant to enjoy, or to share with fellow garden enthusiasts. Don’t be discouraged if your first attempts aren’t perfect. Gardening is a journey of learning and observing. Just keep at it, be gentle, and enjoy the magic of watching a tiny cutting transform into a thriving new plant. Happy propagating!
Resource:
https://identify.plantnet.org/k-world-flora/species/Xylosma%20venosa%20N.E.Br./data