Oh, hello there, fellow plant lover! Come on in, pull up a chair. I’ve got a fresh pot of coffee brewing, and I’m so excited to talk to you today about a plant that has truly captured my heart: Tetracera potatoria. You might know it by its common name, the “Golden-eyed bloodleaf,” or perhaps you’ve admired its vibrant, almost iridescent foliage in tropical gardens.
Why You’ll Love Propagating Tetracera potatoria
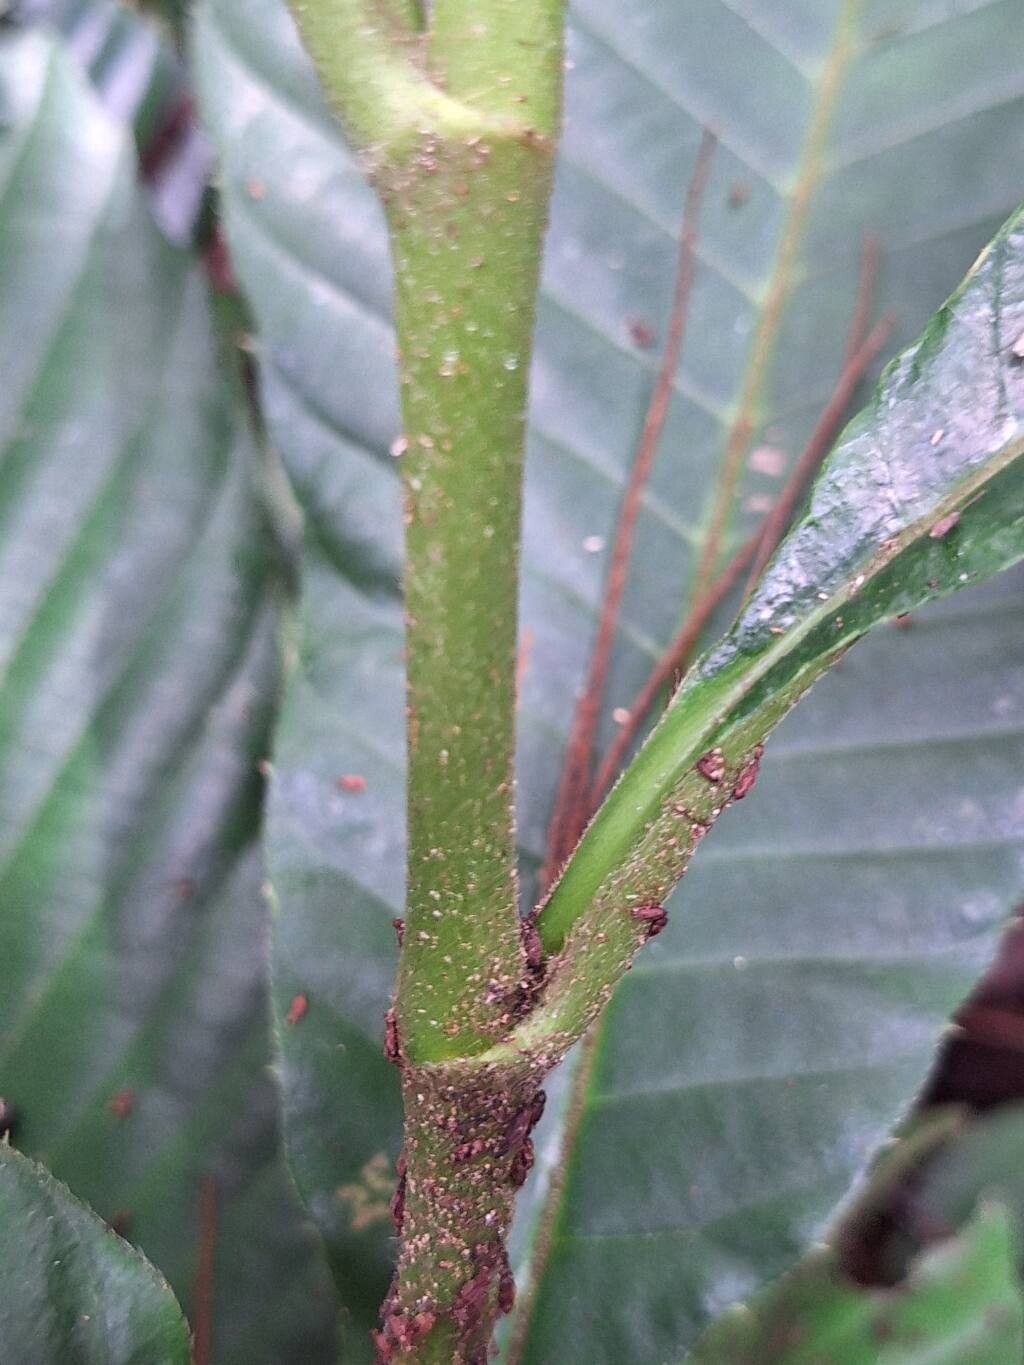
This beauty is a real showstopper, isn’t it? Its leaves have a way of catching the light that is simply mesmerizing, shifting from deep greens to coppery reds. And the best part? Growing your own Tetracera potatoria from cuttings is incredibly rewarding. It’s a fantastic way to fill your home, share with friends, or even start a little tropical paradise on your patio. Now, for the good news: while it’s not entirely hands-off, propagating Tetracera potatoria is quite achievable, even for us relative newcomers to the plant parenting scene. Don’t let that intimidate you; we’ll take it one step at a time.
The Best Time to Start
When it comes to getting the most bang for your buck with propagation, timing is everything. For Tetracera potatoria, spring and early summer are your golden windows. This is when the plant is in its most vigorous growth spurt. You’ll want to take cuttings from stems that are semi-hardwood. That means they’re not brand-new and floppy, but not old and woody either. Think of it as being somewhere in the middle – firm but still flexible.
Supplies You’ll Need
Before we get our hands dirty, let’s gather our essentials. Having everything ready makes the process so much smoother.
- Sharp Pruning Shears or a Craft Knife: Clean cuts are vital for successful propagation.
- Rooting Hormone (Optional but Recommended): This little helper can significantly speed up root development. I prefer a powder form, but liquid works too.
- Well-draining Potting Mix: A good blend for us is usually peat moss or coir mixed with perlite or coarse sand. About a 50/50 ratio is a great starting point.
- Small Pots or Seedling Trays: Clean pots are a must to prevent disease.
- Clear Plastic Bag or a Humidifier Dome: To keep humidity high around your cuttings.
- Watering Can with a Fine Rose: For gentle watering.
- Patience! This is our most important tool.
Propagation Methods: Let’s Get Growing!
The most reliable way I’ve found to propagate Tetracera potatoria is through stem cuttings. It’s straightforward and yields great results.
Stem Cuttings: A Step-by-Step Guide
- Select Your Stem: On a healthy, established plant, choose a stem that’s about 4-6 inches long. Look for one with at least two or three sets of leaves.
- Make the Cut: Using your sharp, sterilized pruning shears or knife, make a clean cut just below a leaf node (where a leaf attaches to the stem). This node is where the magic happens, where roots will eventually form.
- Prepare the Cutting: Gently remove the lower leaves from the cutting, leaving just one or two at the very top. This prevents them from rotting in the soil and directs the plant’s energy towards root formation. If your leaves are quite large, you can even cut them in half horizontally to reduce moisture loss.
- Apply Rooting Hormone (Optional): Dip the cut end of the stem into your rooting hormone, ensuring an even coating. Tap off any excess.
- Plant the Cutting: Fill your small pot or seedling tray with your well-draining potting mix. Make a small pilot hole with your finger or a pencil. Insert the cut end of the stem into the hole, about 1-2 inches deep, ensuring the leaf node is buried. Gently firm the soil around the stem.
- Water Gently: Water the potting mix thoroughly but gently. You want it moist, not soggy.
- Create a Humid Environment: This is crucial! Place a clear plastic bag over the pot, securing it with a rubber band or twist tie around the rim, or use a propagator lid. This traps humidity, mimicking the moist environment your cutting craves. If you’re using a bag, you might want to prop it up with a few skewers so it doesn’t touch the leaves.
- Find the Right Spot: Place your pot in a warm location with bright, indirect light. Avoid direct sunlight, which can scorch the delicate cutting.
The “Secret Sauce” (Pro Tips)
Over the years, I’ve picked up a few tricks that seem to make all the difference.
- Don’t Let the Leaves Touch the Water (If Using Water Propagation): While I primarily recommend soil for Tetracera potatoria, if you do decide to try water propagation with a very clean container, make sure not a single leaf is submerged. Submerged leaves will rot quickly. Only the stem should be in the water.
- Bottom Heat is Your Friend: If you have access to a heat mat usually used for seedlings, placing your Tetracera potatoria cuttings on it can dramatically speed up the rooting process. It just gives them that extra cozy warmth they love.
- Mist Regularly, but Don’t Overdo It: While it’s important to maintain humidity, I also like to give the leaves a light misting with filtered or rainwater every couple of days, especially if the air is very dry. This helps keep them plump and happy.
Aftercare & Troubleshooting
Once your cuttings have been in their humid little home for a few weeks, you’ll start to see signs of new growth or feel a gentle tug when you lightly tug on the stem. This means roots are forming!
- Gradual Acclimatization: As your cutting develops roots, you’ll want to gradually introduce it to lower humidity. This means slowly opening your plastic bag or propagator lid a bit more each day over a week. It’s like weaning a baby – a gentle transition is key.
- Watering: Continue to keep the soil consistently moist but not waterlogged. As the plant grows, you can ease up slightly, allowing the top inch of soil to dry out between waterings.
- What if it Fails? The most common culprit for failure is rot. If your stem turns black and mushy, it’s likely succumbed to fungal issues from too much moisture or poor air circulation. Don’t despair! Discard the affected cutting and try again, perhaps using a slightly less soggy soil mix or ensuring better airflow. Another sign of struggle is yellowing leaves on an otherwise healthy-looking cutting – this can sometimes indicate insufficient light or nutrient deficiency, but with cuttings, it’s often just a sign they haven’t quite got their roots established yet.
Keep Growing!
Propagating Tetracera potatoria is a journey, and like any good journey, it’s about the experience. Be patient with your little cuttings. Sometimes they take their sweet time, and that’s perfectly okay. Watching those first tiny roots emerge or a new leaf unfurl is one of the most satisfying feelings a gardener can have. So go ahead, grab those shears, and let the magic of propagation unfold in your own home. Happy gardening!
Resource:
https://identify.plantnet.org/k-world-flora/species/Tetracera%20potatoria%20Afzel.%20ex%20G.Don/data