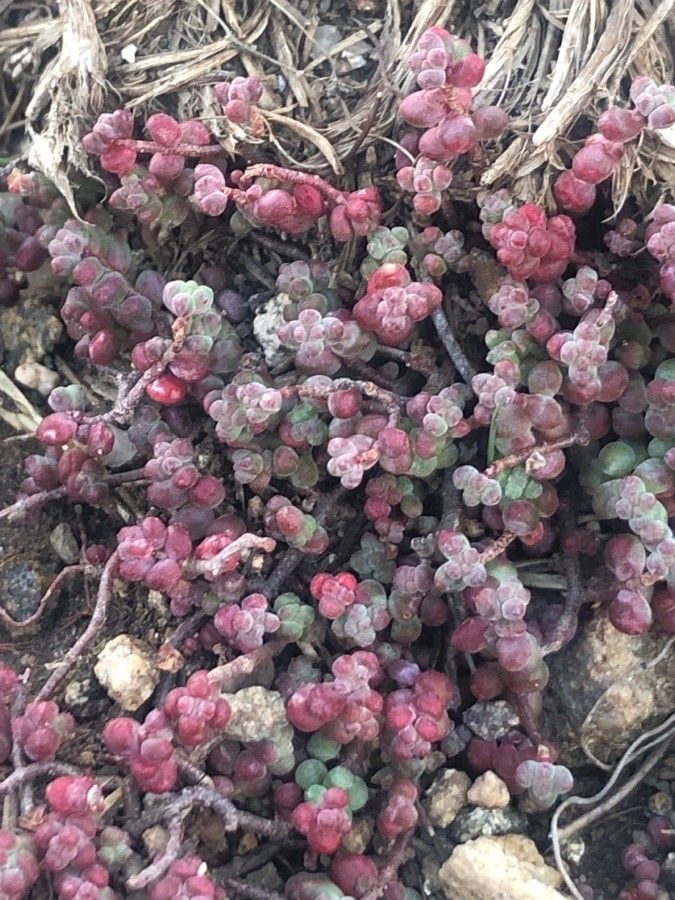
Oh, Sedum candolleanum! If you’re looking for a succulent that’s a real charmer, this is it. Its delicate, almost powdery leaves arranged in beautiful rosettes have a certain elegance about them. Plus, the way they blush with color in cooler weather? Simply stunning. I’ve been growing and sharing this beauty for years, and honestly, propagating it is a joy. It’s not just about getting more plants; it’s about the satisfaction of watching life unfurl from a tiny piece. And for us beginners out there, you’ll be delighted to know Sedum candolleanum is wonderfully forgiving. You’re in for a treat!
The Best Time to Start
For the absolute best success rate with Sedum candolleanum, I always lean into the spring and early summer. This is when the plant is actively growing and has plenty of energy to put into developing new roots. You can also have good luck with cuttings taken in late summer, just before the cooler weather really sets in, but spring is my absolute favorite. Wait until the plant feels robust and ready to go.
Supplies You’ll Need
Here’s what I’ve found to be essential for a smooth propagation session:
- Sharp Pruning Shears or a Knife: Cleanliness is key to prevent disease.
- Well-Draining Potting Mix: A cactus or succulent mix is perfect. You can also make your own by combining potting soil with perlite or pumice, about a 50/50 ratio.
- Small Pots or Trays: Whatever works for the size of your cuttings. Terra cotta pots are great because they breathe.
- Rooting Hormone (Optional but Recommended): This can definitely speed things up and increase your success rate.
- Small Watering Can or Spray Bottle: For gentle watering.
- Labels and a Pen: Don’t forget to label your new babies!
Propagation Methods
Sedum candolleanum is a pro at multiplying, and two methods stand out as being super effective.
1. Stem Cuttings: The Classic Approach
This is my go-to, and it’s incredibly straightforward.
- Select a Healthy Stem: Look for a stem that’s firm and a good length, usually at least 2-3 inches.
- Make a Clean Cut: Using your sharp shears or knife, make a clean cut just above a leaf node (where the leaves attach to the stem).
- Remove Lower Leaves: Gently pull off the bottom few leaves from the cutting. This exposes the nodes where roots will emerge.
- Let it Callus Over: This is crucial! Place your cuttings in a dry, shaded spot for 24-48 hours. You’ll see a dry, papery scab form over the cut end. This prevents rot when you plant them.
- Apply Rooting Hormone (Optional): Dip the callused end into your rooting hormone if you’re using it.
- Plant Your Cuttings: Fill your small pots with your well-draining soil mix. Make a small hole in the center and insert the callused end of the cutting. Gently firm the soil around it.
- Water Sparingly: Water the soil lightly. You want it to be moist, not soggy.
2. Leaf Cuttings: Tiny Miracles
While stem cuttings are my favorite, don’t discount the magic of leaf propagation!
- Gently Remove Leaves: Carefully twist or pull off healthy leaves from the mother plant. Make sure you get the whole leaf, right from where it attaches to the stem.
- Callus Over: Just like with stem cuttings, allow the cut end of each leaf to callus over for about 24 hours.
- Lay Them on Soil: Fill a shallow tray or pot with your succulent soil mix. Lay the callused leaves right on top of the soil. You don’t need to bury them.
- Mist Lightly: Lightly mist the soil around the leaves every few days. The goal is to keep the soil surface slightly humid, but never waterlogged.
The “Secret Sauce” (Pro Tips)
Now, between you and me, here are a few little tricks that have always worked wonders for me:
- Patience with Water Propagation: If you decide to try water propagation (which I sometimes do for stem cuttings), ensure the callused end of the stem doesn’t touch the water. Use a jar and support it so only the very bottom node is submerged. This prevents rot and encourages roots to reach for the water.
- The Gentle Breeze: Once you’ve planted your cuttings, place them in a bright, indirect light location. A gentle airflow helps prevent fungal issues. A subtle breeze from an open window or a very slow-moving fan can work wonders.
- Bottom Heat is Your Friend: For stem cuttings especially, a little gentle bottom heat can significantly speed up root development. A seedling heat mat set to a low temperature is perfect for this. It mimics the cozy conditions the plant loves to sprout in.
Aftercare & Troubleshooting
Once you start seeing tiny roots emerging from your cuttings (a sign they’ve taken!), it’s time for a little more focused care.
- Watering: Begin watering your new little plants more regularly, but always allow the soil to dry out slightly between waterings. You’ll get a feel for it – the pot will feel lighter.
- Light: Gradually introduce them to brighter light. They can handle more sun now, but avoid harsh, direct midday sun for the first few weeks.
- Troubleshooting – Rot: The biggest enemy is usually overwatering, which leads to rot. If you see a stem cutting turning mushy and black at the base, it’s likely rotted. There’s not much you can do at that point but try again with fresh cuttings and ensure your soil is well-draining. For leaf cuttings, if the leaf turns black and slimy, it’s also rot.
A Little Encouragement
See? It’s really not complicated. Propagation is an adventure, and with Sedum candolleanum, it’s a very rewarding one. Each new plant is a little reminder of nature’s incredible ability to create. Be patient, trust the process, and don’t be afraid to experiment a little. You’ll be sharing your beautiful Sedum babies in no time! Happy gardening!
Resource:
https://identify.plantnet.org/k-world-flora/species/Sedum%20candolleanum%20G.López/data