Oh, hello there! Pull up a chair and let’s chat about one of my absolute favorite wetland wonders: Narthecium ossifragum, or as many of us affectionately call it, bog asphodel.
Your New Bog Buddy: Why Propagating Narthecium is a Treat
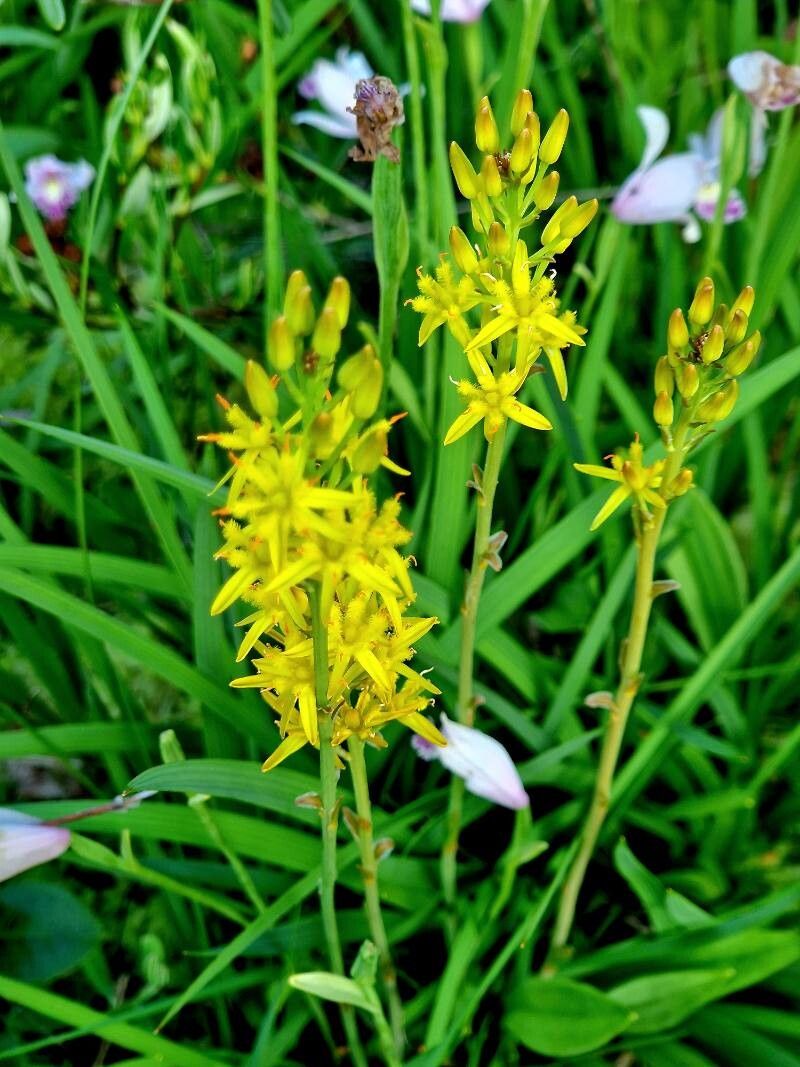
There’s something truly special about Narthecium ossifragum. Its arching, grass-like leaves and those charming little star-shaped, creamy-white flowers that bloom in summer just have a way of bringing a touch of wild beauty to any damp corner of your garden. And the best part? Propagating it yourself is incredibly rewarding! It’s not the absolute easiest plant for a complete beginner to start with, but with a little care and the right approach, you’ll be well on your way to enjoying more of this unique beauty.
The Perfect Moment: When to Get Your Hands Dirty
For Narthecium ossifragum, my go-to time for propagation is early spring, just as the plant is waking up from its winter dormancy and starting to put on new growth. This gives the new divisions or cuttings a whole growing season to establish themselves before the colder weather arrives. If you miss that window, late summer or early autumn can also work, but spring usually offers the most vigorous start.
Your Toolkit for Success
Before we dive in, let’s make sure you have everything you need.
- Sharp, clean pruning shears or a small trowel: For making clean cuts and gently teasing apart divisions.
- A good quality, well-draining potting mix: A blend suitable for bog plants is ideal, often a mix of peat, sand, and some compost. It needs to hold moisture but also allow for good aeration.
- Small pots or trays: For starting your new plants.
- A watering can with a fine rose: To water gently without disturbing young roots.
- Optional: Horticultural grit or perlite: To further improve drainage in your potting mix if it seems too heavy.
- Optional: A rooting hormone powder: While not always strictly necessary for Narthecium, it can give cuttings a helpful boost.
Bringing More Bog Asphodel to Life
The most straightforward way to propagate Narthecium ossifragum is through division. This plant naturally forms clumps, and dividing them is like giving a crowded plant a little more breathing room – and you get new plants in the process!
Step-by-Step Division:
- Gently excavate: Carefully dig up the entire plant from its pot or garden bed. Try to disturb the root ball as little as possible.
- Clean up the roots: Gently shake off excess soil. You want to be able to see where the individual crowns or root masses naturally separate.
- Identify natural divisions: Look for sections of the plant that are already somewhat separated. You’ll often see distinct tufts of leaves arising from separate root systems.
- Divide with care: Using your hands, a trowel, or even clean fingers, gently pull apart the larger clumps into smaller, manageable sections. Each division should have at least one healthy crown (where the leaves emerge) and a decent amount of root attached. If you encounter a particularly tough division, a sharp, clean knife or trowel can be used, but try to keep the roots as intact as possible.
- Pot them up: Plant each division into its own pot filled with your prepared potting mix. Ensure the crown is at soil level. Water thoroughly.
My Little “Secret Sauce” for Extra Oomph
Over the years, I’ve picked up a few tricks that seem to make all the difference.
- Don’t be afraid of the water: Narthecium loves moisture, but when you’re dividing, you want those new roots to seek out the soil. After planting your divisions, make sure the soil stays consistently moist but not waterlogged. I often water them in thoroughly, then place the pots in a shallow tray of water so the soil can wick up moisture from below.
- A little shade goes a long way: Once your divisions are potted, don’t plunge them into direct, harsh sunlight. Find them a spot with bright, indirect light. This helps prevent them from drying out too quickly while they’re getting established. A greenhouse or cold frame is perfect if you have one, but a sheltered spot on the patio will do.
- Patience is truly a virtue here: I know, I know – it’s tempting to hover! But give your new divisions several weeks to settle in. You’ll start to see new leaf growth emerge, which is your best indicator that roots are forming and the plant is happy.
Aftercare & When Things Go a Bit Sideways
Once you see signs of new growth, it’s a good sign! Keep the potting mix consistently moist. You can gradually introduce them to more light as they grow stronger.
Now, what if things aren’t looking so rosy? The most common issue you might encounter is rot. This happens when the soil stays too wet and soggy, and the roots can’t breathe. If you notice your division looking limp and mushy, or the soil feels constantly heavy and waterlogged, ease up on the watering and ensure good drainage. Sometimes, a bit of horticultural grit mixed into the top layer of soil can help prevent this. If root rot is severe, sadly, the division may not recover. Don’t be discouraged; it’s part of the learning process!
Keep Growing and Enjoying!
Propagating Narthecium ossifragum is such a satisfying way to expand your collection of these lovely plants. Be patient with your new arrivals, observe their needs, and trust your gardening instincts. You’ve got this! Happy growing!
Resource:
https://identify.plantnet.org/k-world-flora/species/Narthecium%20ossifragum%20(L.)%20Huds./data