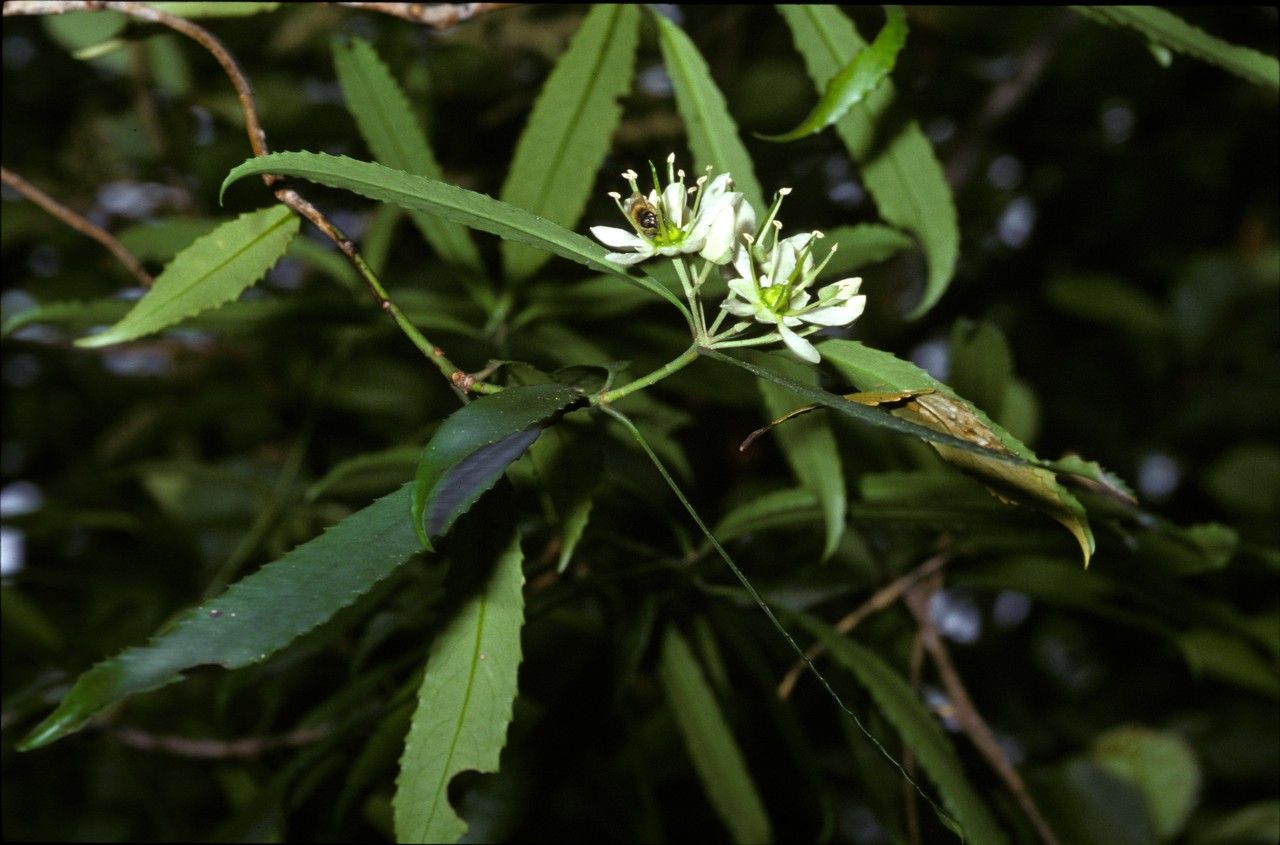
Oh, hello there! Come on in, let’s chat about something truly special: Ixerba brexioides, also known as the Colenso’s Heath. If you’re looking for a touch of wild elegance in your garden, this New Zealand native is a real winner. Its delicate, bell-shaped flowers, often a lovely shade of pink or white, dangle gracefully in clusters, creating a whisper of sweetness and charm. And the glossy, evergreen foliage? Simply delightful year-round.
Growing something from a tiny cutting feels like a little miracle, doesn’t it? Propagating Ixerba brexioides is a fantastic way to multiply these beauties. While it’s not as straightforward as, say, a begonia from a leaf, it’s certainly achievable, even for those newer to the propagation game. With a little know-how and patience, you’ll be rewarded with new plants to share or to fill your own garden with!
The Best Time to Start
For Ixerba brexioides, late spring to early summer is your golden window. This is when the plant is actively growing, and the wood is what we call “semi-hardwood”—meaning it’s not too soft and new, but not old and woody either. This stage offers the best balance for successful rooting. Think of it as the plant saying, “I’m ready to expand!”
Supplies You’ll Need
Gathering your tools beforehand makes the whole process so much smoother. Here’s what you’ll want to have on hand:
- Sharp, clean pruning shears or a sharp knife: Crucial for making clean cuts that heal well.
- Seedling trays or small pots (3-4 inch): Good drainage is key, so make sure they have plenty of holes.
- Rooting hormone powder or gel: This stuff gives your cuttings a real boost, encouraging faster and stronger root development. Look for one formulated for semi-hardwood cuttings.
- A good quality potting mix: I like a blend that’s light and airy. A mix of perlite, peat moss, and a bit of coarse sand (about a 2:1:1 ratio) works wonders for drainage and aeration. You can also find pre-made succulent or cactus mixes that are often suitable.
- A small trowel or dibber: For making holes in the soil.
- A clear plastic bag or a propagator: This creates a humid environment for your cuttings.
- A spray bottle with water: For keeping things moist.
- Labels: Trust me, you’ll want to know what’s what!
- Optional: A heated propagator mat: This can really speed things up!
Propagation Methods
We’ll focus on the most reliable method for Ixerba brexioides: stem cuttings.
-
Taking Your Cuttings:
- Head out to your healthy Ixerba brexioides plant and select a strong, vigorous stem.
- Using your sharp shears, make a clean cut just below a leaf node (where a leaf attaches to the stem). You want cuttings that are about 4-6 inches long.
- Gently remove the lower leaves from your cutting, leaving just two or three sets of leaves at the top. This reduces water loss through transpiration.
- If your leaves are quite large, you can cut them in half horizontally. This still allows for photosynthesis but significantly cuts down on water evaporation.
-
Preparing for Rooting:
- Dip the cut end of your stem into your rooting hormone. Tap off any excess.
- Using your trowel or dibber, make a hole in your prepared potting mix in the seedling tray or pot.
- Carefully insert the hormone-coated end of the cutting into the hole, ensuring the leaf nodes are below the soil surface.
- Gently firm the soil around the cutting to ensure good contact.
-
Creating the Right Environment:
- Water your cuttings gently but thoroughly.
- Cover the tray or pot with a clear plastic bag or place it inside a propagator. This will create a mini-greenhouse effect, keeping humidity high, which is crucial for preventing the cuttings from drying out before they form roots.
- Place the propagator or covered pot in a bright, indirect light location. Avoid direct sun, as this can scorch the delicate cuttings.
The “Secret Sauce” (Pro Tips)
Having tried this a few times myself, here are a few little tricks that make a difference:
- The Bottom Heat Trick: If you have a heated propagator mat, use it! Placing your cuttings on a gentle heat source (around 70-75°F or 21-24°C) really does significantly speed up root formation. It mimics the warmth of the soil from below, encouraging those roots to emerge with gusto.
- Don’t Let the Water Touch the Leaves: This is a big one, especially if you’re tempted to try water propagation later on. When you water your cuttings, make sure the water level stays below the exposed leaf surfaces in your tray. Excess moisture on the leaves can lead to fungal issues and rot. A gentle watering or misting is usually sufficient.
- The Air Circulation Shuffle: While you want humidity, stagnant air can breed problems. If you’re using a plastic bag, open it up for a few minutes each day to allow for some fresh air exchange. This helps prevent fungal diseases and strengthens the developing plant.
Aftercare & Troubleshooting
Once your cuttings have been in their humid little homes for a few weeks, you’ll want to check for success.
- Checking for Roots: Gently tug on a cutting. If you feel resistance, Congratulations! You’ve got roots! You can also look for new leaf growth, which is a good sign.
- Acclimatizing: When roots have formed, it’s time to gradually acclimatize your new plants to normal conditions. Slowly open the plastic bag or propagator vents a little more each day over a week or two.
- Potting Up: Once they’re used to the open air, you can pot them up into slightly larger pots with a well-draining potting mix. Keep them in bright, indirect light and water consistently, but avoid waterlogging the soil.
- Signs of Trouble: The most common issue you might see is rot. If your cuttings turn black and mushy, it’s a sign of too much moisture and not enough air circulation. Sometimes, wilting or yellowing leaves can indicate dehydration, but usually with cuttings, rot is the bigger culprit. If you see rot, unfortunately, that cutting is likely lost, but don’t be discouraged! Learn from it and try again.
A Little Patience Goes a Long Way
Propagating plants is a journey, and sometimes it feels like a slow one. Be patient, my friend. Not every cutting will make it, and that’s perfectly okay. Think of each attempt as a learning experience. The joy of nurturing a new plant from a tiny fragment is incredibly rewarding. So, gather your supplies, get your hands dirty, and enjoy the process of bringing more of these lovely Ixerba brexioides into the world! Happy gardening!
Resource:
https://identify.plantnet.org/k-world-flora/species/Ixerba%20brexioides%20A.Cunn./data