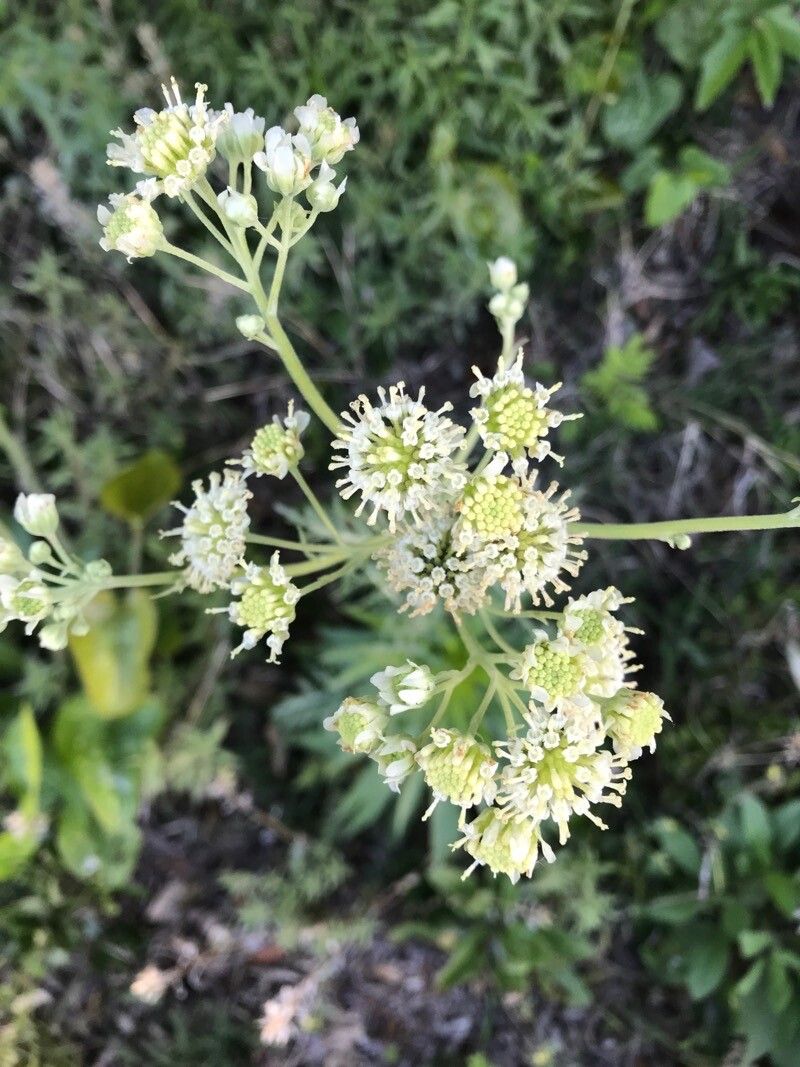
Hello fellow plant lovers! Today, we’re diving into the delightful world of Hymenopappus tenuifolius, also known as delicate hymenopappus or fineleaf woollywhite. If you’re drawn to airy, wispy blooms that look like they’ve been spun from moonlight, then you’re going to adore this one. Its delicate, daisy-like flowers and feathery foliage create such a soft, ethereal presence in the garden. And the best part? Propagating it yourself is a truly rewarding experience. For those of you just starting out on your propagation journey, I’d say Hymenopappus tenuifolius falls into the moderately easy category. A little attention to detail goes a long way!
The Best Time to Start
When it comes to Hymenopappus, the sweet spot for propagation is usually in late spring or early summer. This is when the plant is actively growing and has plenty of energy to put into developing new roots. You’re looking for stems that are firm but not yet woody. Think of it as capturing the plant at its most vibrant and enthusiastic.
Supplies You’ll Need
Gathering your tools beforehand makes the whole process so much smoother. Here’s what I keep handy:
- Sharp pruning shears or a clean knife: For clean cuts, which are crucial.
- Rooting hormone powder or gel: This is your helpful boost for encouraging root development.
- A well-draining potting mix: A good blend would be about 50% peat moss or coco coir and 50% perlite or coarse sand. You want to avoid anything too heavy that will hold excess moisture.
- Small pots or seed trays: Clean, with drainage holes, of course!
- A plastic bag or propagation dome: To create a humid environment.
- Watering can or spray bottle: For gentle watering.
- Optional: Heat mat: For a little extra warmth if your propagating area is on the cooler side.
Propagation Methods: Let’s Get Our Hands Dirty!
There are a few ways you can encourage new Hymenopappus plants, but I find success with stem cuttings most often. Here’s how I do it:
- Select Your Cuttings: Gently inspect your mature Hymenopappus plant. Look for healthy, non-flowering stems that are about 4-6 inches long. The key is to choose stems that are flexible and green, not tough and woody.
- Make the Cut: Using your clean pruning shears or knife, make a clean cut just below a leaf node (the point where a leaf attaches to the stem). This is where the magic really happens with roots.
- Prepare the Cutting: Carefully remove the lower leaves from your cutting, leaving just a couple of small leaves at the very top. This prevents them from rotting in the soil and directs the plant’s energy towards root formation.
- Apply Rooting Hormone: Dip the cut end of the stem into your rooting hormone. Gently tap off any excess. This step is a great insurance policy!
- Plant Your Cuttings: Fill your small pots with your well-draining potting mix. Make a small hole in the center with your finger or a pencil. Insert the cut end of the rooted cutting into the hole and gently firm the soil around it. You can usually fit a few cuttings in one pot, as long as they aren’t touching each other.
- Water Gently: Water the soil lightly. You want it to be moist, but not soggy. A spray bottle is excellent for this initial watering to avoid disturbing the cuttings.
- Create a Humid Environment: Cover the pots with a plastic bag or a propagation dome. This traps humidity, which is essential for cuttings to root. Make sure the leaves aren’t touching the sides of the bag, if possible.
- Find the Right Spot: Place your pots in a bright location with indirect light. Avoid direct sun, which can scorch the delicate cuttings. If you’re using a heat mat, place the pots on top of it.
The “Secret Sauce” (Pro Tips)
Here are a few things I’ve learned over the years that can really give your Hymenopappus cuttings a leg up:
- Don’t let the leaves touch the water (if water propagating): While I primarily use soil for Hymenopappus, if you ever dabble in water propagation for other plants, remember that submerged leaves are prone to rot. They draw energy away from root development. For cuttings in soil, we aim for moist soil, not waterlogged.
- Bottom heat is your friend: Especially if your home tends to be a bit on the cool side, a heat mat can make a surprising difference. It encourages those roots to form much more quickly by providing consistent, gentle warmth from below. It’s like a heated blanket for your cuttings!
- Patience is paramount: Hymenopappus can sometimes be a little slow to show signs of rooting. Don’t be tempted to pull them up constantly to check. Resist the urge! Give them at least 4-6 weeks before you start gently tugging to feel for resistance.
Aftercare & Troubleshooting
Once you see new growth or feel that satisfying resistance from developing roots, it’s time for a gentle transition. Gradually acclimate your new plants to the outside air by removing the plastic bag or dome for longer periods each day over a week. Continue to keep the soil consistently moist but not wet.
Now, for the troubleshooting. The most common enemy here is rot. If your cuttings turn mushy or black, it’s usually a sign they’ve been too wet. Make sure your potting mix is free-draining and that your pots have good drainage holes. If you see powdery mildew on the leaves, it’s another indicator of too much humidity or poor air circulation. Gently mist with a diluted neem oil solution if needed.
A Little Bit of Patience Goes a Long Way
Propagating Hymenopappus can be a wonderfully satisfying endeavor. It’s a chance to connect more deeply with these beautiful plants and to fill your garden with even more of their magic. Don’t be discouraged if you have a few failures along the way – that’s just part of the learning process! Enjoy the journey, celebrate the small victories, and before you know it, you’ll have a whole host of delicate hymenopappus to admire. Happy planting!
Resource:
https://identify.plantnet.org/k-world-flora/species/Hymenopappus%20tenuifolius%20Pursh/data