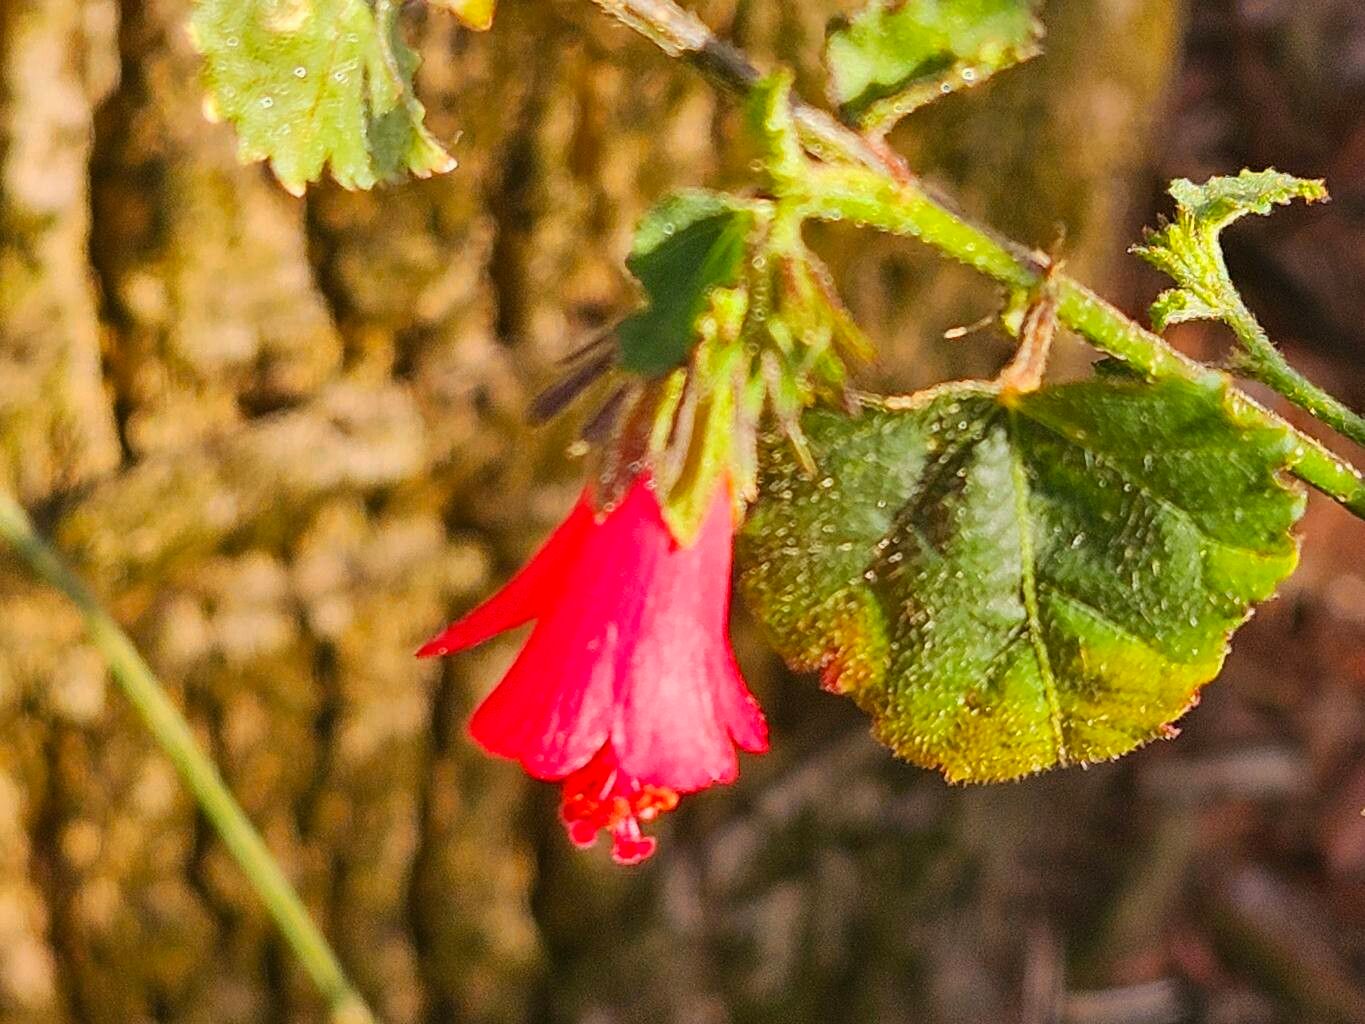
Oh, Hibiscus poeppigii! If you’re looking for a splash of vibrant color and a touch of the tropics in your garden, this is a wonderful choice. Its cheerful blooms are like little bursts of sunshine, and best of all, you can easily share that joy by propagating these beauties. I’ve been growing and sharing them for years, and I can tell you, getting new plants going from an existing one is incredibly satisfying. For beginners? I’d say it’s moderately easy, especially with a few helpful pointers.
The Best Time to Start
When it comes to boosting your chances of success, spring and early summer are your best friends for propagating Hibiscus poeppigii. This is when the plant is in an active growth phase, meaning it’s full of energy and ready to put out new roots. You’ll have the most luck taking cuttings from healthy, new growth that’s started to firm up a bit, but still has some flexibility to it. Avoid any woody, old stems or spindly, weak growth.
Supplies You’ll Need
Here’s what I like to have on hand before I start:
- Sharp pruning shears or a clean, sharp knife: We want to make a clean cut to avoid damaging the stem.
- Rooting hormone (optional, but recommended): This little boost can significantly speed up root development. Gel or powder forms work well.
- Well-draining potting mix: A good blend for me is usually about 50% peat moss or coco coir and 50% perlite or coarse sand. This ensures water drains away quickly.
- Small pots or seedling trays: Clean pots are essential to prevent disease.
- Plastic bags or a clear plastic dome: This will help maintain humidity around your cuttings.
- Water: Of course!
Propagation Methods
I find that stem cuttings are the most reliable way to multiply Hibiscus poeppigii. Here’s how I do it:
- Select and take cuttings: Choose a healthy stem that’s about 6-8 inches long. Make a clean cut just below a leaf node (where a leaf meets the stem). This is where root development is most likely to occur.
- Prepare the cuttings: Gently remove the lower leaves, leaving only the top 2-3 leaves. If the remaining leaves are very large, I’ll often snip them in half to reduce water loss.
- Apply rooting hormone (if using): Dip the cut end of the stem into your rooting hormone, tapping off any excess.
- Plant the cuttings: Make a small hole in your prepared potting mix with a pencil or your finger. Insert the cutting, ensuring the leaf nodes where you removed the leaves are buried in the soil. Gently firm the soil around the base.
- Water gently: Water the mix thoroughly but gently, making sure not to dislodge the cuttings.
- Create a humid environment: Cover the pots with a clear plastic bag, propped up with stakes so it doesn’t touch the leaves, or place them under a clear plastic dome. Place them in a bright spot, but out of direct, hot sun.
The “Secret Sauce” (Pro Tips)
After years of experimenting, a few things have made a huge difference for me:
- Bottom Heat is Your Friend: If you can, place your pots on a seedling heat mat. This gentle warmth encourages root growth from below, giving your cuttings a real advantage. I’ve found it speeds things up considerably, especially if the ambient temperature isn’t consistently warm.
- Don’t Be Afraid to Mist: While we need humidity, sometimes direct misting of the leaves in the morning can be beneficial. It gives them a little drink and can help prevent them from drying out too quickly, especially before roots are established.
- The “Wiggle Test”: Don’t be tempted to yank on your cuttings to check for roots too early! When you think they’re ready, give them a very gentle tug. If you feel a slight resistance, that’s a good sign roots have formed.
Aftercare & Troubleshooting
Once you start seeing new leafy growth, that’s a fantastic indicator that roots are developing!
- Gradually Acclimate: Once roots are established, begin to slowly reduce the humidity. Open the plastic bag a little more each day, or remove the dome for longer periods. This helps your new plant toughen up.
- Watering: Keep the soil consistently moist but not waterlogged. Overwatering is the quickest way to invite trouble, like rot.
- Troubleshooting: The most common issue you’ll face is rot. If you notice your cutting turning black and mushy, it’s likely succumbed to rot. This is often due to too much moisture and poor air circulation. Sometimes it’s just a trial-and-error process, and that’s okay! If a cutting fails, don’t get discouraged. Just try again with fresh material and perhaps adjust your conditions.
Propagating plants is a journey, and Hibiscus poeppigii is a delightful companion on that ride. Be patient, observe your cuttings closely, and enjoy the process of coaxing new life from your existing plants. You’ll be sharing beautiful new hibiscus with friends in no time! Happy gardening!
Resource:
https://identify.plantnet.org/k-world-flora/species/Hibiscus%20poeppigii%20(Spreng.)%20Garcke/data