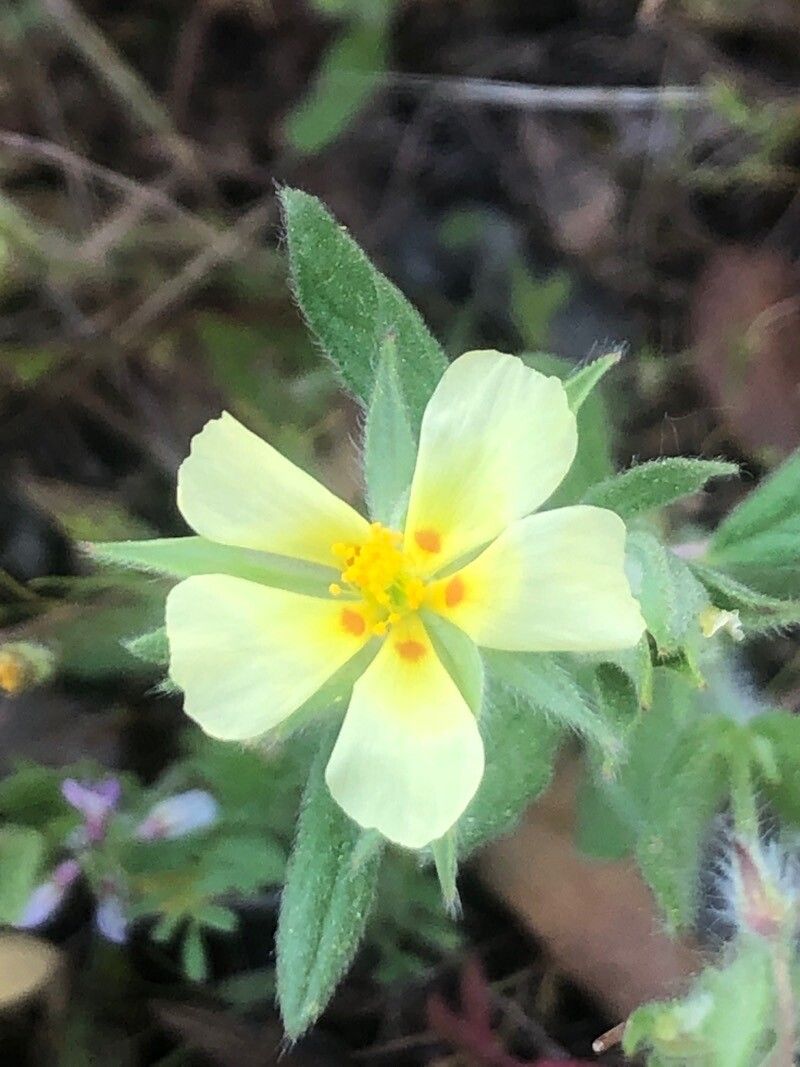
Oh, hello there! It’s so lovely to have you join me in my little corner of the garden-blogging world. Today, we’re diving into the wonderful world of propagating Helianthemum ledifolium, or as many of us affectionately call it, Sun Rose. If you’ve ever admired their delicate, sun-kissed blooms and how they cascade over walls or spill out of pots, you know exactly why these little beauties are so captivating. Want to fill your garden with more of that sunshine? Propagating them is incredibly rewarding, and I’m happy to say, it’s a project even beginners can tackle with confidence.
The Best Time to Start
For the best chance of success with your Helianthemum ledifolium propagation, aim for late spring or early summer. This is when the plant is actively growing but before it gets too hot and stressful. You want to take cuttings from stems that are semi-hardwood – they’ve started to firm up but are still somewhat flexible. Think of it as a happy medium, not too soft and floppy, and not too woody and rigid.
Supplies You’ll Need
Before we get our hands dirty, let’s gather our tools. Having everything ready makes the process so much smoother:
- Sharp pruning shears or a clean, sharp knife: For taking clean cuts.
- Rooting hormone (optional but recommended): This can give your cuttings a significant boost.
- Small pots or seed trays: Clean pots are key to preventing disease.
- A well-draining potting mix: A mix of seed-starting compost and perlite or coarse sand works beautifully. I often use a 50/50 blend.
- A clear plastic bag or propagation dome: To create a humid environment.
- A watering can with a fine rose: For gentle watering.
- Labels and a pen: To keep track of your efforts!
Propagation Methods
There are a couple of ways we can go about this, but my go-to for Helianthemum ledifolium is stem cuttings. It’s reliable and yields great results.
Stem Cuttings:
- Select your parent plant: Find healthy, vigorous stems on your established Helianthemum ledifolium.
- Take your cuttings: Using your sharp shears, cut stems about 4-6 inches long. Make your cut just below a leaf node (where a leaf attaches to the stem). This is where the magic happens for root formation.
- Prepare the cuttings: Gently remove the lower leaves from the cutting, leaving just a few at the top. This prevents them from rotting in the soil. If the remaining leaves are quite large, you can even cut them in half to reduce water loss.
- Apply rooting hormone (if using): Dip the bottom inch of each cutting into your rooting hormone powder, tapping off any excess.
- Pot them up: Fill your clean pots or trays with your prepared, moist potting mix. Make a small hole in the center of the soil with your finger or a pencil.
- Insert the cuttings: Gently place the bottom of each cutting into the hole, ensuring the leaf nodes are below the soil surface. Firm the soil gently around the stem.
- Create humidity: Water the soil gently. Then, cover the pots with a clear plastic bag, secured with a rubber band, or place them under a propagation dome. This creates a mini-greenhouse to keep the humidity high, which is crucial for cuttings.
The “Secret Sauce” (Pro Tips)
Now, for those little nuggets of wisdom that often make all the difference:
- Don’t crowd them! Give your cuttings a little personal space in their pots. Overcrowding can lead to poor air circulation and increase the risk of fungal issues. This is especially important when you’re starting out.
- Bottom heat is your friend. If you have a heated propagator mat, placing your pots on it can significantly speed up root development. It mimics the warmth of spring soil and encourages those roots to form much faster.
- Be patient with drainage. Helianthemum ledifolium really dislikes sitting in soggy soil. Ensure your pots have drainage holes, and that your potting mix is truly well-draining. You can even prop up the pots slightly on pebbles to ensure water can escape freely.
Aftercare & Troubleshooting
Once your cuttings are settled in, give them bright, indirect light. Avoid direct, scorching sun, especially through the plastic cover, as this can cook your precious little starts!
Roots should start to appear within 4-8 weeks. You can gently tug on a cutting – if there’s resistance, you’ve got roots! Once they’re well-rooted, you can carefully remove the plastic bag or dome and begin to acclimate them to drier air gradually over a week. Water them as you would a small plant, allowing the top inch of soil to dry out between waterings.
The most common issue you might encounter is rot. This is usually a sign of too much moisture and poor air circulation. If you see a cutting turning black and mushy, sadly, it’s best to remove it to prevent it from affecting others. Stick to that well-draining mix and don’t overwater!
A Encouraging Closing
Propagating plants is such a joy, isn’t it? It connects us to the natural rhythms of growth and allows us to share our garden’s bounty with ourselves and others. Don’t fret if not every cutting takes; nature has its own pace. Just keep experimenting, keep observing, and most importantly, keep enjoying the beautiful journey of gardening. Happy propagating!
Resource:
https://identify.plantnet.org/k-world-flora/species/Helianthemum%20ledifolium%20(L.)%20Mill./data