Hey there, fellow plant lovers!
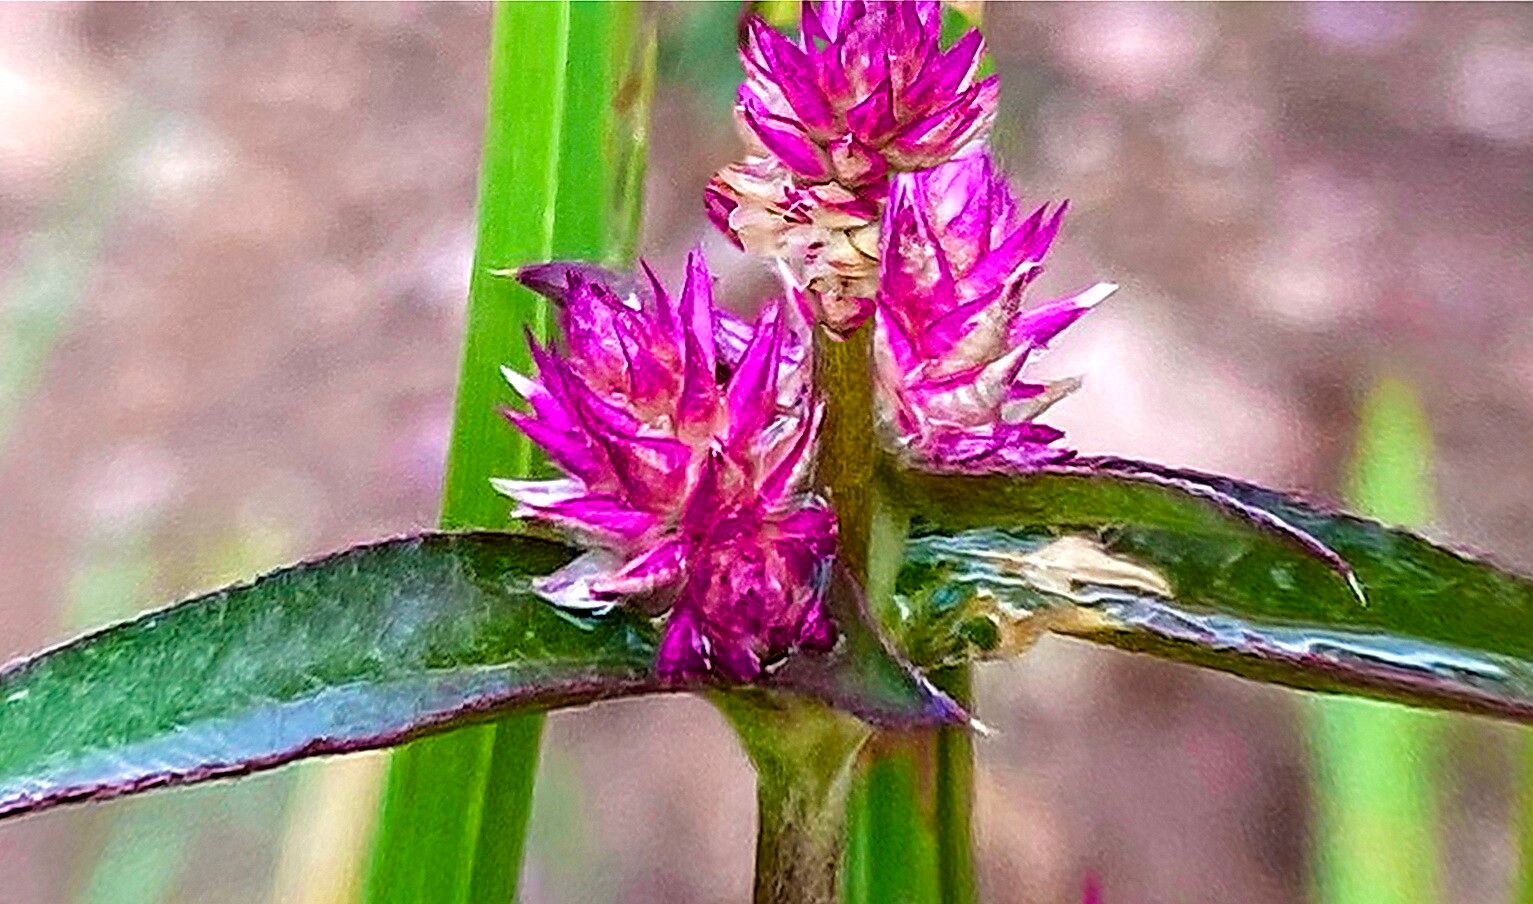
Today, we’re diving into the wonderful world of Gomphrena sonorae, also known as the Sonoran Globe Amaranth. If you love those charming, papery globe-shaped blooms that add such lasting color to the garden and bouquets, you’re in for a treat. Bringing new Gomphrena plants to life from existing ones is incredibly rewarding, and honestly, it’s not as tricky as some might think. Beginners, you can absolutely do this! It’s one of those plants that offers a good dose of success for your efforts.
The Best Time to Start
For Gomphrena sonorae, the sweet spot for propagation is usually late spring through early summer. This is when the plant is actively growing and has plenty of energy to put into developing new roots. You’re looking for stems that are healthy and vigorous, not those that are flowering heavily. Think of it as taking a cutting from a strong, young shoot.
Supplies You’ll Need
Gathering your supplies beforehand makes the whole process smoother. Here’s what I like to have on hand:
- Sharp, clean pruning shears or a craft knife: For making clean cuts.
- Rooting hormone (optional but recommended): A powder or gel to give your cuttings a boost.
- Well-draining potting mix: A good blend of peat moss, perlite, and vermiculite works wonderfully. You can also use a seed-starting mix.
- Small pots or propagation trays: About 3-4 inches in diameter are usually perfect.
- Plastic bags or a clear propagation dome: To create a humid environment.
- Spray bottle with water: For misting.
- Labels and a marker: To keep track of your precious new plants!
Propagation Methods
The most straightforward way to multiply your Gomphrena sonorae is through stem cuttings. It’s reliable and gives you a good chance of success.
- Select Your Cuttings: Find a healthy, non-flowering stem. Look for one that’s about 4-6 inches long.
- Make the Cut: Using your clean shears or knife, make a clean cut just below a leaf node. A leaf node is where a leaf meets the stem; this is where roots are most likely to form.
- Prepare the Cutting: Gently remove the lower leaves from the bottom half of the cutting. You want to expose the nodes so they can make contact with the rooting medium.
- Apply Rooting Hormone (Optional): Dip the cut end of the stem into your rooting hormone, tapping off any excess. This step can significantly speed up root development.
- Plant Your Cuttings: Fill your pots or trays with the well-draining potting mix. Make a small hole in the center with your finger or a pencil. Insert the bottom of your cutting into the hole, and gently firm the soil around it. You can plant several cuttings in one pot, as long as they have a little space between them.
- Create Humidity: Water the soil lightly. Then, place a plastic bag over the pot, securing it around the rim (use a rubber band), or cover the tray with a clear propagation dome. This traps moisture and creates a mini greenhouse effect.
- Placement: Put the pots in a bright location that receives indirect sunlight. Avoid direct sun, as it can scorch the tender cuttings.
The “Secret Sauce” (Pro Tips)
Here are a couple of things I’ve learned over the years that really make a difference:
- Don’t let the leaves touch the water (if you choose water propagation): While stem cuttings are my preference, some folks try water. If you do, be very careful not to let any leaves sit in the water. They’ll just rot and can take your cutting down with them. Stick to just the stem touching the water.
- Bottom heat is your friend: If you have a heat mat designed for seedlings, a little gentle bottom warmth can dramatically speed up root formation. Just place your pots on top of it. It mimics nature’s warmth and encourages those roots to get going.
Aftercare & Troubleshooting
Once your cuttings are planted, keep the soil consistently moist but not waterlogged. You can mist the leaves occasionally, especially if you’re not using a dome. Check for roots by gently tugging on a stem after about 3-4 weeks. If there’s resistance, you’ve got roots!
The most common issue you’ll face is rot. This usually happens when the soil is too wet and there’s not enough air circulation. If you see any yellowing, wilting, or slimy stems, it’s a sign that things might be going wrong. Pull the affected cutting out to prevent it from spreading and adjust your watering habits. Sometimes, a cutting just doesn’t take, and that’s okay!
A Encouraging Closing
Propagating Gomphrena sonorae is a beautiful way to extend the joy of these cheerful flowers. Be patient with your cuttings; they have their own timeline. Watch them closely, learn from each attempt, and most importantly, enjoy the process of nurturing new life. Happy gardening!
Resource:
https://identify.plantnet.org/k-world-flora/species/Gomphrena%20sonorae%20Torr./data