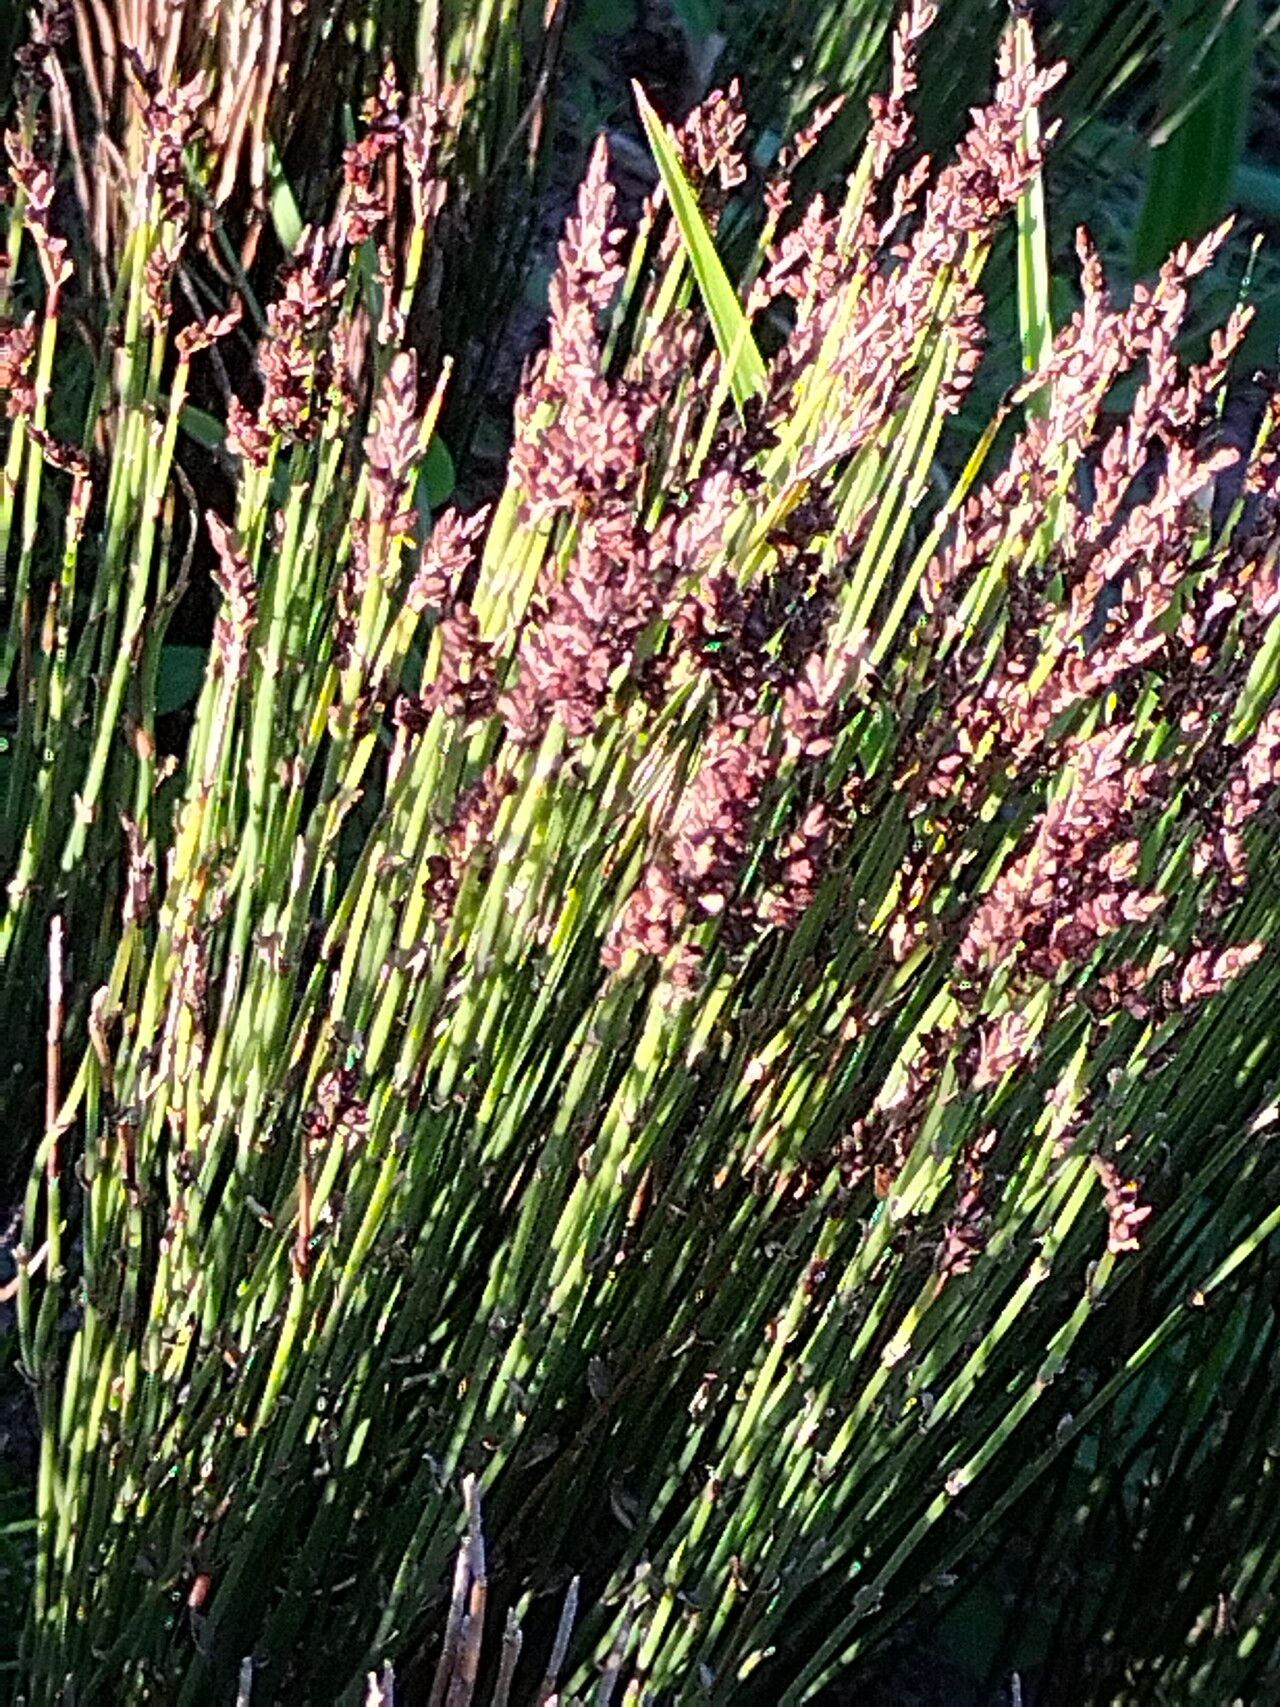
Oh, Elegia microcarpa! If you’ve ever seen this graceful South African beauty gracing a garden, you know why it’s so captivating. Its slender, arching stems, tipped with delicate clusters of airy seed heads, bring a wonderfully wild, almost wispy elegance. I’ve always found it to be a plant that whispers rather than shouts its beauty, and there’s something incredibly rewarding about coaxing a new life from an existing one. Now, for beginners, Elegia microcarpa can be a little bit of a patient plant to propagate, but with a few pointers, I promise you’ll be well on your way!
The Best Time to Start
When it comes to encouraging Elegia microcarpa to spread its wings, I’ve found the late spring to early summer to be the sweet spot. This is when the plant is actively growing after its winter rest and has plenty of energy to put into new root development. I tend to look for stems that have finished flowering but are not yet actively producing mature seeds.
Supplies You’ll Need
Gathering your tools beforehand makes the whole process so much smoother. Here’s what I usually have on hand:
- Sharp, clean pruning shears or a sharp knife: You want to make clean cuts to avoid damaging the plant.
- Well-draining potting mix: A mix of equal parts perlite, coarse sand, and coco coir works wonders. For Elegia, good drainage is paramount.
- Rooting hormone (optional but helpful): A powder or gel can really give your cuttings a boost.
- Small pots or propagation trays: Make sure they have drainage holes.
- Plastic bags or a propagator: To create a humid environment.
- Watering can with a fine rose: For gentle watering.
- Labels and a permanent marker: Don’t underestimate the need to remember what you’ve planted and when!
Propagation Methods
While Elegia microcarpa can be grown from seed, I find taking stem cuttings to be the most reliable and quickest way to get new plants.
- Select Your Cuttings: Look for healthy, non-flowering stems. I aim for pieces that are about 10-15 cm (4-6 inches) long.
- Make the Cut: Using your sharp shears, make a clean cut just below a leaf node. This is where new roots are most likely to form. Remove the lower leaves, leaving just a few at the top.
- Apply Rooting Hormone: If you’re using rooting hormone, dip the cut end into the powder or gel. Tap off any excess.
- Plant Your Cuttings: Fill your pots or trays with your well-draining mix. Make a small hole with a pencil or your finger, insert the cutting, and gently firm the soil around it.
- Create a Humid Environment: Water the soil gently. Then, cover the pot or tray with a clear plastic bag, propping it up with a few sticks so it doesn’t touch the leaves. Alternatively, place the pots inside a propagator.
The “Secret Sauce” (Pro Tips)
Here are a few things I’ve learned over the years that can make a difference:
- Think “Airy Soil”: Elegia microcarpa absolutely despises soggy feet. Even your propagation mix should be super light and airy. I often add extra perlite or pumice to my standard potting mix for these beauties.
- Avoid Direct Sun: Place your cuttings in a bright spot, but out of direct sunlight. Too much sun at this tender stage can scorch them and dry them out too quickly. A bright windowsill is usually perfect. Don’t be tempted to place them in a sunny spot thinking it will speed things up; it rarely does!
- Gentle Mist, Not Soak: Instead of watering heavily, I often lightly mist the leaves and the soil daily, especially if the humidity in your propagator is good. This keeps them hydrated without waterlogging the delicate roots.
Aftercare & Troubleshooting
Once your cuttings have been in their humid home for a few weeks, you might start to see signs of life.
- Rooting: The best sign is new growth, but you can also gently tug on the cutting. If you feel resistance, roots are forming! Once they’ve developed a good root system – usually after 4-6 weeks – you can transplant them into individual small pots.
- Humidity Adjustment: As they grow stronger, gradually reduce the humidity by opening the propagator or taking the plastic bag off for longer periods. This helps them acclimate to normal air.
- Common Problems: The biggest enemy of Elegia cuttings is rot. If you see stems turning black or mushy, it’s usually a sign of too much moisture and not enough air circulation. In this case, it’s often best to discard the infected cutting to prevent it from spreading. Make sure your soil is always free-draining.
A Warm Encouragement
Growing new plants is such a fulfilling journey, isn’t it? Be patient with your Elegia microcarpa cuttings. Some might take their sweet time, and others might surprise you with their eagerness. The key is to provide them with the right conditions, give them a bit of care, and trust the process. Enjoy watching those tiny roots unfurl and your new Elegias begin their own graceful dance in your garden!
Resource: