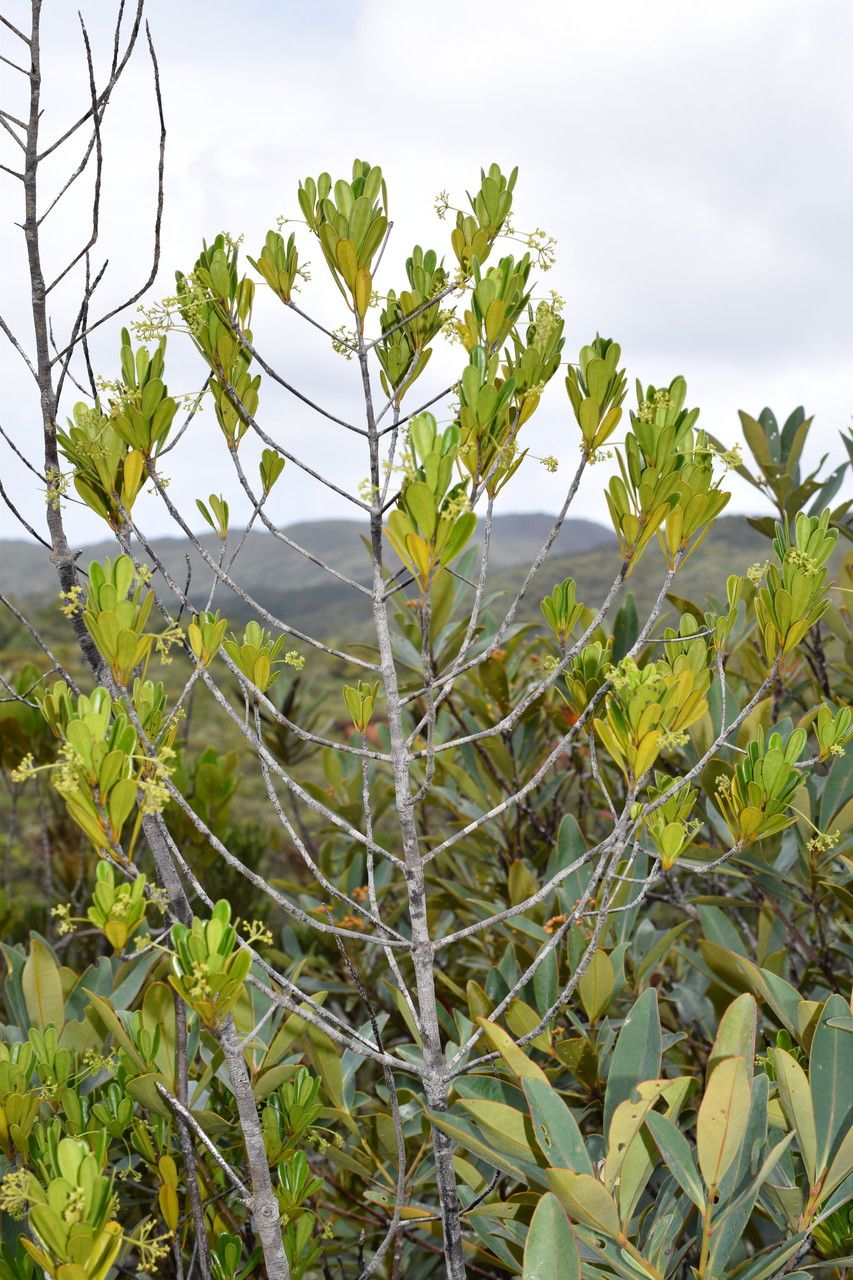
Hello fellow gardeners! It’s so lovely to have you here. Today, we’re diving into the wonderful world of Elaeodendron bupleuroides, sometimes called the Scarlet Berry or Blue-leaved Olive. If you’ve ever admired its beautiful, leathery leaves and the charming berries it produces, you’re in for a treat. Propagating this gem is a fantastic way to fill your garden (or share with friends!) and it’s wonderfully rewarding, even if it takes a little patience. For beginners, I’d rate it a solid medium difficulty. It’s not as tricky as some, but it’s definitely not a “stick it in the ground and forget it” situation.
The Best Time to Start
For Elaeodendron, I find my best luck happens in late spring to early summer. This is when the plant is actively growing, but before the real heat of summer really sets in. You want to take cuttings from new, semi-hardened growth. Think of it as taking a snippet from a branch that’s just starting to firm up, not the super soft, leafy new shoots, and definitely not the old, woody stems.
Supplies You’ll Need
Gathering your tools beforehand makes the whole process much smoother. Here’s what I always have on hand:
- Sharp Pruning Shears or a Knife: Cleanliness is key to preventing disease.
- Rooting Hormone: This is optional but highly recommended for Elaeodendron. It really gives those cuttings a boost. I prefer a powder form.
- Well-Draining Potting Mix: A mix of perlite, peat moss, and a bit of compost works beautifully. You want it to drain like a sieve.
- Small Pots or Trays: Clean, empty pots with drainage holes are a must.
- Plastic Bag or Dome: To create a humid environment for your cuttings.
- Watering Can or Spray Bottle: For gentle watering.
Propagation Methods
Let’s get our hands dirty! The most reliable method for Elaeodendron is stem cuttings.
- Take Your Cuttings: On a pleasant morning, select healthy stems from your established plant. Cut pieces that are about 4-6 inches long. Make your cut just below a leaf node (where a leaf attaches to the stem).
- Prepare the Cuttings: Gently remove the lower leaves from your cuttings. You want to expose a few nodes along the stem that will eventually form roots. Leave about 2-3 sets of leaves at the top. If the leaves are very large, you can even cut them in half to reduce water loss.
- Apply Rooting Hormone: Dip the cut end of each stem into your rooting hormone. Tap off any excess.
- Plant Your Cuttings: Fill your clean pots with your well-draining mix. Make a hole in the center of the soil with a pencil or your finger. Insert the cut end of the cutting into the hole, ensuring the rooting hormone isn’t scraped off. Gently firm the soil around the stem so it stands upright.
- Water Gently: Water your newly potted cuttings thoroughly but gently, so the soil is moist but not waterlogged.
- Create Humidity: Cover the pots loosely with a plastic bag or a clear propagation dome. This is crucial to keep the cuttings from drying out while they try to develop roots. Make sure no leaves are touching the inside of the bag.
The “Secret Sauce” (Pro Tips)
Here are a few little tricks I’ve learned over the years that make a big difference:
- Bottom Heat is Your Friend: If you have space, placing your pots on a gentle heat mat can significantly speed up root development. It mimics the warming soil of summer and gives those roots a cozy place to start.
- Don’t Be Afraid of Air: While humidity is important, those cuttings still need a bit of air circulation to prevent fungal issues. Poke a few small holes in the plastic bag if you’re using one, or lift the dome for a few minutes each day to let things breathe.
- Patience is a Virtue (Really!): Elaeodendron can be a bit slow to root. Don’t be tempted to pull them up to check for roots too early! Wait at least 6-8 weeks, and often longer, before you even think about gently tugging on a cutting.
Aftercare & Troubleshooting
Once you see signs of new growth – little leaves unfurling or tiny roots peeking out of the drainage holes – you’re on the right track! Begin to gradually acclimate your new plants to less humid conditions. Start by opening the bag or lifting the dome for longer periods each day over a week or two. Keep the soil consistently moist but not soggy.
The most common sign of failure is rotting. If your cuttings turn black and mushy, it’s usually a sign of too much moisture and not enough air circulation. This is why that excellent drainage is so important. Sometimes, despite your best efforts, a cutting simply won’t take. Don’t be discouraged! It happens to all of us. Just try again!
Happy Rooting!
Propagating Elaeodendron bupleuroides is a truly satisfying process. It’s a chance to connect with your plants on a deeper level and reward yourself with new life for your garden. Be patient, keep a watchful eye, and enjoy the journey. Happy gardening!
Resource: