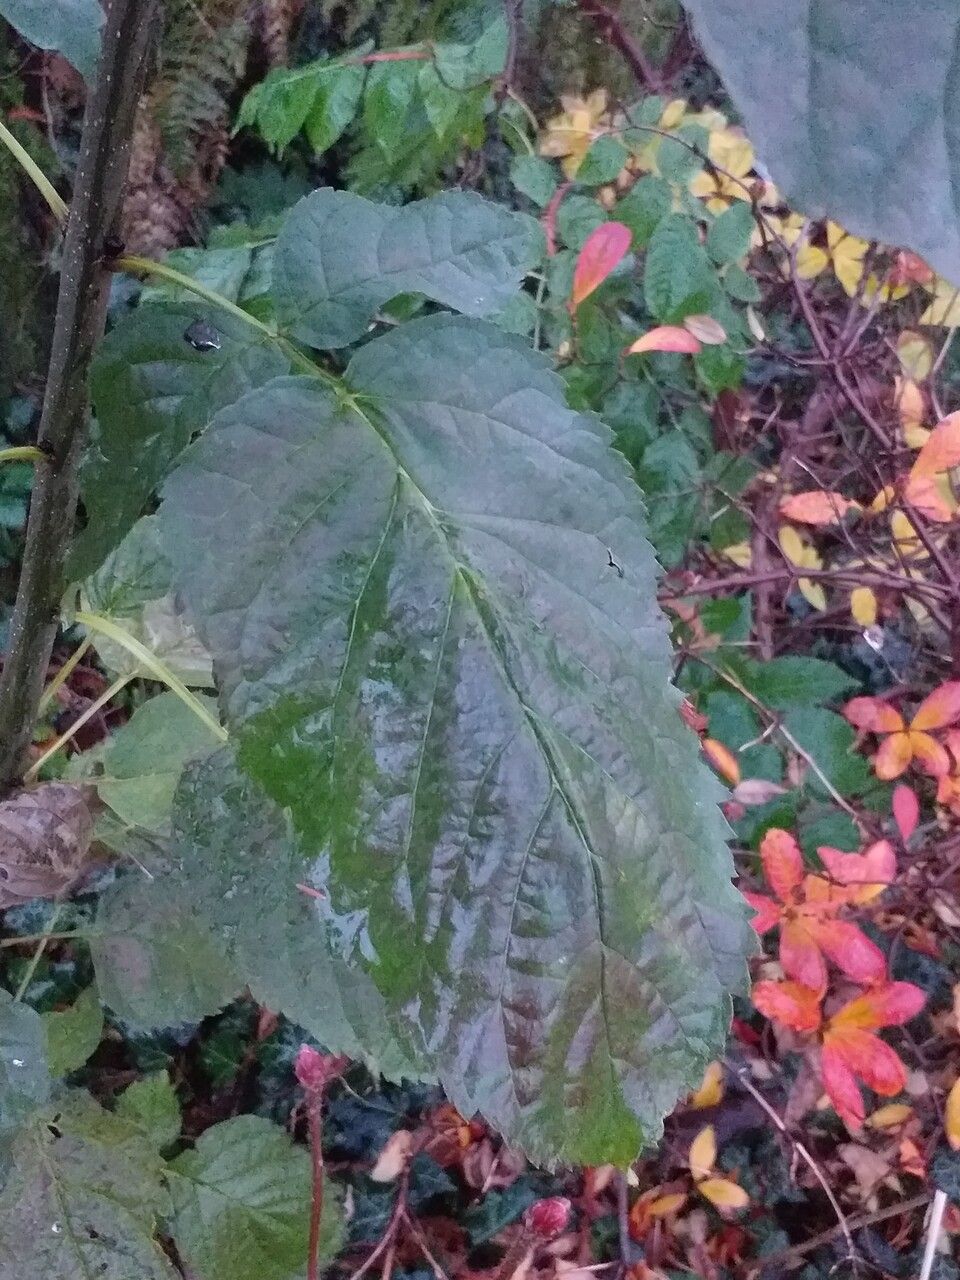
Oh, hello there! Pull up a chair and let’s chat about Ehretia latifolia. If you’re looking for a wonderfully adaptable plant that offers lovely glossy leaves and graceful branching, you’ve come to the right place. It’s a gem for landscaping, and even better, it’s a joy to multiply! Propagating it yourself is incredibly rewarding, and I’m happy to share how I do it. Don’t worry, it’s quite forgiving and a great plant for those just dipping their toes into propagation.
The Best Time to Start
For the highest success rate, I always aim to take cuttings when the plant is actively growing. This usually means late spring or early summer. You want to be taking them from “softwood” or “semi-hardwood” growth – that’s the new growth that’s starting to firm up a bit but isn’t completely woody yet. Think of it like a pencil that’s not too floppy but not as hard as an old tree branch.
Supplies You’ll Need
Here’s what I usually have on hand:
- Sharp pruning shears or a clean knife: Essential for making clean cuts.
- Rooting hormone: Not absolutely mandatory for Ehretia latifolia, but it does give your cuttings a nice boost. I prefer a powder or gel.
- A well-draining potting mix: A good blend of peat or coco coir, perlite, and a bit of compost works wonders. You can also use a specific seed starting mix.
- Small pots or seed trays: Clean, empty pots are perfect.
- Plastic bags or a propagator: To create a humid environment. A clear plastic bag stretched over the pot with a few holes works like a charm.
- Water: For misting and watering.
- Labels and a pen: So you don’t forget what you’ve planted!
Propagation Methods
I find stem cuttings to be the most straightforward and effective method for Ehretia latifolia.
- Select Your Cuttings: Choose healthy stems that are about 4-6 inches long. Make your cut just below a leaf node (where a leaf attaches to the stem).
- Prepare the Cuttings: Gently remove the lower leaves from the bottom 2-3 inches of the cutting. This prevents them from rotting when buried. If there are any flowers or developing buds, pinch those off too.
- Apply Rooting Hormone (Optional but Recommended): Dip the cut end of the stem into your rooting hormone, tapping off any excess.
- Plant Your Cuttings: Moisten your potting mix so it’s damp but not soggy. Make a small hole in the mix with your finger or a pencil, then insert the cutting. Gently firm the soil around the stem.
- Create a Humid Environment: Water the pot lightly, then place it inside a clear plastic bag, or cover it with a propagator lid. Make sure the leaves aren’t touching the sides of the bag if possible. Place it in a bright spot that gets indirect light. Avoid direct sun, which can scorch the tender cuttings.
The “Secret Sauce”
Here are a couple of things I’ve learned over the years that really help:
- Bottom Heat is Your Friend: If you can, place your pots on a heating mat designed for seedlings. This provides bottom warmth, encouraging root development from below. It makes a surprisingly big difference!
- Don’t Over-Water, Just Mist: Once your cuttings are nestled in their pots, resist the urge to drown them. Instead, lightly mist the leaves and the soil surface every couple of days, or whenever the soil feels dry to the touch. You want it consistently moist, not waterlogged.
Aftercare & Troubleshooting
Once your cuttings have been planted, it’s all about patience and observation. You’re looking for signs of new growth, which usually means roots have formed. This can take anywhere from 4 to 8 weeks, sometimes longer.
The first sign of success will be a tiny new leaf or shoot emerging from the stem. If you want to be sure, you can gently tug on a cutting – if there’s resistance, you’ve got roots!
What to watch out for:
- Rot: This is the most common issue. Mushy, black stems are a clear sign of rot, usually caused by too much moisture. If you see this, unfortunately, that cutting is likely lost. It’s a good reminder to ease up on the watering.
- Wilting: If your cuttings look droopy and sad, it could be a couple of things. Either they’re too dry and need a misting, or they’re not getting enough light. Ensure they’re in a good spot.
- Yellowing Leaves: Occasional yellowing on the oldest leaves is normal as the plant diverts energy to root growth. However, if many leaves turn yellow, it might indicate too much water or a lack of nutrients in the initial mix.
Once you see good new growth, you can gradually acclimate your new plants to normal conditions. This means slowly opening the plastic bag or propagator over a week or two. Then, you can transplant them into their own individual pots when they’re a bit larger and seem sturdy.
A Encouraging Closing
Propagating plants is a bit like magic, isn’t it? It’s a slow dance with nature, and sometimes it doesn’t work out perfectly the first time. Don’t get discouraged if a few cuttings don’t make it. Keep trying, keep observing, and most importantly, enjoy the process. There’s immense satisfaction in nurturing a tiny cutting into a beautiful, thriving plant. Happy propagating!
Resource:
https://identify.plantnet.org/k-world-flora/species/Ehretia%20latifolia%20Loisel./data