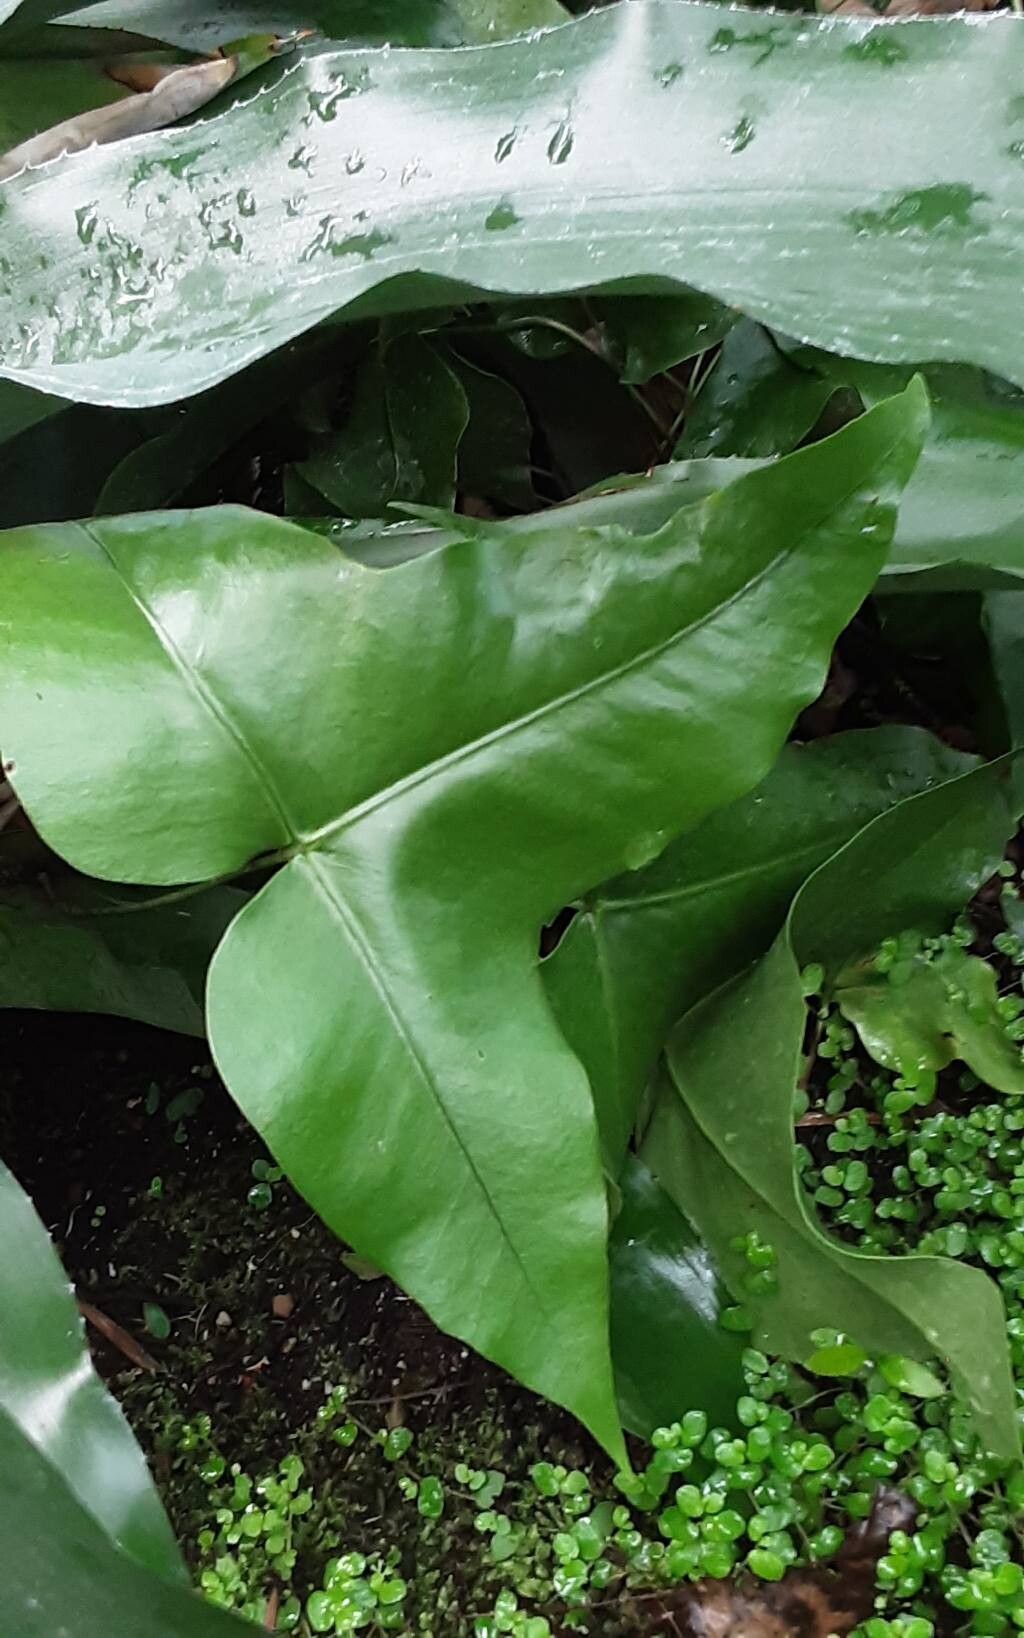
Oh, hello there! Come in, come in, grab a mug of something warm. Today, we’re diving into the wonderful world of propagation, and our star subject is the magnificent Drynaria sagitta. You know, those gorgeous ferns with the shuttlecock-like fronds and those amazing, woody rhizomes? They have such a unique character, don’t they? I find them so rewarding to grow, and propagating them is entirely doable! Don’t let their somewhat exotic appearance fool you; with a little know-how, you’ll be creating new little Drynaria babies in no time. It’s not a fiddly process, but it does require a bit of attention to detail, which I think makes it all the more satisfying.
The Best Time to Start
For our beloved Drynaria, the absolute sweet spot for propagation is spring, as the plant is waking up from its winter rest. You want to catch it when it’s actively growing and bursting with energy. This is when it has the most vigor to put into developing new roots and shoots. While you might get away with it at other times, spring gives you the best chance for success, period.
Supplies You’ll Need
So, let’s get our kit ready! Here’s what you’ll want to have on hand:
- Sharp, sterilized pruning shears or a clean knife: Essential for making clean cuts.
- A well-draining potting mix: I like a blend of equal parts peat moss, perlite, and orchid bark. This gives it the aeration and moisture retention it craves.
- Small pots or trays: Whatever you have handy that will hold your new plant.
- Rooting hormone (optional but helpful): A powder or liquid can give cuttings a helpful boost.
- A misting bottle: For keeping humidity levels up.
- Clear plastic bags or a small propagator: To create a humid environment for your cuttings.
- Water: Clean, room-temperature water.
Propagation Methods
Drynaria is a forgiving plant, and propagation is often best achieved through division. This fern truly excels when its rhizomes are given room to spread, and dividing them is a natural way to get more plants.
Division Method:
- Gently remove the plant from its pot. If it’s stuck, give the pot a few firm taps on the sides. You might need to ease it out with a trowel or knife if it’s really root-bound.
- Inspect the rhizome. You’re looking for sections that have at least one healthy frond (or the potential for one) and a good start of roots. You can often see where the plant naturally wants to separate.
- Carefully separate the sections. Use your sterilized shears or knife to make a clean cut. If the roots are tangled, be patient and gently tease them apart. It’s okay if a few roots break; just try to minimize it.
- Pot up the new divisions. Plant each section in its own pot filled with your well-draining potting mix. Make sure the rhizome is just at or slightly below the surface of the soil.
- Water them in gently. Give them a good watering to settle the soil.
The “Secret Sauce” (Pro Tips)
Here are a couple of things I’ve learned over the years that can really make a difference with ferns like Drynaria:
- Don’t let your divisions dry out, but don’t drown them either. Right after potting, they need consistent moisture. But once they’re settled and starting to grow, they appreciate drying out slightly between waterings. It’s a delicate balance, but you’ll get a feel for it.
- Consider the rhizome itself. Sometimes, a piece of rhizome with no visible fronds can still surprise you! If you have a particularly robust-looking piece and want to try, go for it. You can even lay it on the surface of the soil (just barely covered) and mist it regularly. It’s a bit of a gamble, but I’ve had success!
Aftercare & Troubleshooting
Once your new Drynaria divisions are potted, treat them like you would a mature plant, but with a bit more tenderness. Keep them in bright, indirect light and maintain consistent moisture for the first few weeks. Don’t let the soil get bone dry or waterlogged. You might want to lightly mist them daily, especially in drier indoor environments.
The most common sign of a problem is rotting. If you see mushy, black sections, or the fronds start to yellow and wilt dramatically without any apparent cause, it’s often a sign of too much moisture and poor air circulation. I’d suggest checking the soil moisture immediately. If it’s soggy, try gently replanting it in fresh, dry potting mix or improving drainage. Don’t be discouraged if one doesn’t make it; it’s a learning process for all of us.
A Encouraging Closing
Propagation is an act of patience and optimism. It’s a way to share the beauty of your garden and expand your own collection. So, take these tips, get your hands in the soil, and enjoy the process. Watching those new fronds unfurl on a division you’ve nurtured is incredibly rewarding. Happy growing!
Resource:
https://identify.plantnet.org/k-world-flora/species/Drynaria%20sagitta%20(Christ)%20Christenh./data