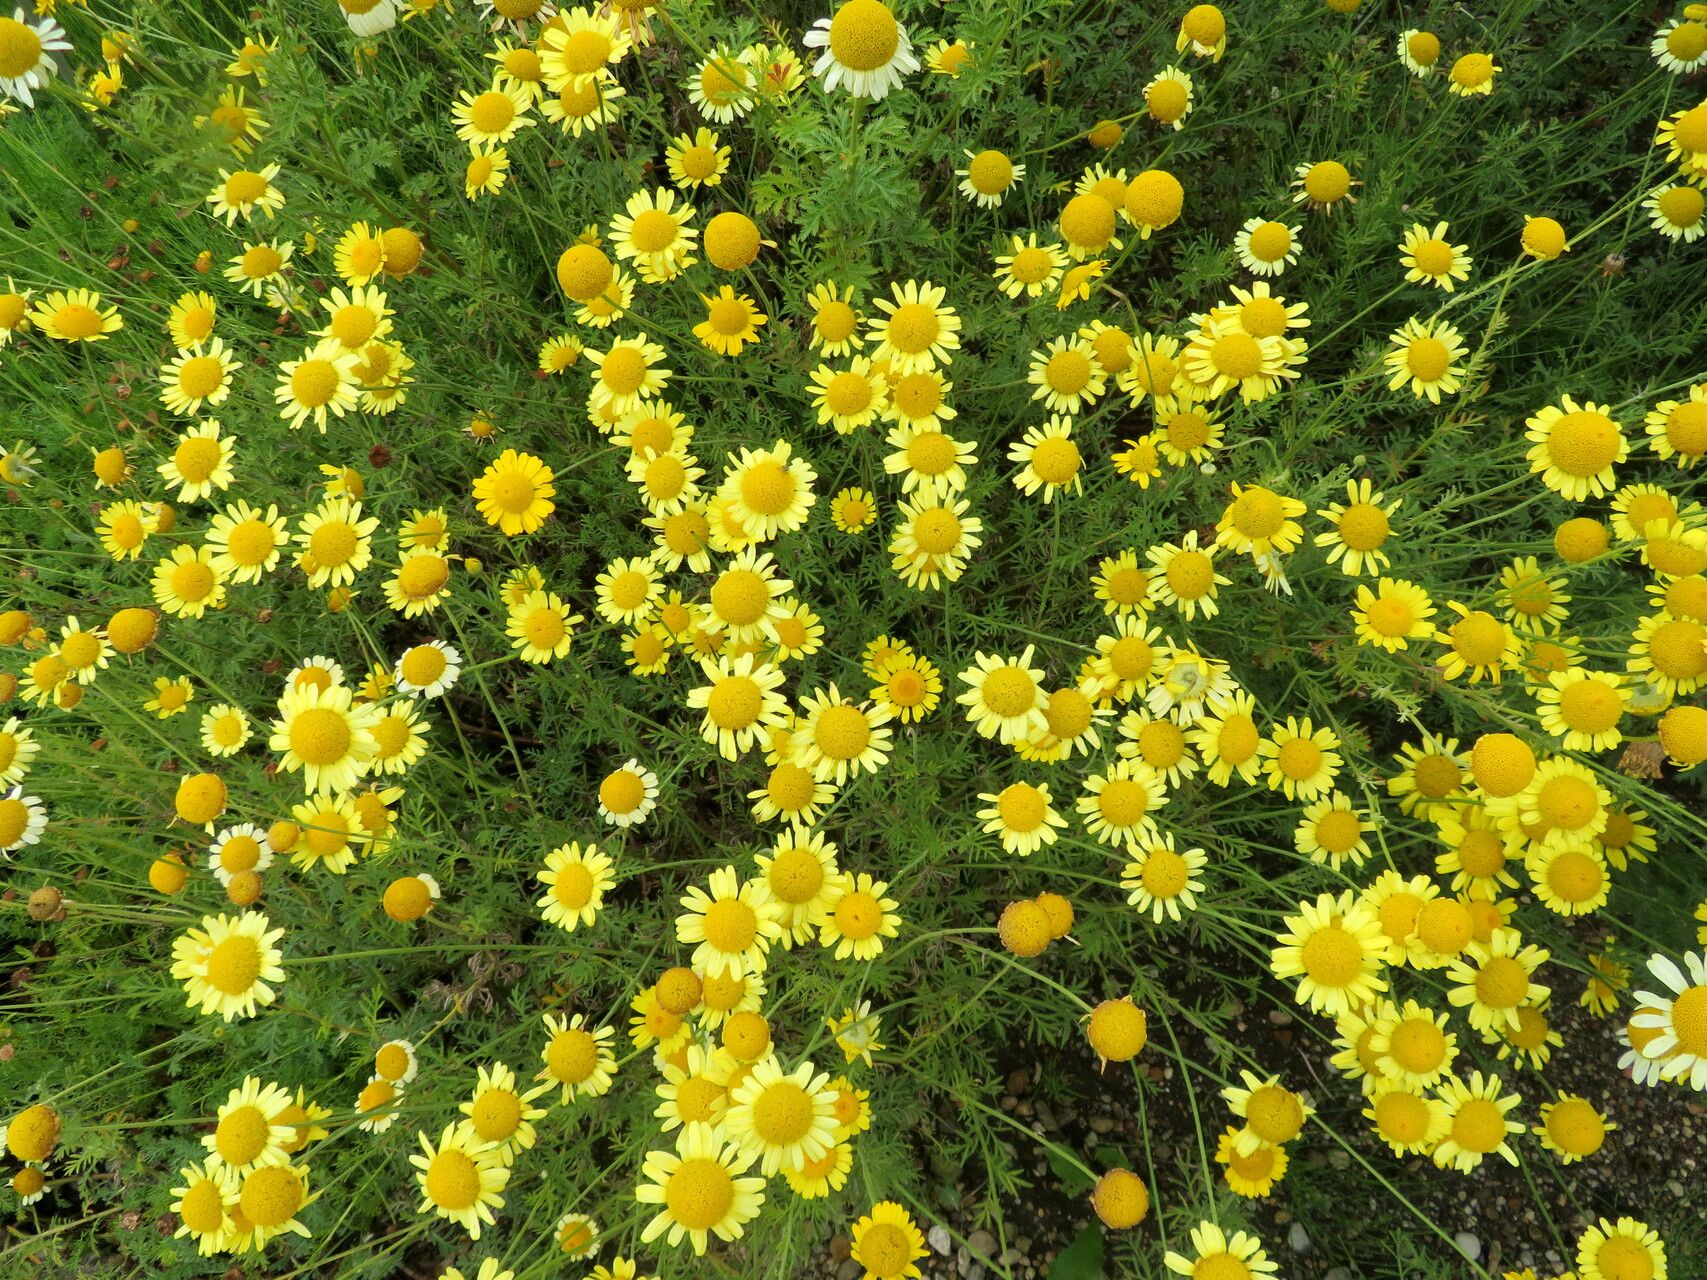
Oh, hello there! Pull up a chair and let’s chat about a little gem of a plant: Cota triumfetti. If you’ve ever seen this beauty gracing a garden, you’ll know exactly why I’m so excited to share how to bring more of it into your life. It’s a real charmer, isn’t it? With its delicate, daisy-like flowers and feathery foliage, it adds such a cheerful, airy touch. And the best part? Propagating it is a really satisfying way to expand your collection without spending a fortune. As for beginners, I’d say Cota triumfetti is moderately easy to propagate. A little care and attention, and you’ll be a pro in no time.
The Best Time to Start
When it comes to getting the most bang for our propagation buck, I find that late spring to early summer is the sweet spot for Cota triumfetti. This is when the plant is actively growing and has plenty of nice, healthy energy to put into forming new roots. You’re looking for stems that are soft and bendy, not yet woody and stiff. Think vibrant, green growth, not old, tough bits.
Supplies You’ll Need
Before we dive in, let’s make sure we have our tools ready. A well-prepared gardener is a successful gardener, as they say!
- Sharp pruning shears or a clean knife: For making those precise cuts.
- Rooting hormone (optional but recommended): A little boost can make a world of difference.
- A well-draining potting mix: I like a blend of peat moss, perlite, and a bit of compost.
- Small pots or trays: For your cuttings to get started. Make sure they have drainage holes!
- Plastic bags or a propagator: To keep humidity high around your cuttings.
- Watering can or spray bottle: For gentle watering.
Propagation Methods
For Cota triumfetti, I usually lean towards stem cuttings. It’s reliable and gives us a great success rate.
Stem Cuttings
- Select Your Cuttings: Gently examine your Cota triumfetti plant. Look for healthy stems that are about 3-6 inches long. You want to pinch or cut these stems just below a leaf node – that little bump where a leaf emerges from the stem.
- Prepare the Cuttings: Once you’ve taken your cuttings, use your clean shears or knife to remove any leaves from the lower half of the stem. This prevents them from rotting in the soil and encourages the plant to focus its energy on root development. You can leave just two or three leaves at the very top.
- (Optional) Apply Rooting Hormone: If you’re using rooting hormone, dip the cut end of the stem into the powder or gel. Tap off any excess.
- Plant Your Cuttings: Moisten your well-draining potting mix. Then, gently insert the cut end of each cutting into the soil, about an inch deep. Make sure the leaves you left at the top aren’t buried or touching the soil.
- Create a Humid Environment: Water the soil gently. Then, cover the pots or tray with a clear plastic bag or place them in a propagator. This creates a mini-greenhouse effect, which is crucial for rooting. You can prop the bag up with small stakes so it doesn’t touch the leaves.
The “Secret Sauce” (Pro Tips)
Now, for a couple of little tricks that have always helped me get the best results with cuttings:
- Don’t Let Those Leaves Touch the Water! This is a big one, especially if you ever try water propagation. When leaves sit in water, they tend to rot, which can then cause the whole cutting to go south. Keep them dry and airy!
- Bottom Heat is Your Friend: If you have a seedling heat mat, placing your propagation tray on it can dramatically speed up root development. It mimics the warmth of spring soil and gives those roots a real encouraging nudge to start growing.
Aftercare & Troubleshooting
Once your cuttings are planted, give them a little drink and place them in a bright spot, but out of direct, harsh sunlight. Keep the soil consistently moist, but not soggy. You’ll want to lift the plastic bag or open the propagator for a few minutes each day to allow for air circulation and prevent mold.
You’ll know your cuttings are happy and rooting when you see signs of new growth – a tiny new leaf unfurling or the stem looking a little sturdier. This can take anywhere from a few weeks to a couple of months, so be patient!
The most common issue you might encounter is rot. If you see your cuttings turning mushy, black, or looking generally unwell, it’s usually a sign of too much moisture and not enough air. Sadly, these are usually lost causes, but don’t despair! Just clean out the pot and try again, focusing on that well-draining soil and good airflow.
A Little Encouragement
There you have it! Propagating Cota triumfetti is a wonderful journey, and the sense of accomplishment when you see those first little roots is simply fantastic. Don’t be discouraged if your first few attempts aren’t perfect. Gardening is all about learning and adapting. Just keep trying, enjoy the process, and soon you’ll be sharing your beautiful Cota triumfetti with all your friends! Happy propagating!
Resource:
https://identify.plantnet.org/k-world-flora/species/Cota%20triumfetti%20(L.)%20J.Gay/data