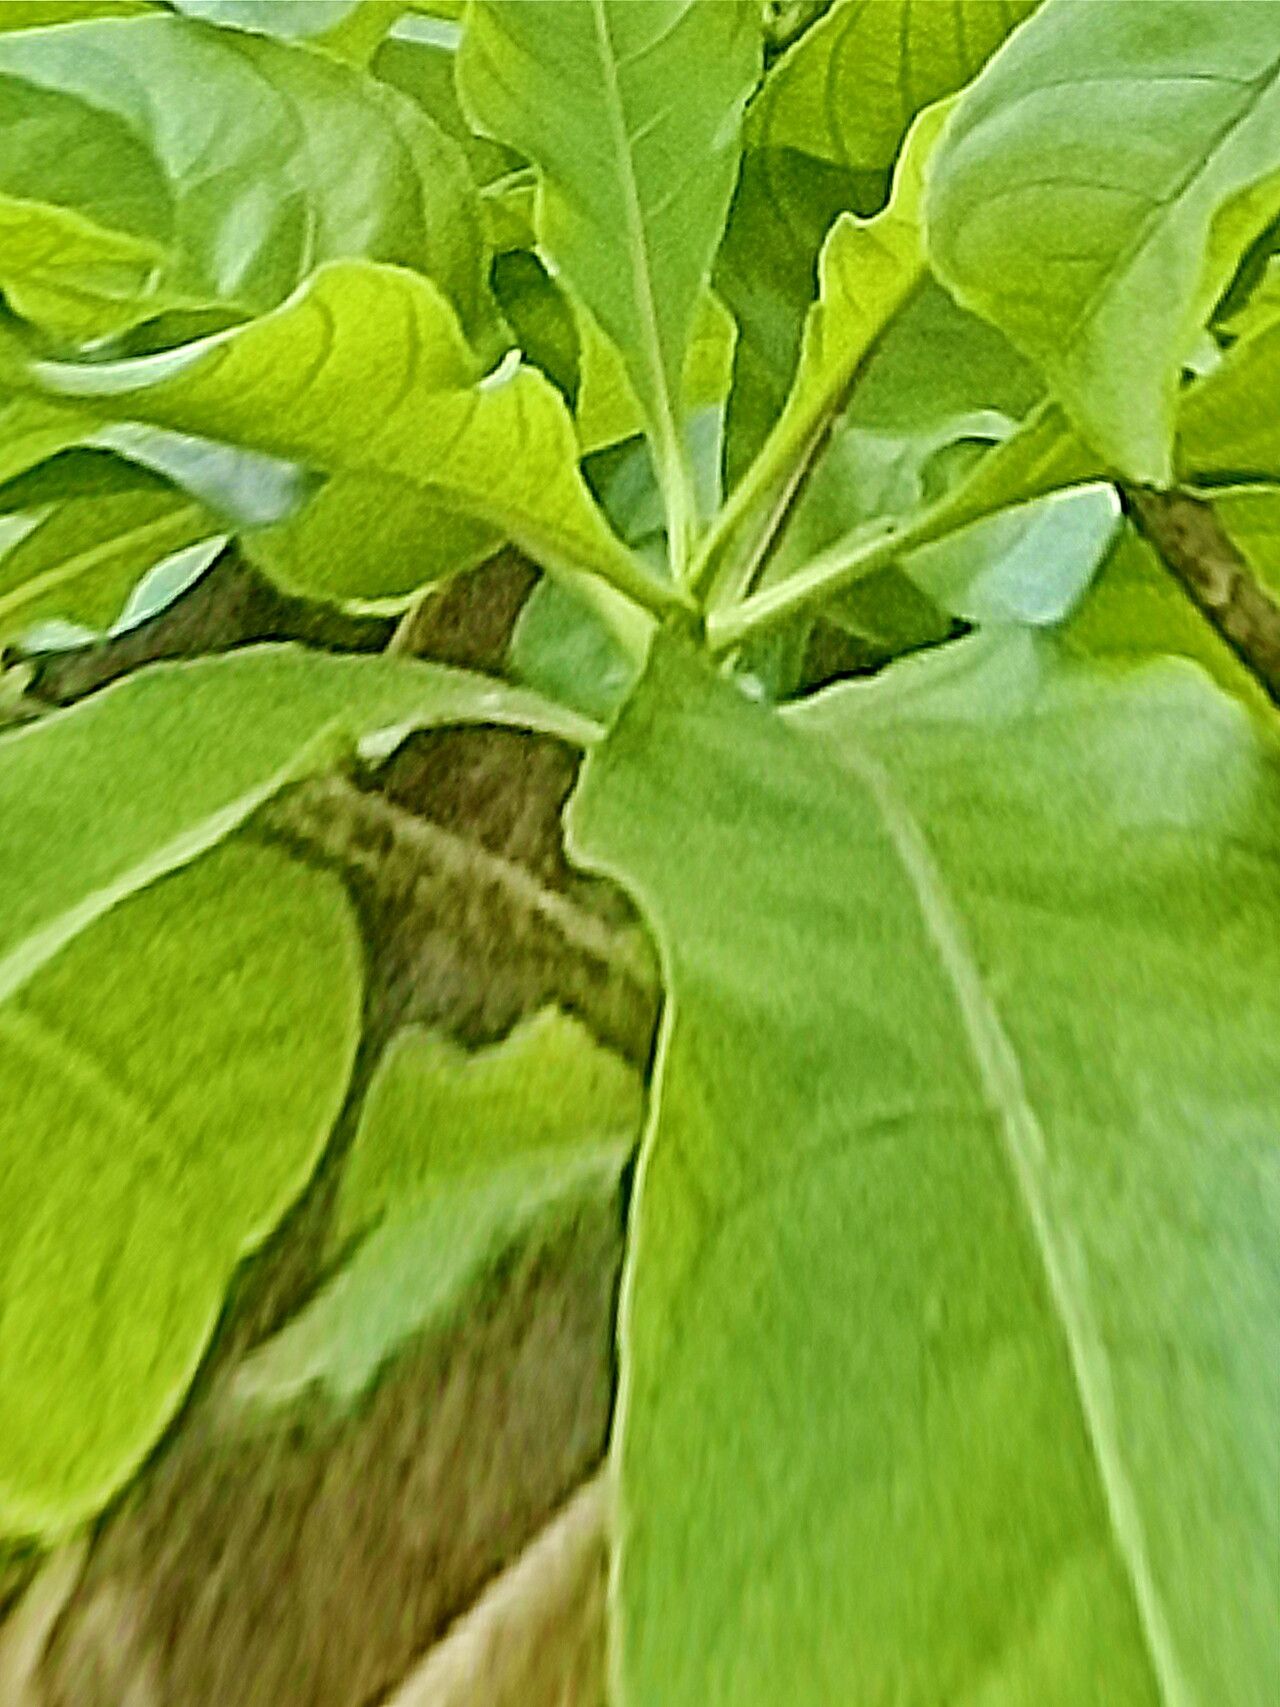
Hello fellow plant enthusiasts! Today, I want to chat about a truly special tree: Careya arborea. You might know it as the “butterfly tree” for its gorgeous, showy flowers that attract all sorts of lovely pollinators. Or perhaps you’re drawn to its unique, somewhat sculptural form. Whatever the reason, if you’ve fallen for Careya arborea, you’re in for a treat, because propagating it can be incredibly rewarding. Now, is it a breeze for absolute beginners? I’d say it leans towards moderately easy. It’s not as straightforward as a pothos, but with a little attention and care, you can absolutely be successful.
The Best Time to Start
For the best chance of success with Careya arborea, I find that late spring to early summer is your sweet spot. This is when the plant is actively growing, and the stems have a good amount of energy to put into rooting. Look for stems that are semi-hardwood – they’ve lost their brand-new, floppy tenderness but aren’t fully woody and old. Think of it as that perfect point between being a brand-new sprout and a stout, established branch.
Supplies You’ll Need
Gathering your tools before you begin will make the process so much smoother. Here’s what I recommend:
- Sharp Pruning Shears or a Knife: Cleanliness is key to preventing disease.
- Rooting Hormone: This is especially helpful for encouraging faster and stronger root development. I usually opt for a powder or gel.
- Well-Draining Potting Mix: A blend of perlite, coarse sand, and a good quality potting soil works beautifully. You want to avoid anything that stays waterlogged.
- Small Pots or Trays: Clean pots with drainage holes are essential.
- Plastic Bag or Humidity Dome: To create a humid microclimate around your cuttings.
- Labels and a Marker: To keep track of what you’ve planted and when.
- Watering Can with a Fine Rose: Gentle watering is crucial.
Propagation Methods
Let’s get our hands dirty! We’ll focus on stem cuttings, which is the most common and effective way to propagate Careya arborea.
Stem Cuttings:
- Select Your Cuttings: Head out to your Careya arborea and look for those perfect semi-hardwood stems I mentioned. You want them to be about 4-6 inches long.
- Make the Cut: Using your sharp, clean pruning shears or knife, make a cut just below a leaf node (where a leaf attaches to the stem). This is where roots are most likely to form.
- Prepare the Cutting: Gently remove the lower leaves from the cutting, leaving just a couple of sets of leaves at the top. This reduces water loss and prevents leaves from rotting in the soil.
- Apply Rooting Hormone: Dip the cut end of the stem into your rooting hormone, tapping off any excess. This gives your cutting a helpful boost.
- Plant Your Cuttings: Fill your clean pots with your well-draining potting mix. Make a small hole with your finger or a pencil and insert the cutting, ensuring the leaf nodes are buried. Gently firm the soil around the stem.
- Water Gently: Water your cuttings thoroughly but gently. You want the soil to be moist, not soggy.
- Create Humidity: Cover the pots with a plastic bag or a humidity dome. This will trap moisture and create the humid environment cuttings need to thrive. Make sure the leaves aren’t touching the plastic if possible.
- Find the Right Spot: Place your pots in a bright location with indirect sunlight. Avoid direct sun, as this can scorch the tender cuttings.
The “Secret Sauce” (Pro Tips)
I’ve learned a few things over the years that can really make a difference.
- Bottom Heat is Your Friend: If you have a propagation mat, use it! Applying gentle bottom heat (around 70-75°F or 21-24°C) encourages root development significantly. It mimics the warmth of the soil in summer.
- Don’t Disturb Too Soon: Resist the urge to tug on your cuttings to check for roots! Let them settle in for at least 4-6 weeks before you even think about giving them a gentle pull. You’ll feel resistance if roots have formed.
- Consider Air Layering for Larger Plants: If you’re feeling a bit more adventurous and want to propagate a larger branch directly from your parent plant, air layering is a fantastic technique. You essentially create a wound on a branch, apply rooting hormone, wrap it in moist sphagnum moss, and cover it with plastic. Roots form within the moss, and you can then cut the branch below the roots and plant it.
Aftercare & Troubleshooting
Once you see signs of new growth – tiny leaves unfurling or that gentle resistance when you very gently tug on a cutting – you know roots are forming!
- Acclimatize Gradually: Once your cuttings have a decent root system, it’s time to gradually acclimatize them to less humid conditions. Start by opening the plastic bag for a few hours each day.
- Consistent Moisture: Continue to keep the soil consistently moist but not waterlogged. As the plants grow, you can transplant them into slightly larger pots.
- Watch for Rot: The most common sign of trouble is rot, which usually happens when cuttings are kept too wet or don’t have enough air circulation. If you see mushy stems or blackened bases, unfortunately, that cutting is likely lost. Remove it to prevent it from affecting others.
Happy Growing!
Propagating Careya arborea is a wonderful way to expand your collection and share the beauty of this tree with others. Be patient with the process – nature takes its time. Enjoy the journey of nurturing these tiny beginnings into mature plants. Happy gardening, everyone!
Resource:
https://identify.plantnet.org/k-world-flora/species/Careya%20arborea%20Roxb./data