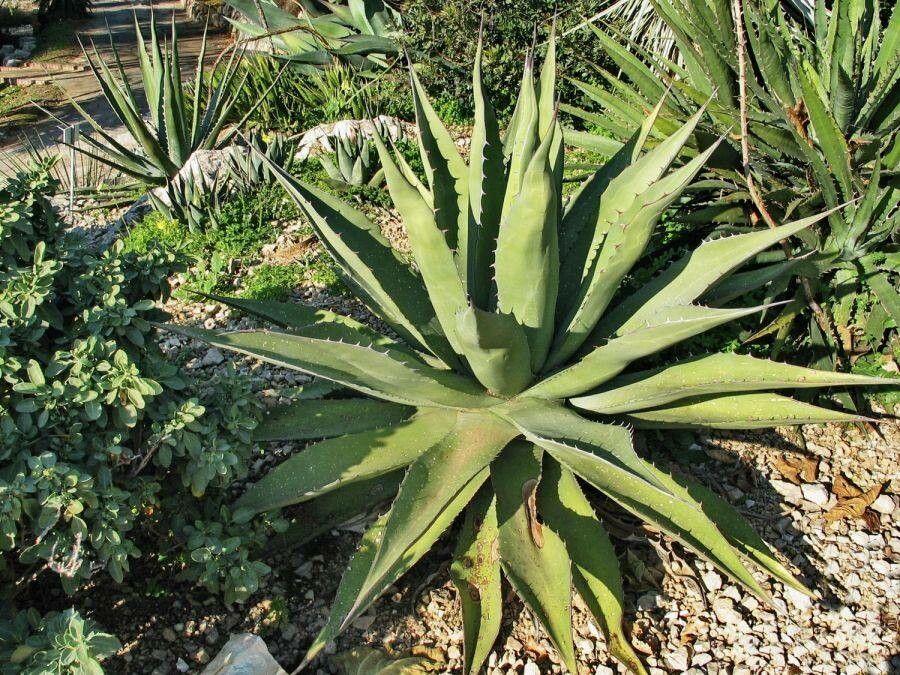
Oh, the Agave avellanidens! What a magnificent plant. Its architectural form and dramatic presence can truly elevate any garden space. And the joy of creating more of these beauties from your existing ones? Pure horticultural bliss! For those of you just dipping your toes into the world of propagation, I’ll be honest, the Agave avellanidens isn’t the absolute easiest for complete beginners, but with a little patience and these tips, you’ll be well on your way. It’s a rewarding challenge, I promise.
When is the Best Time to Start?
My favorite time to get busy with my agaves is during their active growing season. Think late spring through early summer. The plants are full of vigor, building up energy, and this is when they’re most likely to heal quickly and produce those precious roots. You can also try this in early autumn, but I find the success rate dips a bit as things cool down.
What You’ll Need to Get Growing
Here’s what I keep handy when I’m propagating:
- Sharp, sterilized pruning shears or a clean knife: A clean cut is crucial to prevent disease.
- Rooting hormone powder (optional but recommended): This gives your cuttings a little boost.
- Well-draining potting mix: A cactus and succulent mix is perfect. You can also whip up your own with equal parts potting soil, perlite, and coarse sand.
- Pots or containers: Choose something appropriate for the size of your cuttings. Small nursery pots or even shallow trays work well.
- Gloves: Agave spines are no joke!
- A fine-mesh sieve (optional): For dusting off excess rooting hormone.
- A watering can with a fine rose: To gently water new plantings.
Let’s Get Propagating!
The Agave avellanidens is most commonly propagated by offsets, sometimes called “pups.” These are the little baby plants that pop up around the base of the mature agave.
- Assess your agave: Look for healthy, well-formed offsets that are at least a few inches tall and have developed their own roots. You’ll usually see them peeking out from the soil near the mother plant.
- Prepare your tools: Make sure your pruning shears or knife are squeaky clean and sterilized. You can use rubbing alcohol for this. Don your gloves now!
- Gently excavate: Carefully dig around the base of the offset you want to remove. You’re trying to expose the point where it connects to the parent plant. Sometimes, a gentle tug will help you see the connection more clearly.
- Make the cut: Using your sharp tool, make a clean cut to separate the offset from the mother plant. Try to get a little bit of root attached to the offset if possible.
- Let it callous: This is a VERY IMPORTANT step for agaves. Once you’ve separated the offset, DO NOT plant it immediately. Place it in a dry, bright spot (out of direct sun) for several days to a week. You want the cut end to dry out and form a callus. This hardened tissue helps prevent rot when you plant it.
- Planting the offset: Once the cut end has calloused over, you can plant your new agave. Fill a small pot with your well-draining mix. Make a small hole in the center and gently place the calloused end of the offset into the soil. You don’t need to plant it too deeply – just enough to keep it upright.
- The initial watering: Resist the urge to water right away! Wait about a week after planting before giving it its first light drink. This gives the roots a chance to settle and further reduces the risk of rot.
The “Secret Sauce” from My Garden
Here are a few tricks I’ve picked up over the years that really make a difference:
- Don’t overcrowd your offsets: When you’re letting them callous, give them enough space. If they’re bumping into each other, they’re more susceptible to fungal issues. A tray with individual little spots for each one is ideal.
- Bottom warmth is king: Agaves love warmth for rooting. If you’re propagating in a cooler period or if your home is on the chilly side, consider placing your potted offsets on a seedling heat mat. You don’t want it hot, just gently warm. It makes a world of difference in speeding up root development.
- Observe the mother plant’s cues: Sometimes, you’ll notice a natural separation point where an offset is almost ready to detach on its own. These are usually the easiest ones to work with and often have a better root system already established.
Aftercare and When Things Go Wrong
Once your new agave is planted and has received its first watering, keep it in a bright location but out of intense, direct sunlight for the first few weeks. Let the soil dry out completely between waterings. You’ll know it’s taken root when you see new growth appearing. This can take anywhere from a few weeks to a couple of months.
What if things don’t go as planned? The most common culprit is rot. You’ll see the leaves become soft, mushy, and possibly turn brown or black, often starting at the base. This is usually due to overwatering or not letting the offset callous properly. If you spot rot, clean off all the rotted material, let the healthy part dry and callous again, and try planting it in fresh, dry soil. Sometimes, a cutting is just lost, and that’s okay! It’s part of the learning process.
Happy Planting!
Don’t be discouraged if your first attempt isn’t absolutely perfect. Propagation is a dance with nature, and sometimes it takes a few tries to get the rhythm just right. Be patient, observe your little agaves, and enjoy the incredibly satisfying feeling of growing your own collection. Happy gardening!
Resource:
https://identify.plantnet.org/k-world-flora/species/Agave%20avellanidens%20Trel./data