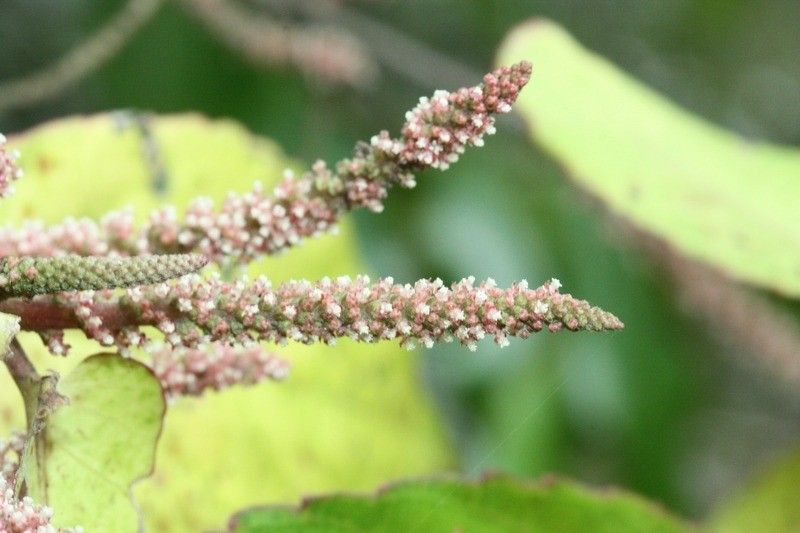
Hey there, fellow plant enthusiasts! It’s so good to be back with you in the garden. Today, we’re diving into a plant that I truly adore: Acalypha integrifolia. This gorgeous specimen, often called the “copperleaf,” brings such vibrant color and beautiful texture to any space. Its large, glossy leaves, which often sport rich bronze, red, or burgundy tones depending on the variety and light, are just stunning.
Propagating your own Acalypha integrifolia is incredibly rewarding. Imagine filling your garden beds or pot collection with these beauties, all grown from cuttings taken from your favorite existing plant! It’s a fantastic way to share the love too. And for those of you just starting your plant journey? Good news! While it takes a little attention, propagating Acalypha integrifolia is definitely achievable and a wonderful place to get your hands dirty and build confidence.
The Best Time to Start
When it comes to getting the most bang for your buck with Acalypha integrifolia propagation, spring and early summer are your golden ticket. This is when the plant is in its active growing phase. The new growth is softer, pliant, and brimming with the energy needed to root successfully. Waiting until new stems have emerged and are starting to firm up, but are not yet woody, is key. Think of it as taking cuttings from a strong, healthy teenager, full of life and ready to grow!
Supplies You’ll Need
To make this a smooth sailing operation, here’s what I recommend having on hand:
- Sharp Pruning Shears or a Craft Knife: Clean, sharp tools are essential to make clean cuts and prevent damage.
- Rooting Hormone (Optional but Recommended): This little helper can significantly boost your success rate, especially for less experienced propagators. Look for a powder or gel.
- Potting Mix: A well-draining mix is crucial. I like to use a combination of equal parts peat moss or coco coir, perlite, and a good quality potting soil. Some growers also find success with a mix of perlite and vermiculite.
- Small Pots or Seedling Trays: Clean containers are a must. Anything from 3-4 inch pots to specialized seedling trays will work. Make sure they have drainage holes!
- Plastic Bags or a Propagator: To create a humid environment, which new cuttings absolutely love.
- Watering Can with a Fine Rose: To water gently without disturbing your precious cuttings.
- Labels: Don’t forget to label your cuttings! Trust me, you’ll thank yourself later.
Propagation Methods
The most effective way to propagate Acalypha integrifolia is through stem cuttings. It’s straightforward and yields excellent results.
Stem Cuttings:
- Select Your Cuttings: Look for healthy, non-flowering stems on your mature plant. You want stems that are about 4-6 inches long and have started to firm up a bit – not too green and floppy, but not woody either.
- Make the Cut: Using your sharp pruning shears or knife, make a clean cut just below a leaf node (where a leaf meets the stem). This is where the magic of rooting hormones tends to happen.
- Prepare the Cuttings: Gently remove the lower leaves from the cutting, leaving only two to four leaves at the very top. This prevents them from rotting in the soil and helps the cutting focus its energy on rooting.
- Apply Rooting Hormone (Optional): Dip the cut end of the stem into your rooting hormone, tapping off any excess.
- Plant the Cuttings: Fill your chosen pots with your pre-moistened potting mix. Make a small hole in the center of the soil with your finger or a pencil. Insert the cut end of the stem into the hole, ensuring the leaf nodes that had leaves removed are buried beneath the soil surface. Gently firm the soil around the cutting.
- Water Gently: Water thoroughly but gently to settle the soil.
- Create Humidity: Place the potted cuttings inside a clear plastic bag or a propagator. Seal it loosely, or prop it open slightly to allow for some air circulation. This creates a humid microclimate that prevents the cuttings from drying out.
- Provide Light and Warmth: Place the pots in a bright, indirect light location. Avoid direct sunlight, as it can scorch the delicate cuttings and overheat the inside of the bag. A warm spot, like on top of a refrigerator or near a heat mat, can speed up rooting.
Water Propagation (An Alternative Approach):
While stem cuttings in soil are generally my go-to, I know some of you love rooting in water!
- Prepare Cuttings: Follow steps 1-3 for stem cuttings.
- Place in Water: Place the prepared cuttings in a clean jar or vase filled with room temperature water. Ensure the leaf nodes from which you removed leaves are submerged, but crucially, don’t let the remaining leaves touch the water.
- Change Water Regularly: Change the water every few days to keep it fresh and prevent bacteria buildup.
- Observe Root Development: Keep the jar in a bright, indirect light location. You should start to see tiny white roots emerging from the nodes within a few weeks.
- Potting Up: Once the roots are about an inch long, you can carefully transplant them into your well-draining potting mix, following the planting instructions from the stem cutting method.
The “Secret Sauce” (Pro Tips)
Alright, let’s talk about those little tricks that make a big difference.
- The Clean Cut is Paramount: Seriously, always use a sharp, clean tool. A dull blade will crush the stem, making it much harder for the plant to heal and root. I often give my shears a quick wipe with rubbing alcohol before I start.
- Don’t Let Those Top Leaves Dwell Too Much: When you’re preparing your cuttings, if you have very large leaves at the top, consider cutting them in half horizontally. This reduces water loss without sacrificing too much of the leaf’s ability to photosynthesize and fuel root growth.
- Bottom Heat is Your Friend: If you’re finding things are a bit slow, consider using a seedling heat mat. Placing your pots on a gentle heat source can significantly speed up root formation and boost your success rate, especially in cooler climates or during less ideal times of the year.
Aftercare & Troubleshooting
Once you spot those beautiful little roots – hooray! This is where the real nurturing begins.
- Acclimatize Gently: When your cuttings have developed a good root system (you’ll see roots peeking out of the drainage holes or feel resistance when you gently tug), it’s time to gradually acclimatize them to normal conditions. If they’ve been in a plastic bag, start by opening the bag more each day for a week.
- Water Consistently: Keep the soil consistently moist but not waterlogged. Overwatering is one of the quickest ways to kill a new cutting. Water when the top inch of soil feels dry to the touch.
- Watch for Signs of Trouble: The most common culprit for failure is rot. This usually shows up as mushy, black stems or leaves that quickly turn yellow and drop. It’s almost always a sign of too much moisture and insufficient drainage. If you see this, unfortunately, that cutting is likely lost. Another sign of trouble is if the leaves simply wilt and never perk up, which can indicate the cutting has dried out or failed to root.
A Warm Wrap-up
There you have it – your guide to multiplying your Acalypha integrifolia treasures! Remember, gardening is a journey, and propagation is one of its most satisfying chapters. Be patient with your cuttings, learn from each attempt, and most importantly, enjoy the process of watching new life emerge. Happy propagating, and may your gardens be ever more beautiful!
Resource:
https://identify.plantnet.org/k-world-flora/species/Acalypha%20integrifolia%20Willd./data