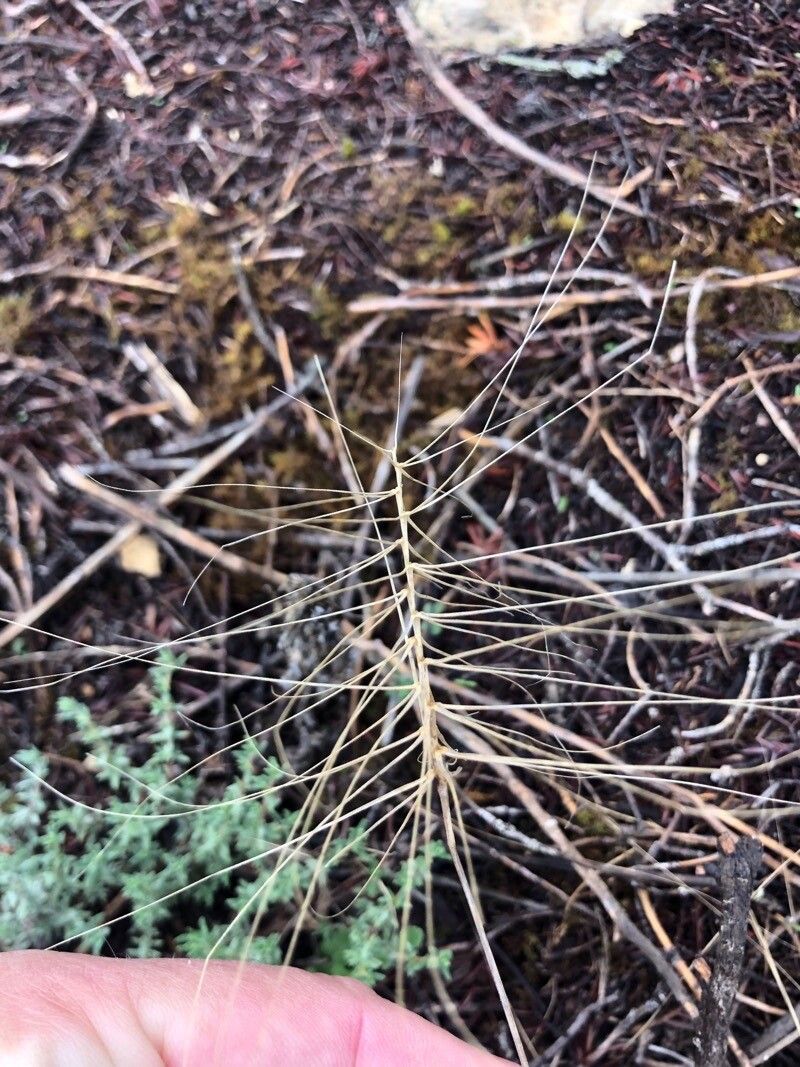
Hello fellow plant lovers! I’m so excited to talk to you today about a truly captivating grass: Taeniatherum caput-medusae, better known as Medusahead. Its architectural beauty, with those striking, bristly seed heads that arch and droop like a mythical creature’s hair, is enough to make any garden stand out. This grass isn’t just a pretty face; propagating it can be incredibly rewarding. You get to watch these unique plants multiply, bringing that wild, textural charm to different corners of your garden. Now, if you’re a beginner just dipping your toes into plant propagation, Medusahead is a good starting point. It’s quite forgiving, which is always a bonus when you’re learning the ropes.
The Best Time to Start
For the highest success rate, the ideal time to propagate Taeniatherum caput-medusae is in late spring or early summer. This is when the plant is actively growing and has plenty of energy to put into developing new roots. You’ll want to look for fresh, healthy shoots that haven’t yet developed their mature, bristly seed heads. Timing is everything with plants, and catching them at their peak growth phase dramatically increases your chances of success.
Supplies You’ll Need
Gathering your supplies beforehand makes the whole process so much smoother. Here’s what you’ll want to have on hand:
- A well-draining potting mix: I like a blend of equal parts peat moss, perlite, and coarse sand. This ensures good aeration and prevents waterlogging.
- Sharp, clean pruning shears or a utility knife: For making clean cuts. Sterilize them with rubbing alcohol to prevent disease.
- Rooting hormone (optional but recommended): A powder or liquid that encourages root development.
- Small pots or seed trays: With drainage holes, of course.
- A watering can with a fine spray nozzle: To avoid disturbing young roots.
- A clear plastic bag or propagation dome: To create a humid environment.
Propagation Methods
Taeniatherum caput-medusae is best propagated through division and importantly, by collecting and sowing its seeds. While stem cuttings are common for many plants, this ornamental grass is trickier to root from cuttings. Let’s focus on what works best!
Seed Propagation (The Most Reliable Method)
- Collect mature seed heads: Wait until the seed heads have dried on the plant. You’ll see the bristles start to loosen. Carefully snip off the entire seed stalk.
- Extract the seeds: Gently rub the dried seed heads between your fingers to release the seeds. You might get a bit of chaff with them – that’s okay.
- Sow the seeds: Fill your pots or trays with the well-draining potting mix. Sprinkle the seeds evenly on the surface. Don’t bury them too deep; a light dusting of the potting mix is sufficient.
- Water gently: Use your spray nozzle to lightly moisten the soil.
- Create a humid environment: Cover the pots or trays with a clear plastic bag or a propagation dome. This traps humidity, which is crucial for germination.
- Provide warmth and light: Place the containers in a warm location with bright, indirect light. A sunny windowsill is usually perfect.
- Be patient: Germination can take anywhere from 2 to 4 weeks. Keep the soil consistently moist but not waterlogged.
- Transplant seedlings: Once the seedlings are large enough to handle (usually when they have a couple of true leaves), you can carefully transplant them into individual pots or their final garden location.
Division (For Established Plants)
If you have a mature clump of Medusahead, division is a great way to increase your stock.
- Dig up the clump: In early spring, before new growth really takes off, carefully dig up the entire plant, trying to disturb the roots as little as possible.
- Gently tease apart the sections: Using your hands or a sterilized trowel, gently separate the clump into smaller sections. Aim for pieces that have roots and at least one shoot. Don’t force it; if a section won’t separate easily, it’s better to cut it cleanly.
- Replant immediately: Plant the divided sections into their new locations, either in pots or directly into the garden.
- Water thoroughly: Water them in well to help settle the soil around the roots.
The “Secret Sauce”
Here are a couple of tricks I’ve learned over the years that can really boost your success with grasses like Medusahead:
- Seed Scarification (for seeds): Sometimes, the hard seed coat of grasses can make germination tricky. If you’ve collected seeds and they don’t seem to be germinating after a few weeks, try gently scarifying them. This just means lightly scratching the surface of the seed coat with a bit of sandpaper or a sharp knife. Be very careful not to damage the embryo inside. This breaks down the hard barrier, allowing water to penetrate and kickstart germination.
- Don’t rush the seed heads into the pot: When you’re collecting seeds, resist the urge to shove the entire bristly head into the soil. It’s much better to extract the individual seeds first. This gives them better contact with the soil and prevents them from potentially harboring fungal issues within the dense bristles.
Aftercare & Troubleshooting
Once your seeds have sprouted or your divisions have been replanted, the real fun begins!
- Watering: Keep the soil consistently moist but not soggy. Overwatering is the quickest way to invite root rot, especially with young seedlings. As they grow stronger, you can gradually increase the time between waterings.
- Sunlight: Your young plants will appreciate bright, indirect light for the first few weeks. Once they’re established and showing good growth, you can introduce them to more direct sunlight.
- Fertilizing: It’s generally not necessary to fertilize young seedlings. Once they’ve grown a bit and you’ve transferred them to larger pots or their final spot, a light feeding with a balanced liquid fertilizer can be beneficial, but don’t overdo it.
Troubleshooting: The most common issue you’ll encounter is rot. This is usually a sign of too much moisture and poor drainage. If you see stems turning yellow and mushy at the base, or seedlings collapsing, it’s likely rot. To fix this, immediately stop watering, let the soil dry out completely, and ensure your pots have good drainage. You might also need to improve air circulation around the plants. Another sign of trouble is if seedlings are leggy and weak; this usually means they need more light. Move them to a brighter spot.
A Rewarding Journey
There you have it! Growing Taeniatherum caput-medusae from seed or division is a wonderfully satisfying endeavor. Remember to be patient; nature has its own rhythm, and sometimes plants take their sweet time to show you what they’re made of. Enjoy the process, learn from each sprout (or lack thereof!), and soon you’ll be admiring those captivating Medusahead blooms in your own garden. Happy growing!
Resource: