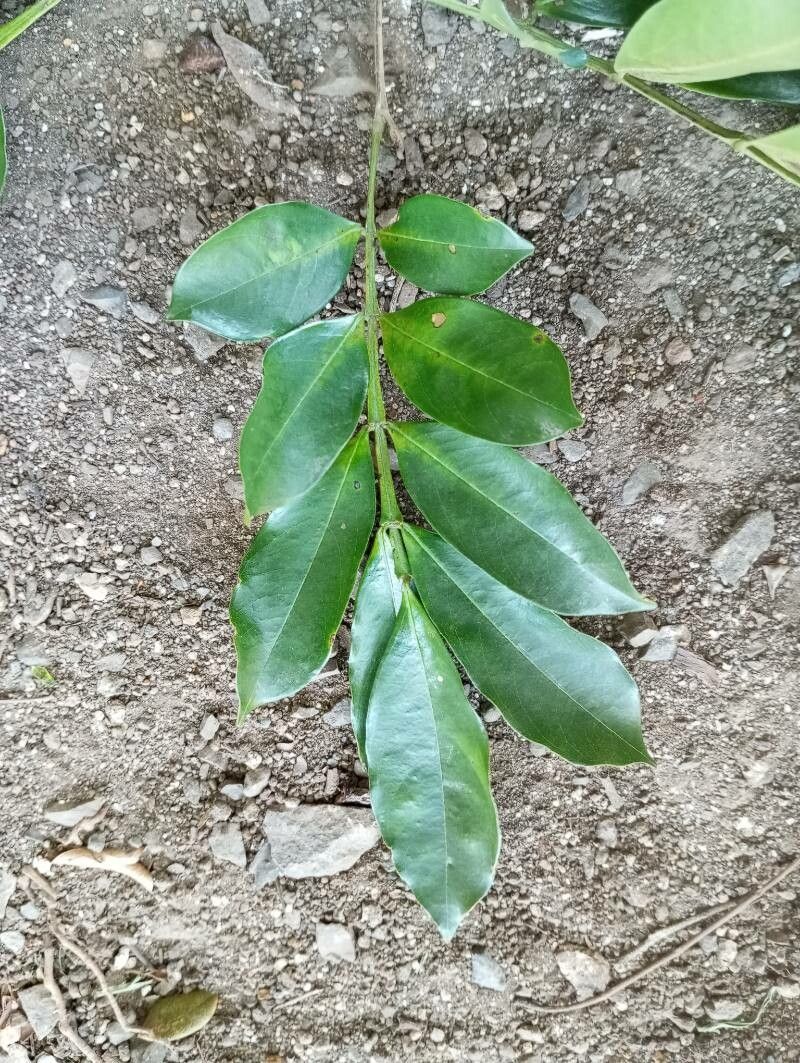
Oh, hello there! Come on in, grab a mug. Today, we’re diving into the wonderful world of Swartzia cubensis, also known as the beautiful Jamaica Caper. If you’ve ever admired its glossy, tropical foliage and delicate white flowers, you’re in for a treat. Propagating this beauty is like growing a little piece of paradise right in your home, and trust me, it’s a truly rewarding endeavor. While it’s not quite as foolproof as a succulent, it’s definitely achievable for the patient beginner with a little guidance.
The Best Time to Start
For the highest chance of success, I always find late spring to early summer is the sweet spot. This is when your Swartzia cubensis is actively in its growing phase, meaning it has the energy reserves to put into developing new roots. Look for healthy, non-flowering stems to make your cuttings.
Supplies You’ll Need
Gathering your tools beforehand makes the whole process so much smoother. Here’s what I typically have on hand:
- Sharp, clean pruning shears or a sharp knife: For making clean cuts.
- Rooting hormone (optional but recommended): This can significantly boost your success rate.
- Potting mix: A well-draining mix is crucial. I like to use a blend of equal parts potting soil, perlite, and coco coir.
- Small pots or propagation trays: With drainage holes, of course!
- Watering can or spray bottle: For gentle watering.
- Plastic bag or a clear propagation dome: To create a humid environment.
Propagation Methods
There are a couple of popular ways to get new Swartzia cubensis plants going. I usually lean towards stem cuttings, as it’s quite reliable.
Stem Cuttings:
- Select a healthy stem: Look for a stem that’s about pencil-thick and has at least 3-4 sets of leaves.
- Make the cut: Using your clean shears or knife, make a clean cut just below a leaf node (where a leaf attaches to the stem). This is where the magic happens, as it’s rich in growth hormones.
- Prepare the cutting: Remove the lower leaves, leaving only the top two or three. This prevents them from rotting in the soil.
- Apply rooting hormone: If you’re using it, dip the cut end into the rooting hormone, tapping off any excess.
- Plant your cutting: Fill your small pot with your well-draining potting mix. Make a small hole in the center and gently insert the cutting, ensuring the leaf nodes are buried. Firm the soil around the stem.
- Water gently: Water thoroughly until you see water draining from the bottom of the pot.
- Create humidity: Cover the pot with a plastic bag or propagation dome. This is vital for keeping the leaves from drying out while the roots are forming. Poke a few small holes in the bag or leave the dome slightly ajar for air circulation.
The “Secret Sauce”
Here are a couple of things I’ve learned over the years that really make a difference:
- Bottom heat is your friend: If you have a heat mat (often used for starting seeds), place your pots on it. Warm soil encourages root development much faster, even if the air temperature is a bit cooler. About 70-75°F (21-24°C) is ideal.
- Don’t disturb the roots unnecessarily: Once your cuttings are planted, resist the urge to tug on them to see if they’ve rooted. You’ll learn to read the signs of success without doing that!
Aftercare & Troubleshooting
Once your cutting has rooted (you’ll typically see new leaf growth within 4-8 weeks, especially with bottom heat), it’s time for closer attention.
- Gradually acclimate: If you were using a plastic bag, slowly start to remove it, a little each day, over a week or so. This helps the new plant adjust to normal humidity levels.
- Continue watering: Keep the soil consistently moist but not soggy. Allow the top inch of soil to dry out slightly between waterings.
- Signs of trouble: The most common issue is rot. If your cutting turns brown and mushy, or if you see mold on the soil, it’s likely too much moisture and not enough air circulation. Unfortunately, there’s usually not much you can do once rot sets in, but it’s a good learning experience! Yellowing leaves can sometimes mean it’s not getting enough light or that the soil is too wet.
A Encouraging Closing
So there you have it! Propagating your Swartzia cubensis might take a little patience, but watching those tiny roots emerge and new leaves unfurl is such a thrill. Enjoy the process, embrace the learning curve, and before you know it, you’ll have a small jungle of your own making. Happy growing!
Resource: