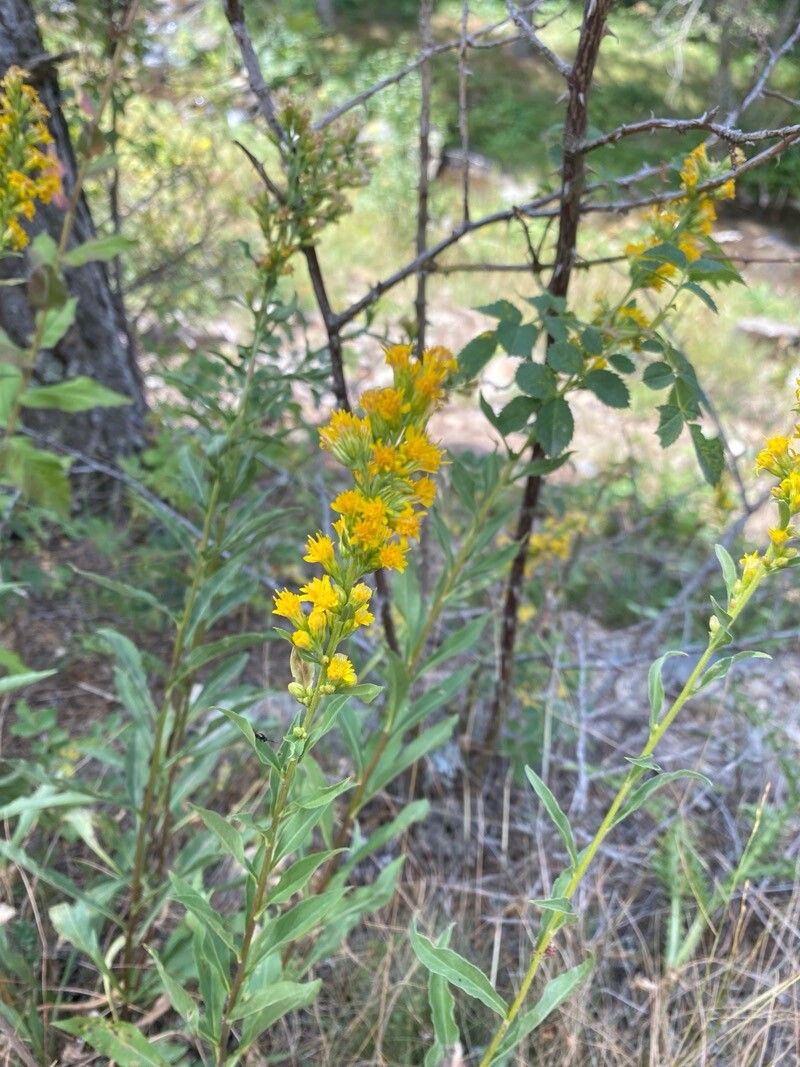
Hello fellow garden enthusiasts! Isn’t Solidago velutina, our fuzzy-leaved goldenrod, just a delight? I’ve always loved its cheerful yellow blooms and the way it brings a bit of wild meadow magic to any garden. Plus, the soft, almost velvety texture of its leaves is just so lovely to touch. Propagating it is such a rewarding process. It’s a pretty forgiving plant, so don’t let the idea of propagation intimidate you at all. Even if you’re new to this gardening adventure, you’ll find Solidago velutina to be a wonderful plant to start with.
The Best Time to Start
For the highest success rate with Solidago velutina, I find that late spring to early summer is the sweet spot. This is when the plant is actively growing and has plenty of energy to put into developing new roots. Aim for when the stems are still young and flexible, but before they get too woody.
Supplies You’ll Need
When you’re ready to get your hands dirty, here’s what you’ll want to have on hand:
- Sharp Pruning Shears or a Craft Knife: Cleanliness is key to preventing disease.
- Rooting Hormone (Optional but Recommended): This can give your cuttings a helpful boost.
- Well-Draining Potting Mix: A good blend of perlite and peat moss or coco coir works wonderfully. You can also buy specific seed starting mix.
- Small Pots or Seedling Trays: Clean containers are a must.
- Plastic Bags or a Propagator Lid: To maintain humidity around your cuttings.
- Watering Can with a Fine Rose: For gentle watering.
- Labels or Plant Markers: To keep track of what you’ve planted!
Propagation Methods
Solidago velutina is generally most easily propagated through stem cuttings or division.
Stem Cuttings
- Take Cuttings: On a bright morning, use your sharp shears to take 3-5 inch cuttings from healthy, non-flowering stems. Make the cut just below a leaf node (where a leaf attaches to the stem).
- Prepare Cuttings: Gently remove the lower leaves, leaving just two or three at the top. If you’re using rooting hormone, lightly dip the cut end into it, tapping off any excess.
- Plant Cuttings: Fill your small pots or trays with your well-draining mix. Make a small hole with your finger or a pencil and carefully insert the cutting, ensuring the leaf nodes are below the surface of the soil. Gently firm the soil around the stem.
- Water Gently: Water thoroughly but gently until you see water drain from the bottom of the pot.
- Create a Humid Environment: Cover the pots with a clear plastic bag or a propagator lid. This creates a mini-greenhouse to keep the humidity high, which is crucial for cuttings to root.
Division
- When to Divide: This is best done in early spring as the plant is just starting to wake up, or sometimes in early fall after flowering.
- Dig Up the Plant: Gently dig up the entire clump of Solidago velutina.
- Separate the Roots: Use your hands, or if it’s very dense, a fork or a sharp spade, to gently pull apart the existing root ball into sections. Ensure each section has healthy roots and at least one or two shoots.
- Replant Immediately: Replant the divided sections into their new homes, watering them in well.
The “Secret Sauce” (Pro Tips)
- Don’t Let Leaves Touch the Water (if water propagating): While some plants root beautifully in water, I find Solidago velutina is happier in soil. If you must use water, ensure the leaves are always above the water line to prevent rot. The airy, fuzzy leaves can be prone to this!
- Consider Bottom Heat: If you have a heat mat or a sunny windowsill that gets warm, placing your pots on it can significantly speed up root development. It mimics the warmth of spring soil and gives your cuttings that extra push.
- Mist Generously: Even with a plastic bag, I like to lightly mist the inside of the bag daily for the first week or two. This ensures consistent moisture within the humid environment without waterlogging the soil.
Aftercare & Troubleshooting
Once you see new growth appearing, this is a good sign that roots are forming!
- Gradually Acclimate: Once roots are established, slowly begin to remove the plastic cover over a few days. This allows the new plant to get used to the ambient humidity and conditions.
- Water When Dry: Continue to water when the top inch of soil feels dry, but avoid overwatering. You want the soil to be consistently moist, not soggy.
- Light Requirements: Place your new plants in a bright spot, but avoid direct, scorching sun when they are still very young.
The most common sign of trouble is rot. If your cuttings turn brown, mushy, and simply fall apart, it’s usually a sign of too much moisture and not enough air circulation. If you see this, discard the affected cutting and check your watering and ventilation for the others.
A Encouraging Closing
Growing new plants from cuttings or divisions is such a rewarding way to expand your garden and share the beauty of Solidago velutina with others. Be patient; nature has its own pace. Enjoy the process, learn from each step, and soon you’ll have a whole patch of cheering goldenrod to enjoy! Happy gardening!
Resource:
https://identify.plantnet.org/k-world-flora/species/Solidago%20velutina%20DC./data