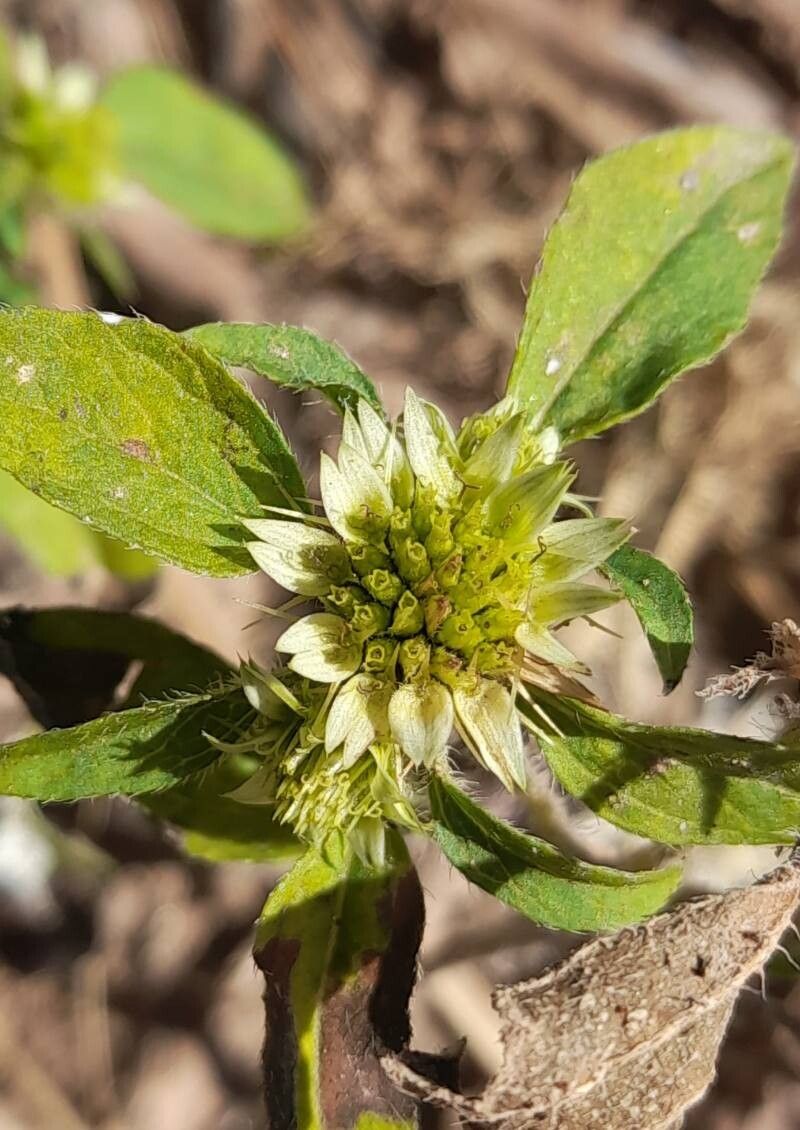
Hello, fellow garden lovers! Today, I want to chat about a plant that has truly captured my heart over the years: Sanvitalia versicolor, often known as the Creeping Zinnia or Trailing Sanvitalia. If you’ve ever marveled at those sunny, daisy-like blooms cascading from hanging baskets or spilling over the edges of containers, you’re not alone. Their cheerful yellow faces are a beacon of summer joy.
The wonderful thing about Sanvitalia is how forgiving it is, even for relative newcomers to the gardening scene. And the most rewarding part? Propagating these beauties is surprisingly simple! It means you can extend that sunshine all through your garden, share the joy with friends, or simply ensure you have more of your favorite bloomer for seasons to come. This isn’t a plant that’s going to test your patience in the propagation department.
The Best Time to Start
For the highest success rates with Sanvitalia versicolor, I always recommend starting in late spring or early summer. This is when the plant is in its active growth phase, meaning it’s full of vigor and ready to send out new shoots. Taking cuttings from healthy, established plants during this time gives them the best possible start. You want to see plenty of strong, new growth, not old, woody stems.
Supplies You’ll Need
Gathering your tools beforehand makes the whole process much smoother. Here’s what I like to have on hand:
- Sharp pruning shears or scissors: Cleanliness is key! A dull tool will crush stems.
- A well-draining potting mix: I often use a mix of equal parts seed-starting mix and perlite. This ensures good aeration and prevents soggy bottoms.
- Small pots or seed trays: About 3-4 inches in size works well. Make sure they have drainage holes.
- Rooting hormone (optional but recommended): A powder or gel really gives cuttings a boost.
- A plastic bag or propagator: To create a humid environment for your cuttings.
- A spray bottle: For gentle misting.
- Water: For your cuttings to drink.
Propagation Methods
Sanvitalia versicolor is wonderfully multi-talented when it comes to propagation. My go-to methods are stem cuttings and, if you’re feeling adventurous, even a bit of water propagation.
Stem Cuttings
This is my favorite and most reliable method.
- Select your stems: Look for healthy, non-flowering stems that are about 4-6 inches long. Gently bend a stem; if it snaps easily, it’s a good candidate. Avoid stems that are still very soft and floppy.
- Make the cut: Using your sharp, clean shears, cut the stem just below a leaf node. This is the point where a leaf grows from the stem, and it’s where roots are most likely to form.
- Prepare the cutting: Remove the lower leaves, leaving only the top 2-3 leaves. This prevents them from rotting when buried. If you have a larger leaf, you can even cut it in half to reduce water loss.
- Apply rooting hormone (if using): Dip the cut end of the stem into your rooting hormone, tapping off any excess.
- Plant the cuttings: Fill your small pots with your moistened potting mix. Make a small hole with your finger or a pencil and insert the cutting, ensuring the leaf nodes that you removed leaves from are below the surface of the soil. Gently firm the soil around the stem.
- Create humidity: Water the soil gently (a light misting is best) and then cover the pot with a plastic bag or place it in a propagator. This traps moisture.
Water Propagation
This method feels a bit like magic, watching roots sprout right before your eyes!
- Prepare the cuttings: Follow steps 1 and 2 above – select healthy, non-flowering stems and cut just below a leaf node.
- Remove lower leaves: Again, strip off all the leaves that would sit below the water line.
- Place in water: Put the cuttings in a clean jar or glass of room-temperature water. Make sure no leaves are submerged, as this will encourage rot.
- Find a bright spot: Place the jar in a bright location with indirect sunlight. Change the water every few days to keep it fresh.
- Watch for roots: You should start to see tiny white roots emerging from the leaf nodes within a week or two.
- Pot them up: Once the roots are about an inch long, they are ready to be carefully transplanted into your potting mix, just like the stem cuttings.
The “Secret Sauce” (Pro Tips)
After years of getting my hands dirty, I’ve picked up a few tricks that seem to make a real difference.
- Bottom heat is your friend: If you can, place your pots on a heat mat. This gentle warmth encourages root development much faster and significantly increases your success rate, especially if your room isn’t super warm.
- Don’t overwater initially: While humidity is important, soggy soil is the enemy of new cuttings. Wait until the top inch of soil feels slightly dry before watering again. It’s better to err on the side of slightly dry than too wet.
- Patience with the “chopstick test”: When you think your cuttings have rooted, gently tug on a stem. If you feel any resistance, it means roots are forming! Don’t be tempted to dig them up too soon to check.
Aftercare & Troubleshooting
Once your cuttings have developed a good root system (you’ll see new leaf growth as a sure sign!), it’s time for a little extra TLC.
- Acclimatize them: Slowly reduce the humidity by opening the plastic bag a little each day, or lifting the propagator lid for periods. This helps them adjust to normal air conditions.
- Water consistently: Keep the soil moist but not waterlogged. Water when the top inch of soil feels dry.
- Give them light: Continue to provide bright, indirect light. As they grow stronger, you can gradually introduce them to more direct sunlight, but be careful not to scorch young leaves.
The most common sign of trouble is rot. If your cuttings turn black and mushy, it’s usually a sign of too much moisture and not enough air circulation. Discard any affected cuttings and ensure your remaining ones have good drainage and are not sitting in water. Yellowing leaves, especially on lower leaves, can indicate they need more light or perhaps are just shedding older leaves as they focus energy on roots.
An Encouraging Closing
So there you have it! Propagating Sanvitalia versicolor is a truly accessible and rewarding process. Don’t be discouraged if a few don’t make it; that’s part of learning. The joy of watching tiny cuttings transform into thriving plants is immense. Be patient, enjoy the process, and soon you’ll have a garden bursting with those cheerful, sunny blooms! Happy gardening!
Resource:
https://identify.plantnet.org/k-world-flora/species/Sanvitalia%20versicolor%20Griseb./data