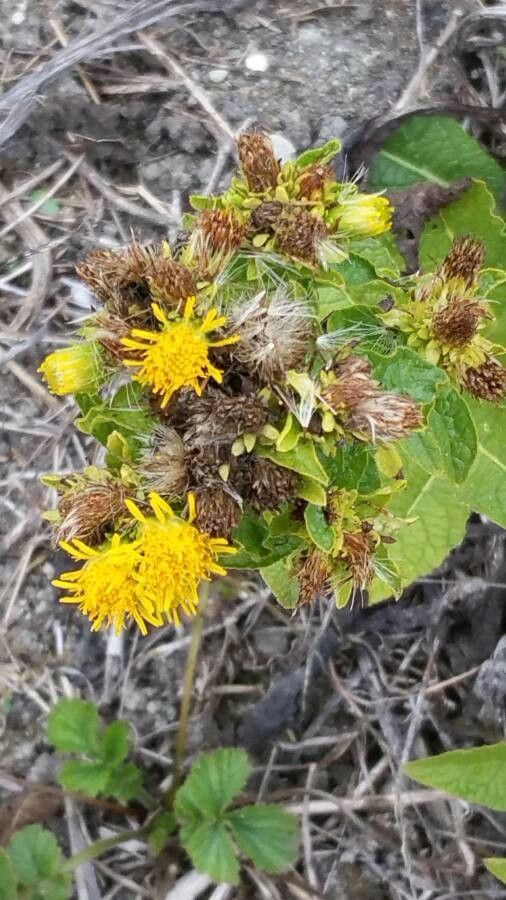
Hello there, fellow plant lovers! Today, I want to chat about a delightful little gem that’s been catching my eye: Pentanema bifrons. You might know it by its common names, like ‘False Clematis’ or even ‘Willow-leaf Aster’. I’ve always adored its delicate, daisy-like flowers that pop up in late summer and fall, adding such a charming touch to the garden when many other blooms are fading. Plus, the foliage itself has a lovely texture.
The real joy, though, comes from multiplying these beauties. Propagating Pentanema bifrons is a wonderfully rewarding endeavor. And guess what? It’s actually quite forgiving, even for those of you who are just starting to dip your toes into the world of plant propagation. You’ll be sharing these lovely plants with friends in no time!
The Best Time to Start
When it comes to getting the most bang for your buck, time your propagation efforts for late spring to early summer. This is when the plant is actively growing and has plenty of fresh, vibrant energy to put into developing new roots. You’re essentially catching it at its peak performance, which makes for a much higher success rate. Avoid trying to propagate when it’s dormant or stressed.
Supplies You’ll Need
Don’t let a long list overwhelm you! Most of these are garden staples.
- Sharp, clean pruning shears or a sharp knife: We need to make clean cuts to prevent disease.
- Small pots or seed trays: About 4-inch pots work wonderfully.
- Well-draining potting mix: A good blend of perlite, peat moss, and a little compost is ideal. Or, you can use a seed-starting mix.
- Rooting hormone (optional but recommended): This gives cuttings a little nudge to grow roots faster. Look for a powder or gel.
- Plastic bags or a propagator: To create a humid environment for your cuttings.
- Watering can with a fine rose or spray bottle: For gentle watering.
- Labels: So you don’t forget what you’ve planted where!
Propagation Methods
For Pentanema bifrons, I’ve found the most reliable method is stem cuttings. It’s straightforward and yields excellent results.
Here’s how we do it:
- Select Your Cuttings: Choose healthy, non-flowering stems from a mature plant. Look for stems that are firm but still flexible – not too woody, not too soft. Aim for cuttings that are about 4 to 6 inches long.
- Make the Cut: Using your clean pruners or knife, make a cut just below a leaf node. A leaf node is where a leaf attaches to the stem. This is where the magic happens, as roots are most likely to form.
- Prepare the Cuttings: Gently remove the lower leaves from your cutting, leaving just a few at the top. This prevents them from rotting in the soil and encourages the plant to focus its energy on root development. If the top leaves are very large, you can even cut them in half to reduce water loss.
- Apply Rooting Hormone (Optional): Dip the cut end of the stem into your rooting hormone, ensuring it’s evenly coated. Tap off any excess.
- Plant Your Cuttings: Fill your pots with the well-draining potting mix. Make a small hole in the center with your finger or a pencil. Insert the prepared cutting into the hole, ensuring the leaf nodes you removed are below the soil surface. Gently firm the soil around the stem.
- Watering and Humidity: Water the soil gently but thoroughly. Then, cover the pot with a plastic bag or place it in a propagator. This creates a greenhouse effect, keeping the humidity high, which is crucial for cuttings to not dry out before they form roots. You can prop the bag up with stakes so it doesn’t touch the foliage.
The “Secret Sauce” (Pro Tips)
Now, for a couple of little tricks I’ve picked up over the years that really make a difference:
- Bottom Heat is Your Friend: If you have a heating mat designed for seedlings, placing your pots on it can significantly speed up the rooting process. It mimics the warmth of the soil in summer, giving those root initials a real boost. You don’t want it too hot, just a gentle warmth.
- Watch for the Twist: Instead of constantly tugging on your cuttings to see if they have roots (which can damage delicate new growth!), gently tug on the cutting. If you feel resistance, it’s a sign that roots have formed and are anchoring it in the soil. Success!
Aftercare & Troubleshooting
Once you see evidence of roots, it’s time to transition your new plants.
- Acclimate Them: Gradually introduce your cuttings to less humid conditions. Start by removing the plastic bag for a few hours each day. Then, remove it completely. This hardening-off process is vital.
- Continue Watering: Keep the soil consistently moist but not waterlogged. Overwatering is the enemy of young roots.
- Sunlight: Once they are established, they’ll appreciate bright, indirect light. Direct scorching sun is still too harsh.
Now, what if things go wrong? The most common issue you might encounter is rot. If your cutting turns mushy and black, or the leaves start to yellow and wilt despite keeping the soil moist, it’s likely rot setting in. This usually happens due to too much moisture, poor drainage, or a lack of air circulation. If you see rot, unfortunately, that cutting is probably lost. But don’t be discouraged! Just pull it out, check your soil for better drainage, and try again. Remember, propagation is a learning process!
A Little Patience Goes a Long Way
Watching a new plant grow from a mere stem cutting is one of the most satisfying parts of gardening, if you ask me. Be patient with your Pentanema bifrons cuttings. They might take a few weeks to show signs of rooting, and even longer to be ready for transplanting into their own pots. Enjoy the process, learn from each attempt, and soon you’ll have a whole little army of these charming plants to adorn your garden or share with loved ones. Happy propagating!
Resource: